Friday, January 19, 2018
at the end of my spool
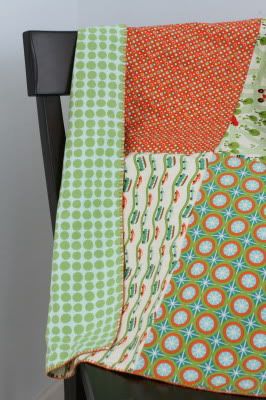
i have been working with the yummiest fabrics in shades of peach, red, sand, cinnamon, petunia, and navy on this "mary, mary star contrary" quilt. i bought the prints for the backing separately, at different times, but i think they are all cotton + steele prints. originally, i was going to use only the two florals, but they fell short of the size i needed, so i added those adorable raccoon and circus prints.
something about the stripes on the border ends makes me think of chocolate wrappers and gets me drooling! the two border sets are in slightly different colors, with 3 stripes chosen from the center star selection of eight, and a flying goose block out of the other two colors set in each border. i really should have used the two blues, which i used as highlights not full colors in the center star, as a thin strip to separate the border from the peach background, but it seemed like too much work at a time i wanted to be finishing a quilt top. i think using one as the binding color was a good second choice.
i chose to quilt this one in chunky 12wt auriful thread in Brass, at a larger 3.5 stitch length. i love how it resembles handstitching and stands out so nicely on the simple quilt design.
this is the 3rd "stella grande" quilt i've used brass on, so i wasn't too sure how far i'd get with what remained on the spool. surprisingly, i got almost to the end of my quilting on just the one spool! i had to guesstimate how much bobbin thread to spin on three different times at the end. you can see in the middle photo above that i got nearly done with my last complete bobbin, with just a few inches of the border left to go. i could have stopped quilting there completely, but i wanted to do a few more vertical seams for added stability. the last photo shows where i was when i finished one of those lines! talk about cutting it close.
after searching for more brass at the two places i normally get my aurifil 12 wt and not finding it stocked anymore, i was able to locate some at hawthorne threads. thank goodness! i got a few spools, which allowed me to complete the rest of this quilt and leaves me enough for several more in the future.
i don't like playing it so close with my threads, but it can be a little exciting, too.
in a "quilter home on a weekend night by herself" kind of exciting way.
Wednesday, January 17, 2018
penny patch 2.0 - school pennies, a finish
if you think the photo quality on this blog has plummeted, i would agree with you! each of the last few times i've needed to take photos of a quilt finish, i have been rushed, the lighting has been impossible, and my camera has malfunctioned. one of the reasons i blog is because i do enjoy quality photos of my quilting life and the items i make. this is such a disappointment to me, but it is what it is, as my husband would say.
the day i put the final stitches into penny patch 2.0 was a broiling hot september afternoon, somewhere in the 110+F region. the sun was merciless and the only acceptable place to photograph anything was a few meager feet of shade on the backside of my sister's house, where my mom was staying. marmee had just jumped out of the shower, so i didn't give her much notice, either. she was only in town briefly, and it had to be done. seize the moment and the less-than-stellar photos while you can, right?
this particular quilt was originally started for myself in late 2014. i came up with the color scheme while working on my first penny patch. it was an unusual palette pick for me - no red but rather magenta, which has long not been my color preference. however, i was in love with the joel dewberry floral i used as the focal fabric and backing pick. so, magenta, teals, turquoise, chartreuse, pink, and a healthy dose of white it was.
the fabrics were a collection of pretty florals, ditsy geometrics, and text prints that all reminded me of back-to-school times. my mother always sewed our dresses when i was a child, and the first day of school outfit was a big deal. the florals reminded me of picking out those dresses. all the alphabets were another nod to school, especially the cursive on school paper print. the pattern name, penny patch, with it's small change, made me think of the quarter mom would give me for milk money so i could get a carton of fresh milk with my home-packed lunch. thus, the name evolved to be "school pennies."
i had a few bumps in the road of constructing this quilt - some literal, like when my kids knocked the design wall over with a kicked soccer ball, and some figurative, like when i sewed all the directional prints the wrong way and had to make the quilt larger to reorient it rather than unpick and resew everything. that drug the construction out pretty long. then the biggest bump of all - my husband fell off a wall. while he survived, my quilting life did not. everything was put away for months and months.
![]() |
| holding it sideways because it's so tall and we're so short |
in the end, it got done after about a year on and off the machine. then the binding gave me a bit of trouble when i was a yard short and had to hunt down more of the out-of-print fabric. honestly, in some ways you could say this quilt was payback for every silly, mean, or nasty thing i did as a child that my mother had to deal with.
marmee does have her quilt and well in time for another winter, when it will keep her cozy. i know she's going to enjoy contemplating and perusing all the fabric picks and combinations, as i do. this quilt is chock full of beautiful fabrics.
the even better news is marmee's cancer journey has gone much better than expected. we're approaching two years since the diagnosis and she's doing very well.
she tells me all the time how much she's enjoying the quilt.
honestly, i was quite attached to this one and choosing to give it to my mom was a painful choice.
of course, i'm glad i did.
it was really meant for her all along, i just didn't know it.
Wednesday, January 10, 2018
what i gave for christmas - a stella grande constellation
if you're an old blogging friend, you might remember christmas 2013 i tried to give each of my 7 children a quilt. in short - it didn't work. some children got quilts and others got pieces of a quilt. eventually, all of those quilts got done. (now that i think of it, d4 and i never did anything with her applique flowers, so i guess they didn't all get done. darn.) however, my dream of gifting a quilt to each of them at christmas fell decidedly short.
fast forward 4 years to the beginning of 2017, and i began experimenting with color combinations in a very simple and easy pattern: a giant sawtooth star with borders that i dubbed "stella grande." i could complete one of these quilts in about a week and had plans to make a different one each month. i had in the back of my mind that i could easily have a quilt for each child this christmas. since it would be the last christmas with all my children at home, i really treasured that idea.
but my life got in the way, as it so often does. i completed 3 stella grande quilts in the first few months of the year, and started 2 more. but none of those were the quilts i had planned for my children. once may hit, we were heading into summer and travel season, when i get no sewing done at all. christmas wasn't even on my mind.
even in the fall, i did very little sewing. when thanksgiving approached in november, i had one of the seven needed quilts mostly finished, and another started. but that one quilt had been quite difficult. i had tension issues with the quilting that i hadn't had on my previous stella grande quilts, and it took me the better part of a month just to quilt. i decided to accept the inevitable - i would not be gifting quilts this year, either.
in early december, i simply changed my mind. i knew it was now or never for this little dream of mine, and i chose to go for it. time was even shorter, but i sat down with my plans and decided on the solids i would need, and went to the store for a huge stack of kona cottons. i had gathered the backings, which were all prints, for the quilts earlier in the year. i had a general idea of color scheme and theme for each child, and the backing prints were the basis for those. once i picked matching solids, i was well on my way.
my husband conveniently went out of town a few times in december, which left me slightly more time than usual to quilt. it was still not quite enough, but i decided a reduced version of my goal would be perfectly acceptable. i got each top and backing made, and basted the quilt sandwich. by getting the quilts to this point, they felt like quilts and were presentable enough for me to gift.
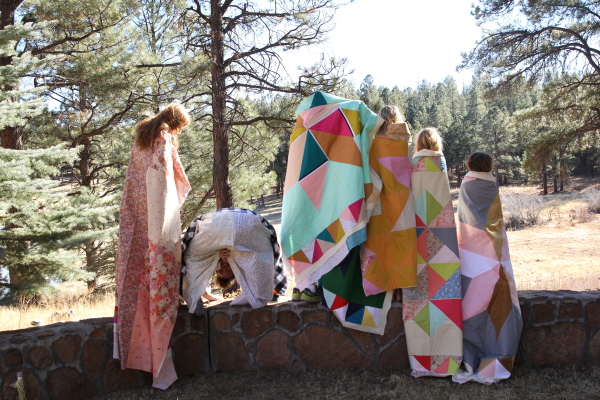
and here they are, oldest to youngest, left to right:
d1, 19: mary, mary star contrary
s1, 17: rubix star
d2, 15: etoile de patisserie
s2, 13: star on the field
d3, 11: radiant suzy
d4, 9: star in the fairy forest
d5, 6: neopolitan sundae in pewter
each quilt has some slight variation from the original pattern to it. there are so many ways to go with this one basic pattern - sometimes it was a border change, other times the number or placement of colors. i've now tried out 12 versions, and i could keep going. but aside from finishing these quilts, i'm going to let 2017 be "the year of the star" and move on, or back to, other projects. i do have a handful of christmas-themed stella grandes i want to make, but that will wait for the next holiday season.
maybe i'll even get the tutorial written up by then and have a quilt along for anyone wanting a quick gift quilt. maybe.
| what you get from a 17 year old boy when you ask for a picture from behind |
my dear 6 year-old dslr was giving me problems over christmas, so i did not get the photo shoot of these quilts i had envisioned, but i'm happy enough with the capture. i have plenty of quilting and binding to take me into this new year. perhaps when they are all truly done, we'll get better photos with a more functional camera. for now, i'm accepting the incompleteness and imperfections of all.
Monday, January 1, 2018
Dorothy's Girls - a quilt finish
instagram is so instant! my goodness, it's taken me far too long to get these photos here and make this post. but i wanted to talk about this quilt in more detail than even a looooong IG post allows for. and since this quilt was finally completed in april, it really is time to post about it.
this quilt is made from the "indian blanket pattern" by rachel hauser of stitched in color, available as part of her online ::angled:: class, which i took in 2015. i adore rachel's original version of the quilt with its crisp contrast and bold, summery colors. as i chose to work with fabrics strictly from stash and to try a very new-to-me color palette based on two prints, my version is quite different from hers. mine's romantic, rather vintage-y, warm and more fall-ish feeling. rachel's "indian blanket" has a definite pattern to the value placement and the combinations feel more consistent in the value contrasts. mine are all over the place. one of the intriguing aspects of quilting is what changing value or color placement or fabric types will do to the same exact pattern. you can see our quilts are related, but they look like very different quilts from opposite ends of the family spectrum. i like them both for different reasons.
my favorite part of this quilt just might be the back. i used the 3 strip accent stripe backing format i have used for a few other quilts, this time using kona cotton solid in "curry" as the main fabric. i think it's absolutely delicious in its warmth and simplicity. the 3 accent stripes are out of the two main inspiration fabrics and another pick from the quilt top, "antique flower" by julia rothman for cloud9, that has emerged as a favorite fabric as i've worked with it.
the binding i chose is nothing special, but it works and i'm fine with it. (some french general for moda, i think?) it certainly adds to the vintage feel of the quilt.
for the quilting, i used a soft, peachy-pink aurifil 2415 thread, which contrasts so beautifully with the solid curry backing, but doesn't photograph accurately. my fmq pattern is a set of modern loops done in rows and sized to fit each row of triangles. this is a quick and effective pattern, which was nice since the quilt is so large and took so much time to assemble. also, i think the loops contrast well with the sharp angles of the triangle pattern.
this was my first time working with triangles in a quilt. it was a fun challenge and a skill i'm happy to have added to my tool box. i did pretty well with my points, too. that is always satisfying.
the part i like most about the quilt top is the fabric pairings. some of them are just so good and make me happy when i look at them. namely, those i've photographed to share here. other combos are less pleasing and if i were to do the quilt over, i would remove them and just do more of the ones i liked. but it's a done deal. since this quilt was in part done to use up stash, it's inevitable that that happened.
but the fabrics that do please me please me a lot! i love to sit with the quilt and look at the good ones. each of these photos may look almost identical to you, but they don't to me. they are quite distinct and examining up them up close is what i enjoy about the quilt.
originally, i was using each fabric once in its own row. however, once i got going, i decided more of a good thing was good. so i added a row or two. and since the triangles were of various sizes, the rows didn't always come out equally long. instead of cutting some short, i made others longer. which just kept slowly increasing the size of the quilt. it ended up a whopping 68" x 90" total, a fair twin-sized quilt. but i made it as a throw, so its kind of too large. i tend to always add to quilts to make them "just a bit bigger." not because any of us are big people but because i want to make sure it's big enough to fully snuggle under, and then when it's almost big enough to use on a bed, why not make it big enough? i think the experience of this quilt has taught me that lap-sized quilts and a little restraint is a good idea.
one of the fun aspects of this pattern was the mix of triangle sizes and the occasional randomness and break from form thrown in. rachel directed us where to do that in a few places and i picked some other spots on my own.
in the above photo, you can see the row that's a mix of large and small triangles, as well as a few different fabrics, some of them seemingly out of place with the pattern and rhythm of the row. i like that.
every once in a while, i would throw in a triangle that felt the same as the other fabrics in the row, but wasn't, like the middle triangle in this photo. i like that, too.
so there you have it - the "dorothy's girls" quilt is done.
but what about that name?
originally i was going to call this something like "indian summer" as a nod to the warm color palette and rachel's pattern's name. but back when i started actually quilting it, my aunt came down with breast cancer at the same time my mom, her sister, was diagnosed with colon cancer. i wanted to gift a quilt to each of them and quickly, but as my husband had just had a major accident (yes, it was a crazy time!), i was in no position to make new quilts, which i don't do quickly anyway. whew! this is complicated. so, i decided to give my mom the penny patch 2.0 quilt, which just needed quilting, and was considering giving this quilt to my aunt. long story short - i didn't. she got the "love all around" quilt instead.
i got to keep the triangles for myself. but i kept thinking of my aunt and my mom while working on it. and of their sister, billie, and their mother, my grandmother, dorothy. grandma dorothy generally brings the color brown to mind, but aspects of this quilt do remind me of her. and those 3 stripes on the back remind me of her 3 daughters. i was hoping the number of rows would come out to equal all the granddaughters, too, but it doesn't. anywho, all that thinking of grandma gave me a name for this quilt and thus it is "dorothy's girls."
Saturday, October 7, 2017
4 square baby blanket gallery
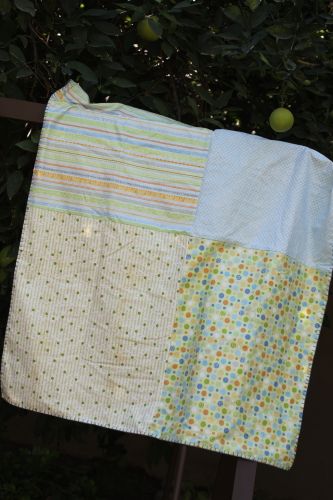
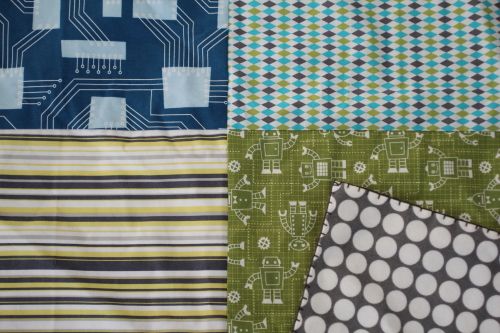
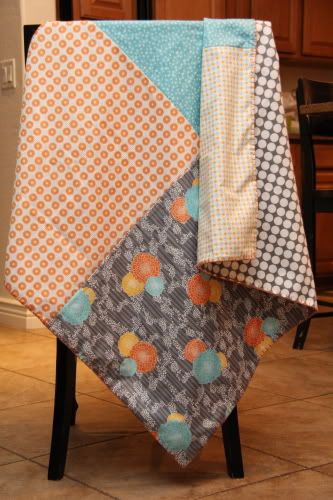
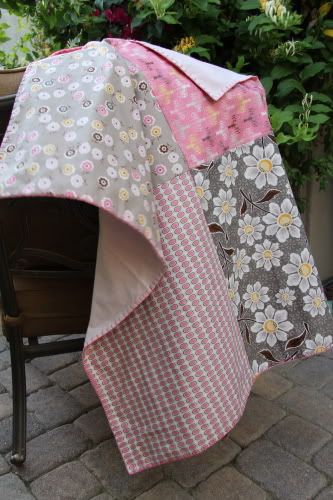
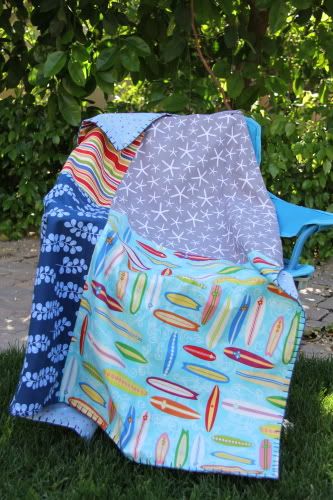
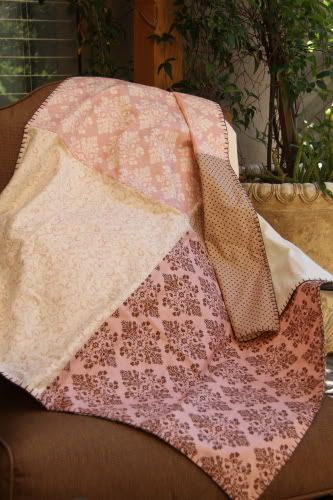
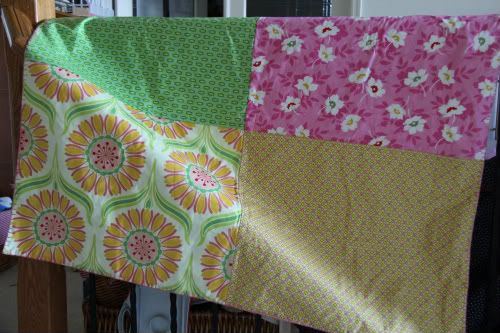
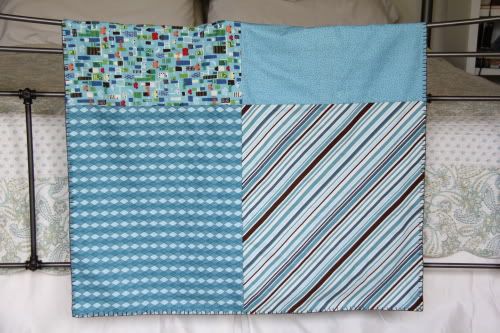
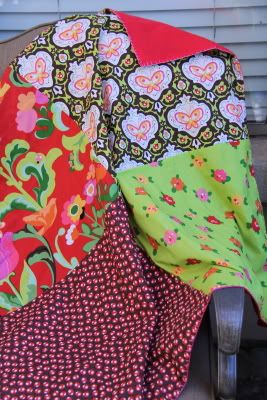
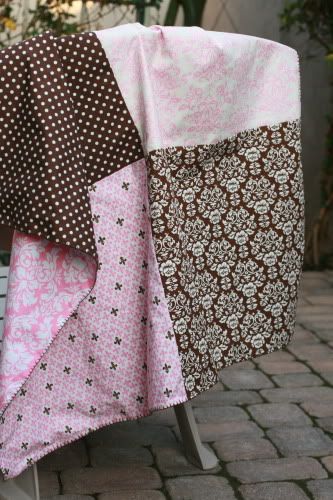
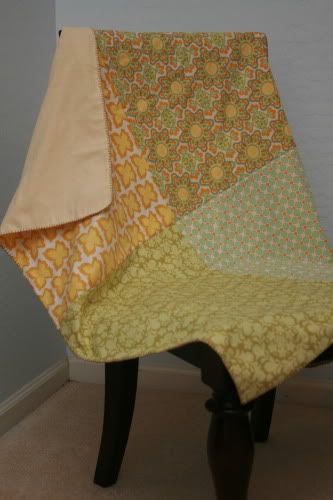
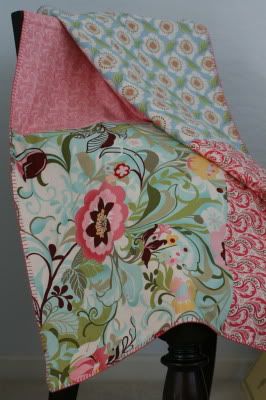
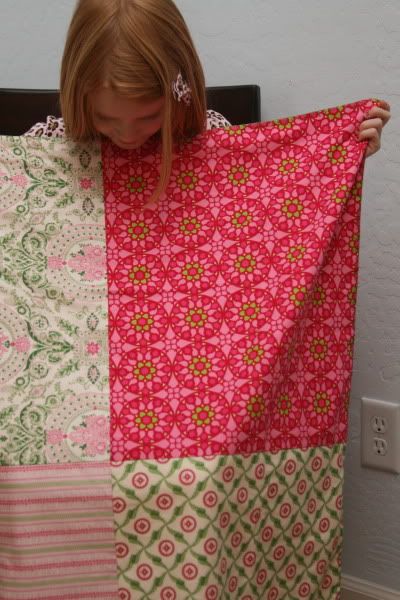
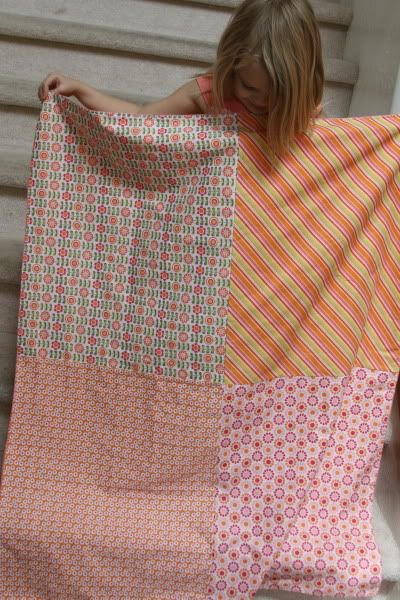
this 4 square baby blanket, composed of 4 fat quarters and edged with a blanket stitch, which was inspired by a gift i received for my 3rd child, was my go-to baby gift for a few years. originally, i made this as a blanket with no batting in between the top and backing. however, i now prefer to make it as a quilt. click on the blanket number for a related post and more photos.
for my nephew dillon
| no. 17, completed oct 2012 for carter, my college sorority president jen's little boy |
| no. 16, completed oct 2012 for my friend becca's baby boy |
| no. 14, for my daughter #5, completed may & oct 2012 |
| no. 13, completed april 2012 for my niece laynee |
| no. 12 for my niece hailey, completed april 2012 |
| no. 11 for my nephew, ollie, completed march 2012 |
| no. 10, for grace's daughter charlotte, completed march 2012 |
| no. 9 for becca's baby may, completed oct 2011 |
| no. 8 for nikki d's son preston - completed october 2011 |
| no. 7, for heather l's daughter isabella completed sept 2011 |
no. 6, for my friend heidi's baby girl completed march 2011 |
no. 5, for my friend anne's baby claire completed february 2011 |
no. 4, for my niece evee completed january 2011 |
no. 3, for my nephew drextyn completed january 2011 |
no. 2, for my cousin michelle's baby emma completed september 2010 |
no. 1, for my niece liberty completed september 2010 |
Friday, May 19, 2017
how to mcguyver a design wall in 5 minutes
i posted a quick version of my process for creating a design wall on instagram a few weeks ago, saying i would have more detailed instructions up on the blog later in the day. then didn't post it. man, i don't like when i do that! if i say i'm going to post something, i like to keep my word. even some casual words thrown out into social media land. i doubt anyone has been waiting with bated breath for this explanation post, but it feels good to get it off my conscience anyway.
i also don't like using the same photos here that i use there, but it's all i've got. so be it.
one friday afternoon when the entire family was busy in various other places, i sauntered into my sewing room, ready to work on any of the several projects already underway. then i spied this pile of already cut fabrics which had recently been pulled out of storage oblivion to photograph for the march instagram quilt festival. i was completely seized by the urge to sew up this plus quilt i'd cut out ages ago. the only problem was i knew i would need a design wall to lay it out for piecing and i had no spare design wall space. that darn gypsy wife is still all over the two half design walls i already have.
one of the two design half walls in my sewing space actually has room above it for another half wall, making a complete, full-sized design wall capable of accommodating a full quilt. i would have just put the two half walls i already have together, but one of them is thinner than the other and i wanted them flush on the wall. (time to stop rambling about unimportant details and focus, wouldn't you say?) i've long meant to complete that third piece but never have. (obviously!) all of the sudden it was time to do that.
i already had batting and duct tape at home, i just needed another wall insulation panel from the home improvement store. that was simple enough to pick up, even if carrying it through the parking lot in a brisk spring wind wasn't so easy.
here, at last, are my instructions for making your own design wall at home.
gather supplies
- one foam wall insulation panel of desired size, at least 1" thick (mine is just the standard size available at Home Depot: 4' x 8' x 1")
- a piece of batting about 4" wider than the height and length of your foam insulation panel (OR scrap pieces that will collectively make this size ***)
- duct tape
note: my first design wall i made is 1" thick, which allows it to stand on its own without any bending or distortion. 1" thick is a good, sturdy thickness. my second design wall is either 1/2" or 3/4" thick and it bends and wobbles and doesn't stand well on its own. if you are going to attach your design wall permanently to a wall, you can get away with less than an 1". but if you want a portable wall that you can move around, get 1" or thicker. a portable design wall is actually pretty handy. i might make one more of these just to have one i can move around at will.
assemble
lay the batting out on the floor and place the foam board on top, with 2" or so excess on each side.
you really want the batting to be able to wrap around the foam board and overlap a minimum of 1" on the backside. with my first design wall i tried to save batting by cutting it about the same size as the board. this was a bad idea because it meant i had duct tape showing on the front of the board in places, which meant i couldn't use pins there or get fabric pieces to stick in those places. so give yourself a good 1" on the back.
starting on a short end, begin pulling the batting to the back of the foam board and taping it down with duct tape.
since i was working by myself and didn't have anyone to help me hold the duct tape and/or batting, i found it easiest to work with shorter pieces of duct tape (about 12" long). if i tried longer pieces of tape, they would stick to themselves before i could get them down and just caused trouble. if you are more adept at working with duct tape than i am, go for it. otherwise, i recommend manageable lengths of tape.
when you get to the corners, miter them like you would do when gift wrapping.
by this i mean fold the end you are finishing in at an angle to the piece you will be starting next, like the above photo.
then proceed down the next side of the foam board, attaching the batting with tape as before.
this whole process took me only a few minutes.
suddenly, i had a new design wall! i put my little sewing slave to work lining the top of the board with pins because i find it handy to have them on the board, ready to go.
we just make a line from one end of the board to the other along the top.
***you can see here that my piece of batting, which was a scrap, was actually a few inches short of the length i needed to fully cover the board. i simply found another piece of batting to make up the difference. i could have sewn them together, but being lazy i just overlapped them by a few inches and taped them down together on the back.
that's how you do it!
any questions?
how did my plus quilt go, you want to know?
it came together super-fast, thanks to the design wall.
Subscribe to:
Posts (Atom)