Showing posts with label sewing class. Show all posts

Monday, April 8, 2013

super-easy half square triangles with triangles on a roll

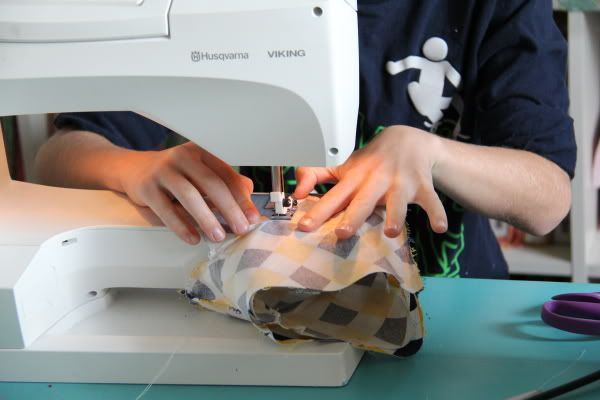
the new chevron quilt i am making is coming together quite easily thanks to the triangles on a roll paper templates louise introduced us to in class. this week in class i photographed myself using them to show how simple they are to use. easy-peasy.
 
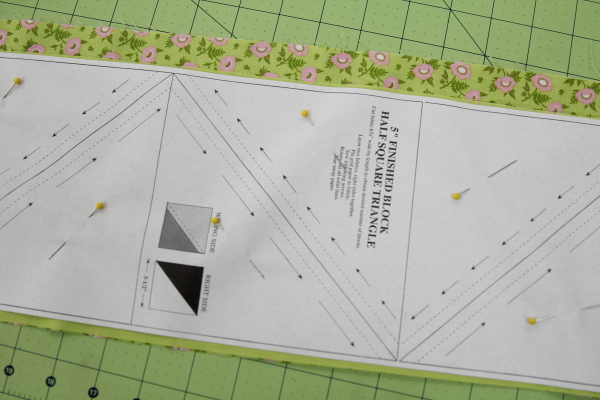
there are 3 types of lines on the template you will be using: 1) solid lines = cutting lines; 2) dotted(dash) lines = sewing (seam) lines; 3) directional arrow lines = guide to which direction to sew in.

the chevron rows i am making require 10 hst blocks, so i start by cutting 5 squares off my paper roll, since each square will produce 2 blocks. 2 x 5 = 10.

the finished blocks i am making will be 5" sq, so the template is sized to compensate for a 1/4" seam allowance on all 3 seams of each triangle, with about an 1/8" margin on the outsides to allow for shifting. this just means that the block is 6"sq and the template is 6 1/4" wide.

i cut my 3/8yd fabric pieces from the kit into 2 strips each between 6 1/4" and 6 1/2" wide. you want a little room to allow for shifting of the paper template when sewing. (there is a bit left over - yay, scraps!) i've found that when using these paper templates that since it's impossible to keep it lined up exactly flush with the edges of the fabric because of slight shifting once you've pinned and sewn, there is no need to square off my fabric strips beforehand, saving me some extra cuts and time. i just lined up the selvages after pressing the fabric, then lay it flat for cutting my strips. when putting my paper template on, i line it up with the grain as best i can for pinning.

for pinning, take one strip each of the two fabrics used for the row and place them right sides together. next, place the paper template on top, leaving a little room on each side of the template. (in the photo above, i was using a green strip [on top] cut to about 6 1/4" wide and the floral print [on bottom] that was slightly wider because i hadn't trimmed the excess off after cutting the first strip from my 3/8yd fabric piece. this is why the floral is so much bigger than the green strip.)

once your template is in place, starting in the middle block of your row, begin pinning once in the center of each triangle, 2 pins per block, working your way out from the center block to the end blocks. starting in the center rather than on one end will help keep your paper from sloping up or down as you move down the row.

with the paper pinned down, you are ready to sew.
the template is marked with directional arrows along the dotted seam lines. to start, begin at either end, moving in the direction of the arrows. put your needle down at the beginning of the dotted line, just a bit off the edge of the paper template.
sew down the dotted seam line until you get to the end of that triangle and block.

then you will need to pivot and sew a bit to get yourself in place for the next block's dotted seam line.
(click photo to enlarge for more in-depth look at instructions.)


continue to work your way along the length of the block strip you are sewing until you get to the end of that dotted seam line (here, my 5th block). then you will need to pivot and sew around the corner to get yourself in line for the other seams to complete your blocks.
(click photo to enlarge for more in-depth look at instructions.)

sew the rest of the block on the second set of dotted seam lines all the way to the end (back where you started), pivoting where needed like before to complete the seam.

that was pretty simple, no?
now you're ready to cut and press.

first, cut your strip down into managable sections. the 5 blocks on my strip were too long to cut without having to move and realign my ruler, so i cut them down to 2 sections: 2 blocks and 3 blocks long, respectively. i just used the solid black cutting line between the blocks as a guide and zipped it off with my ruler.
using the template's solid black lines as a guide, trim along the outer edges, removing the excess fabric we left in case of shifting. since we are squaring off here, all at once, i didn't feel the need to square my fabric strip before pinning and sewing.

next, cut along the solid black guide lines to separate each square from the next, until you have a pile of squares.

finally, line your ruler up along the diagonal solid black line down the middle of the block and cut each square into triangles.

now all you have to do is remove the paper. start at the point not sewn and rip the paper toward the seam, then pull out toward the edges. starting at the point rather than ripping along the seam will help reduce likelihood of stretching and distorting the fabric corners.

once you have that first half off, pull off the other side, again starting at the middle and pulling out toward the corner. now you can lift off the seam allowance strip. i find i can slip my finger under the strip in the center and push outward toward the corners to get the strip off without causing unnecessary pulling on the fabrics by starting at one end.

 now you can press those blocks open, half to one side (fabric) and half to the other.  what a pretty bunch of blocks!

 with those blocks opened, it is a simple matter of chain piecing them all together until you have a complete row in a half chevron pattern. do your next row, sew together, and you will have a chevron.

it was a busy day in class. there are 12 of us making the chevron quilts. i can't wait to see what the others look like next week.

i had a small home ec moment when i put my first set of blocks together incorrectly, requiring two small seams ripped outl. that was no big deal. it always takes me a moment to wrap my brain around how to place them for chain piecing.

then i had a big home ec moment when i sewed two rows together the wrong way the entire row. i hate unpicking! it takes so much time. i probably could have completed another row in the time that took to unpick and resew. oh, well. as it was, i got another 5 rows done, which means my top is half way complete. i need to do the rest before class next week so i can get my borders on and have louise help me sandwich the whole mess.

Tuesday, March 27, 2012

kelly's at christmas

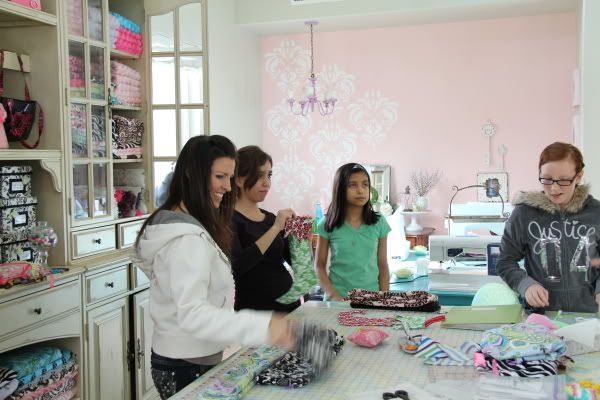
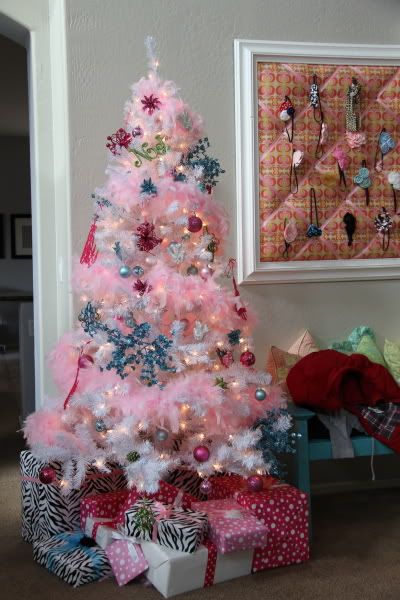
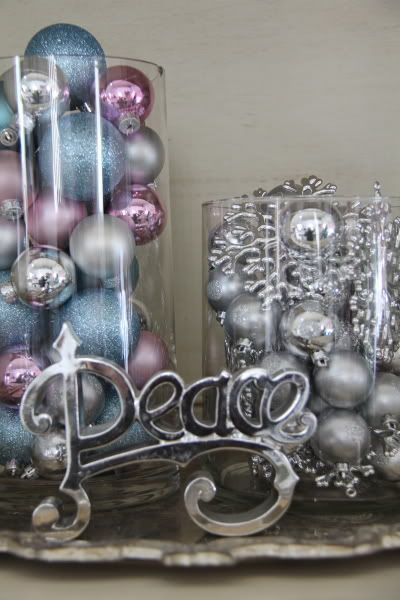
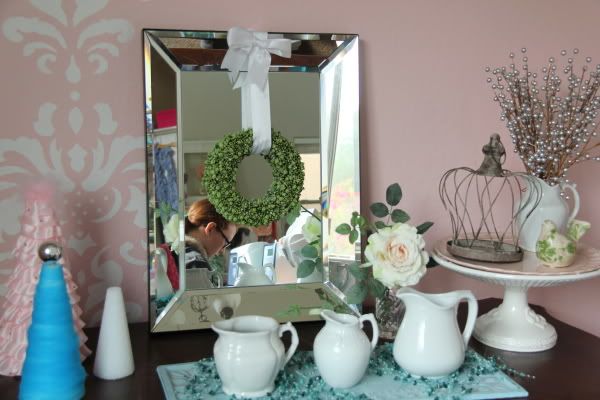
long past the season, but i wanted to share this. our sewing teacher, kelly hendrickson, had her studio decked out for the holidays and some really fun christmas projects available. i ducked in with my camera long enough to snap some of her inspiring decor and the kids at work.

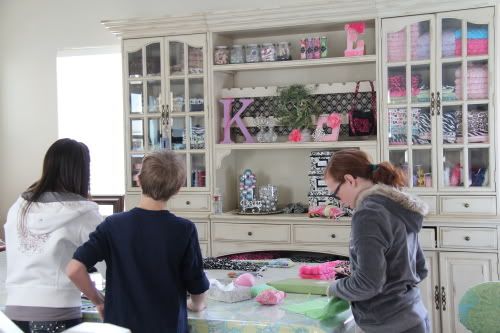
kelly, on the left, and a few other students

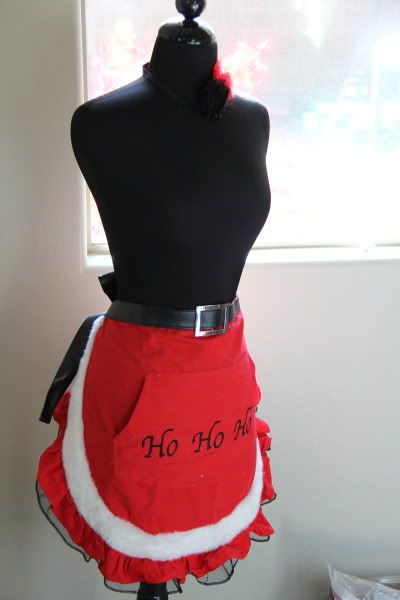
even the dress dummy was festive
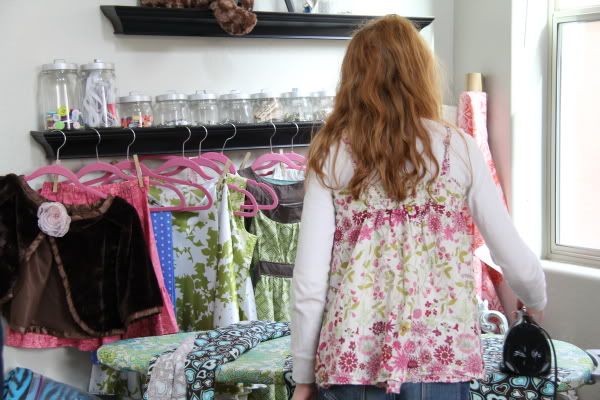
daughter #1 at the ironing board
there are several project options hanging from the shelf in front of her
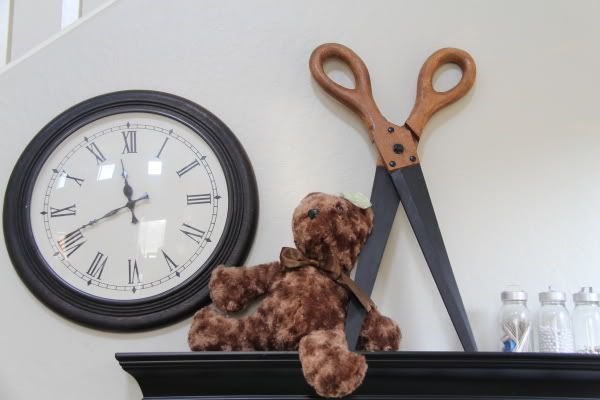
not holiday decor, but more cute project displays
daughter #1 is going to make that bear soon


the boy at work


he was really crazy about this "elf" stocking. his fabric selections gave it a very jester-type look, i think. pretty loud and wild, just like his crazy-fun personality. he also made an apron for his dad so dad could stop wearing the frilly "girly" yellow apron he usually cooks sunday waffles in. i kinda think the mr. is cute in that apron, but like that our son made him one, too.

my girls also made a few gifts during december sewing classes: pj pants and luxury drawstring bags for siblings. sewing class and gifts all in one swoop, that was something i really liked. i didn't enforce a mandatory handmade christmas this year because of the new baby and all, but i didn't really have to because many of their ideas were things to sew for each other anyway. it's definitely catching on. they often refer to our handmade gift giving in 2010 with fondness and seem to be naturally gravitating in that direction the more experience they get with crafting.

one last bit of creative holiday decor i discovered at home:
someone made an angel for the kids tinsel tree out of american girl mini josephina in her night shift with a baubble in her hand and a shiny ball around her neck, taped to the top of the tree. love, love, love!

Wednesday, June 8, 2011

sewing class

firstly, as anyone may have noticed, my pregnancy-induced sewing slump has not improved one bit. in fact, some days the thought of sewing makes me want to puke. strange, i know. i've also stopped blogging about or reading other blogs about sewing, fabric, etc. i know there are tons of new fabrics on the market in the wake of quilt market, fabrics i was hotly anticipating just a month or so ago. right now i could care less. completely, creatively apathetic. whether this will stay or go is hard to say. this blog may be dying a slow death. i have no false notions that anyone will miss it particularly much, but i thank all who have participated along the way. i'll leave it up in case anyone wants to reference my four sq tute and so i can keep my sewing links organized, should i ever want to look at them again.

for now, this little life growing inside me is taking up all my energy, creative or otherwise. i am okay with that.

BUT . . .

somebodies besides me have been sewing. today my girls had their first sewing class with kelly hendrickson (create your own joy). i was very impressed. i only took a few photos with my phone while at her house/studio, but i intend on taking some more next week at their next class.


kelly's entryway to her home is a boutique of items she's made to sell and her entire front room is a huge sewing classroom, with lots of fun fabrics and pretty touches everywhere. my sister, marcee, told me kelly had sewing machines for her students to use. she didn't tell me they were viking sapphires (really nice, expensive machines probably ten times more costly than my sweet little project runway). obviously kelly likes nice stuff and is serious about sewing. she must also be a very patient teacher to entrust her machines to 8 year olds.

i dropped the girls off knowing they would start with making a pillowcase, everyone's first time project. when i returned two hours later, they were done with the cases and working on headbands. i arrived a bit early, so i sat in the corner and watched everyone bustling about. sitting there listening to the hum or the machines and eyeing all kelly's wonderful projects made me want to go home and sew something for the first time in weeks. alas, the desire did not last.

here's a look at my 8 year old's two projects, completed today:

the flower is on a removable clip so that it may be worn separately

looks like she was in a "blue period" mood with her fabric selection today. not bad output for her first class. next week she gets to move on to an apron, which is right up her alley! only this one will be fully finished. i'm hoping she decides to hem her other two aprons once she makes one in class. i'm more than happy to set her up on my machine.

yay for sewing class!