Showing posts with label hst. Show all posts

Friday, August 1, 2025

inspired #4, yellow hsts


all those yellows i pulled for "sunny crossroads" that i didn't get to use have been nagging at me. i've subconsciously been searching for a use for them. my first yellow quilt was hsts set in a flying geese formation. hsts did cross my mind for a new project, but i had no plan at all for a configuration.

from moglibalu51 via instagram

the browns add a nice touch

at the same time, i've been enjoying watching my IG friend, ms. balu, put together this lovely yellow hst project. it makes me smile whenever this pops up in my feed. she's making a golden version of the "cool blue stars" hst quilt from jolene's "scrap quilt diary." the quilt has a subtle star pattern to it, but what i mostly see because of the arrangement are qsts when i look at it. there are ways to make the star pattern more visible, like the browns ms. balu added, but i also like it just barely there.

the other day the two ideas collided in my head - why not do a yellow version of the jolene quilt myself? i already have all the yellows pulled and could cut for both projects at the same time. so when i cut the next set for "sunny yellow crossroads," i cut some squares for hsts as well.


i've been piecing "sunny yellow crossroads" with a light grey thread on the same machine as "groovy liberty" and "lemonade at sixes." but when i decided to try out the idea for the yellow hst project, i chose to put yellow thread on the third machine. the grey would have been fine, but that machine has a  1/4" guide foot on it, which doesn't' work for making hsts. so really, it was the foot that determined the need for involving the 3rd machine. and why not? it wasn't being used. one of the reasons i own two machines myself is so i can do different types of work on each one instead of constantly changing feet.

so yellow for hsts it is.


jolene wasn't specific about fabric placement, but the photos reveal a sort of pattern to how she laid out the hst pairs in a block. you get two hst units per pair of squares, so i'll be using each combination more than once in a block. you could totally mix it up randomly, but i'm going with a little bit of a placement pattern. the outer squares use 3 different combinations 4 times each. in the center diamond, i used 2 different pairs, twice each.

this is my test block for the stars. it's subtle, no? if i mix in some brown stars like balu does, which are so fabulous, then they would show up more in the top. i don't know what i'm doing just yet. there are so many yellows in my pull! 

i haven't done the maths yet, either, but i think there are a lot of hsts in this quilt! that it could eat up a lot of yellow fabric. 


and there are a lot of yellows on the cutting table. i can cut my crossroads pieces and squares for hsts all from the same strip. that's efficiency!

i do admit as i was making these yellow hsts and thinking about aaaaall the trimming that will be involved, i looked up on the design wall to "gypsy child hst" and thought, "do i really want to do another quilt with so many hsts?" i guess the answer is "yes?" i do eventually want to make another yellow quilt and why not this one?


 i dove into the scrap drawers for all the leftover strips from the crossroads blocks i already cut for to make more squares. and i am getting so many squares from the strips i'm cutting now that a few are going into the drawers to fill those up as well.

i don't know how soon or quickly i will be working on this project, but i'm happy to have another use for all the yellows i pulled. and i love that i'm making something from jolene's scrap diary, too. there are so many good projects in there and i never imagined this is the first one i'd do, but here we are. when inspiration strikes, you run with it!

Wednesday, July 16, 2025

my hst child


my early-morning, post-vacation sewing time after my pinwheels stalled out has been mostly joining up my hsts for this "gypsy child hst quilt," which is taking a bit of time. i laid out these pieces for the 4th row of 16-patch blocks (how i've chosen to join the bajillion little hsts i've made for this project) months ago. last week i got the urge to start piecing them. it makes for some pretty simple piecing, but it's not mindless in the least. i have to pay close attention to what i'm doing.

i went to the trouble of laying them out in an elaborate fabric sudoku session, so i'm trying hard to keep everything in place. this is all a bit overboard for such a scrappy quilt, but that's me all over.

i've been taking the photo on my phone with me to my machine and setting it up in front of me by the pieces. then i refer to it as i sew, always double checking myself. of course i've managed to flip one or two bits, but in general i've done quite well at following my placement.
 

i have pieces for "lemonade at sixes" just next to the machine, which i'm using as leaders-and-enders for the hst blocks. the hsts are sitting above the machine in their rows and my phone, open to the photo, is placed just to the left of them on the cutting mat, propped against the other machine. the last pieces for "groovy liberty" pinwheels are also nearby (waiting on one more fabric to arrive). so many pretty pieces around make me happy and brighten the sewing space for me.

i have all the 16-patch blocks put together now and need to join them to complete the row. thank goodness i detailed my process for how i was laying out the pieces in january because it's time to do the next row. this one puts me more than halfway there. i want this done!

although i must admit i'm second-guessing the project a little. it's based off a single 16-patch block i made for my gypsy wife quilt, which i thought would make a good whole quilt. but now i'm wondering if it's a bit boring, all the millions of hsts set in a basic patchwork layout? like, maybe i should have done a diamond pattern with them or something more dynamic? i don't know. i love all the pieces in here; they make me so happy together. but will i like the sea of them laid out this way in the end? only the finish will tell, i guess. and then i'll know one more thing about me as a quilter and about my tastes.

in the meantime, looking at the individual pieces is quite pleasurable as i go.

Wednesday, June 4, 2025

tip: bonus hsts when stitching-and-flipping


i realized a long time ago that i could make hsts out of the trimmed triangle bits you get when using the stitch-and-flip method to add points to corners of blocks like flying geese, houses, or snowballs. i have been saving those triangle trimmings from projects like "shelter in place" and "olmstead's geese," using them for leaders-and-enders. 

recently, at some point as i was trimming tips off and then sewing them together, i realized i should just do both seams before trimming the tips. when making hsts two at a time, i make both seams and then cut. this is the same idea. if you don't know what i'm talking about, read on.


this method works when you're adding small squares on to larger pieces. mark the small square from corner-to-corner as you already do for the shape you're making. this is the line you'll be sewing on.


then move the ruler 1/4" further out toward the tip you're trimming off and make another diagonal line. this is where you'll be cutting the tip.


sew along the corner-to-corner line.


then use the inner diagonal line, the one closer to the tip, as your marker. sew a 1/4" to the right of this line.

*two notes about the above photo: 1) i don't know why my seam looks wonky at the end because it's not. it's a straight line. some sort of optical illusion with the print of the fabric and some bending, maybe? 2) there is another line to the left of the first seam in this photo. ignore it. that was just another mistake in the series of mistakes i made while working on this quilt. i marked a whole set incorrectly but i couldn't erase the pencil line and it's on the back of the fabric anyway. ignore it.


once you've sewn both seams, trim the outer triangle off by cutting down the second pencil line. now that seam is wobbly. no optical illusions here. yikes.


mistakes to avoid: 


do make sure there's not other fabric under the piece you're trimming or you'll cut something you didn't intend to.


 also, i may have cut on the wrong side of the outer seam a time or two. pay more attention to where you're cutting than i do.


press open and (eventually) trim all your cute little bonus hsts you just made.

i'm going to incorporate mine into the back of the quilt or maybe save them for another project. i'm undecided.

isn't this better than tossing all the trimmed tips? i think so. if you don't want yours, send them to me.

Friday, January 31, 2025

back to hsts


 the winter light has been sparse for a few days as we've had the rare deliciously overcast weather. what little light makes it into my sewing space isn't enough to illuminate anything. so i've taken few pictures of what i've done in here, but i have been here doing.

i've been studying scrap storage ideas and decluttering strategies for my sewing space more than i've been sewing so far this year, but they are ideas i've needed to gather to improve my sewing time by improving the space. 

there are several projects on my design wall at the back of the sewing studio that i would love to complete, but because of the state of the space, i can't even reach them anymore. so after a few days listening to other quilters' ideas for decluttering, i walked into the room and cleared a space to my design wall. now i can actually reach "gypsy child hsts."


i've had the hst squares laid out in groups on the far end of my cutting table for a couple of years now, but i no longer remember what system i was using to place them in the quilt. i'm assembling the blocks for the quilt in 16 patches, each block includes 2 of the red hsts and 14 more from the available squares.

since i couldn't remember how i was working through the squares, i decided to check my maths for the project and see if they gave me a clue. i did have those recorded in my quilting sketch book. what they told me was i had planned for a long, skinny quilt and i no longer liked those dimensions. so i reconfigured the dimensions to be more pleasing and calculated how many of each of the squares i would be needing for the new block count. 

then i put each unique type of hst pair in a pile with the number of that square to be used for each row of blocks in its own grouping within the pile. now i can build out one row at a time, which will make placing the squares easier. i previously completed 3 rows; there are 4 left to go.


changing the dimensions of the quilt and culling the extra pieces left me with a whole lot of extras. i'll decide what to do with them at some future point.

many of the hsts are still untrimmed, so i'm having to do that as i move through placement, too.


this is row 4 nearly built out. because i'm trying to place the squares in alignment with the already sewn squares, it's a little hard to know where my row or column is. the seam allowance eats up some of the already sewn squares, so i need to overlap the squares i'm placing to keep everything aligned. as these are small squares - 3' cut, 2.5" finished - things get off quickly if i don't overlap properly.

my workaround on this has been to place pins in a grid format to approximate where each square is. when i place a square, i move the pin to a new grid on the left which will be used for the next row. i also have a scrap strip of fabric marking the outer edge of the row. i've even placed pins in that to mark where each new block starts. there are 2 pins at the place where row 2 starts, 3 where row 3 is, etc. 

this system has been working well so far and i almost have the 4th row completely built out. i'm excited to get this wip off the wall and finally finished. it's not where i anticipated starting my year, but i'm happy it's where i am.

the rest of my sewing room still needs a major overhaul, but that'll come. i'm happy for any progress on the decluttering and the sewing.

one stitch, one step at a time.

Friday, November 13, 2020

my flocks


It’s Fall, have you been hearing the geese call? They actually began calling me this summer when I saw a few compelling sunny yellow quilts and decided to make a scrappy yellow quilt of my own with HSTs in a flying geese formation.


My yellows felt very fresh and cheerful, unlike the sunny Summer weather, which was just plain horribly hot. I stuck to buttery, lemony, and very slightly gold tones for my fabric picks. It gave me exactly the impression I was going for. 


I included some really special pieces in just small amounts, mixed in with many blender prints. I finally broke into my Heather Ross stash, which I hardly ever touch! I love her prints and buy them frequently, but I rarely use them  most are novelty prints and I have a hard time mixing them in with my usual picks. However, in this scrappy quilt, they blended perfectly, even the funky ones like the honey bears and those newspaper hats. I’m beginning to get a feel for how to use them, so I think they will be showing up in my work more.


I even splurged on the backing by using a large piece of the Sleeping Beauty print. Unfortunately, I didn’t include the selvage like I meant to. No big loss, but it’s a touch I like to add when I can. I also used up the hats and bears on the back because I wanted to use them in a place I knew they worked and I would like them. I think they make a whimsical surprise on the back that will be fun to discover when using the quilt.

This quilt is all quilted up now. I used the HST squares as a grid for doing an orange peel FMQ pattern. I like how it adds curves to contrast with the angles. I've even got a binding made for this project, but as I have 5 other quilts that need binding completed, I'm thinking these geese won't be in use til after Winter, and that's just fine. The sun will come back out in Spring when it should.


But the geese aren't all hibernating just yet. Early last year I was pondering and lamenting over a lot of my early-on fabric purchases made in the excitement of discovering quilting, and trying to decide what to do with a pile of half-yards I had rashly acquired.  I decided to mix in coordinates from stash, some solids, and make a bunch of geese. These are true flying geese blocks, 4"x8" geese, made with the bloc-loc ruler. I'm using the squares-and-rectangle-trim-and-flip method, so I'm also get loads of HSTs as I go.

I'm getting so many geese out of the yardage I have that I decided to break it into two quilts: one warm, one cool-toned. I made a few early on this year, and the project fell to the wayside. But then my longtime quilty friends Rachel Hauser of Stitched in Color and Lucy Brennan of Charm About You organized a Fall Flying Geese sewalong called "Geesey Geesey" (which my brain misread as "Geesey Geese" for several weeks, haha.)

Rachel has a pattern for her no-waste method and all the info for constructing a flying geese quilt in three different styles. She's a master teacher, so if you'd like to give geese a try, go learn from Rachel. I already had the project underway and was using the ruler, so I'm using the quilt along mainly for motivation to complete these projects. 


I'm calling the cool-toned quilt Olmstead's Geese as I was listening to Genius of Place, a biography of Frederick Law Olmstead when I began the quilt. The greens and blues remind me of his parks and landscape design career. (Such an interesting book, by the way, if you like historical figure biographies. I'm a huge Biltmore and Central Park fan, so it was right up my listening alley.)


the warm-toned quilt has been dubbed Grellow Garden Geese because of the heavy use of "grellow" (greeny-yellows and yellowy-greens) colors in the quilt. I'm using this floral as the inspiration print to guide the additional fabric selections. There are many golden "grellows" in the palette, as well as very light yellows and some spice browns. It's definitely a departure from my usual palette choices: very Fall feeling and with an almost ugly vintage 70's vibe. I imagine you could dig it up out of a chest in someone's attic.


These were some combinations I began with.


I'm currently in the process of adding in the browns from the inspo floral print. I can't say I love any of these on their own, but I'm hoping it all plays nicely when it's done.

So there you have my flocks, flying geese quilts for at least two seasons.

Friday, September 27, 2019

mary, mary, star contrary, a finish


this quilt was a finish well over a year ago, but i wasn't blogging much at that time. "mary, mary, star contrary" is the first of my children's stella grande christmas quilts to be completed. it belongs to my oldest daughter, d1

i finished it barely in time for her to fully enjoy it for just a few days before she left on an 18-month volunteer trip to eastern europe. time must have flown, or at least it's passed,  because she is now only about 6 weeks away from returning home. i'll have to pull the quilt out and get it freshened up for her very soon. 


i completed the last binding stitches just before we entered a canyon at the golden hour on a weekend roadtrip. the full beauty of the canyon didn't come through in the photos very well as it's just in the background. but the bridge we shot the quilt on worked out really well. like every other quilt photo shoot i've ever done or seen, the wind made things more difficult, interesting, and playful. all part of the fun.


this post will be a mix of the finish photos and detail shots of the quilt's various parts. i do love details!


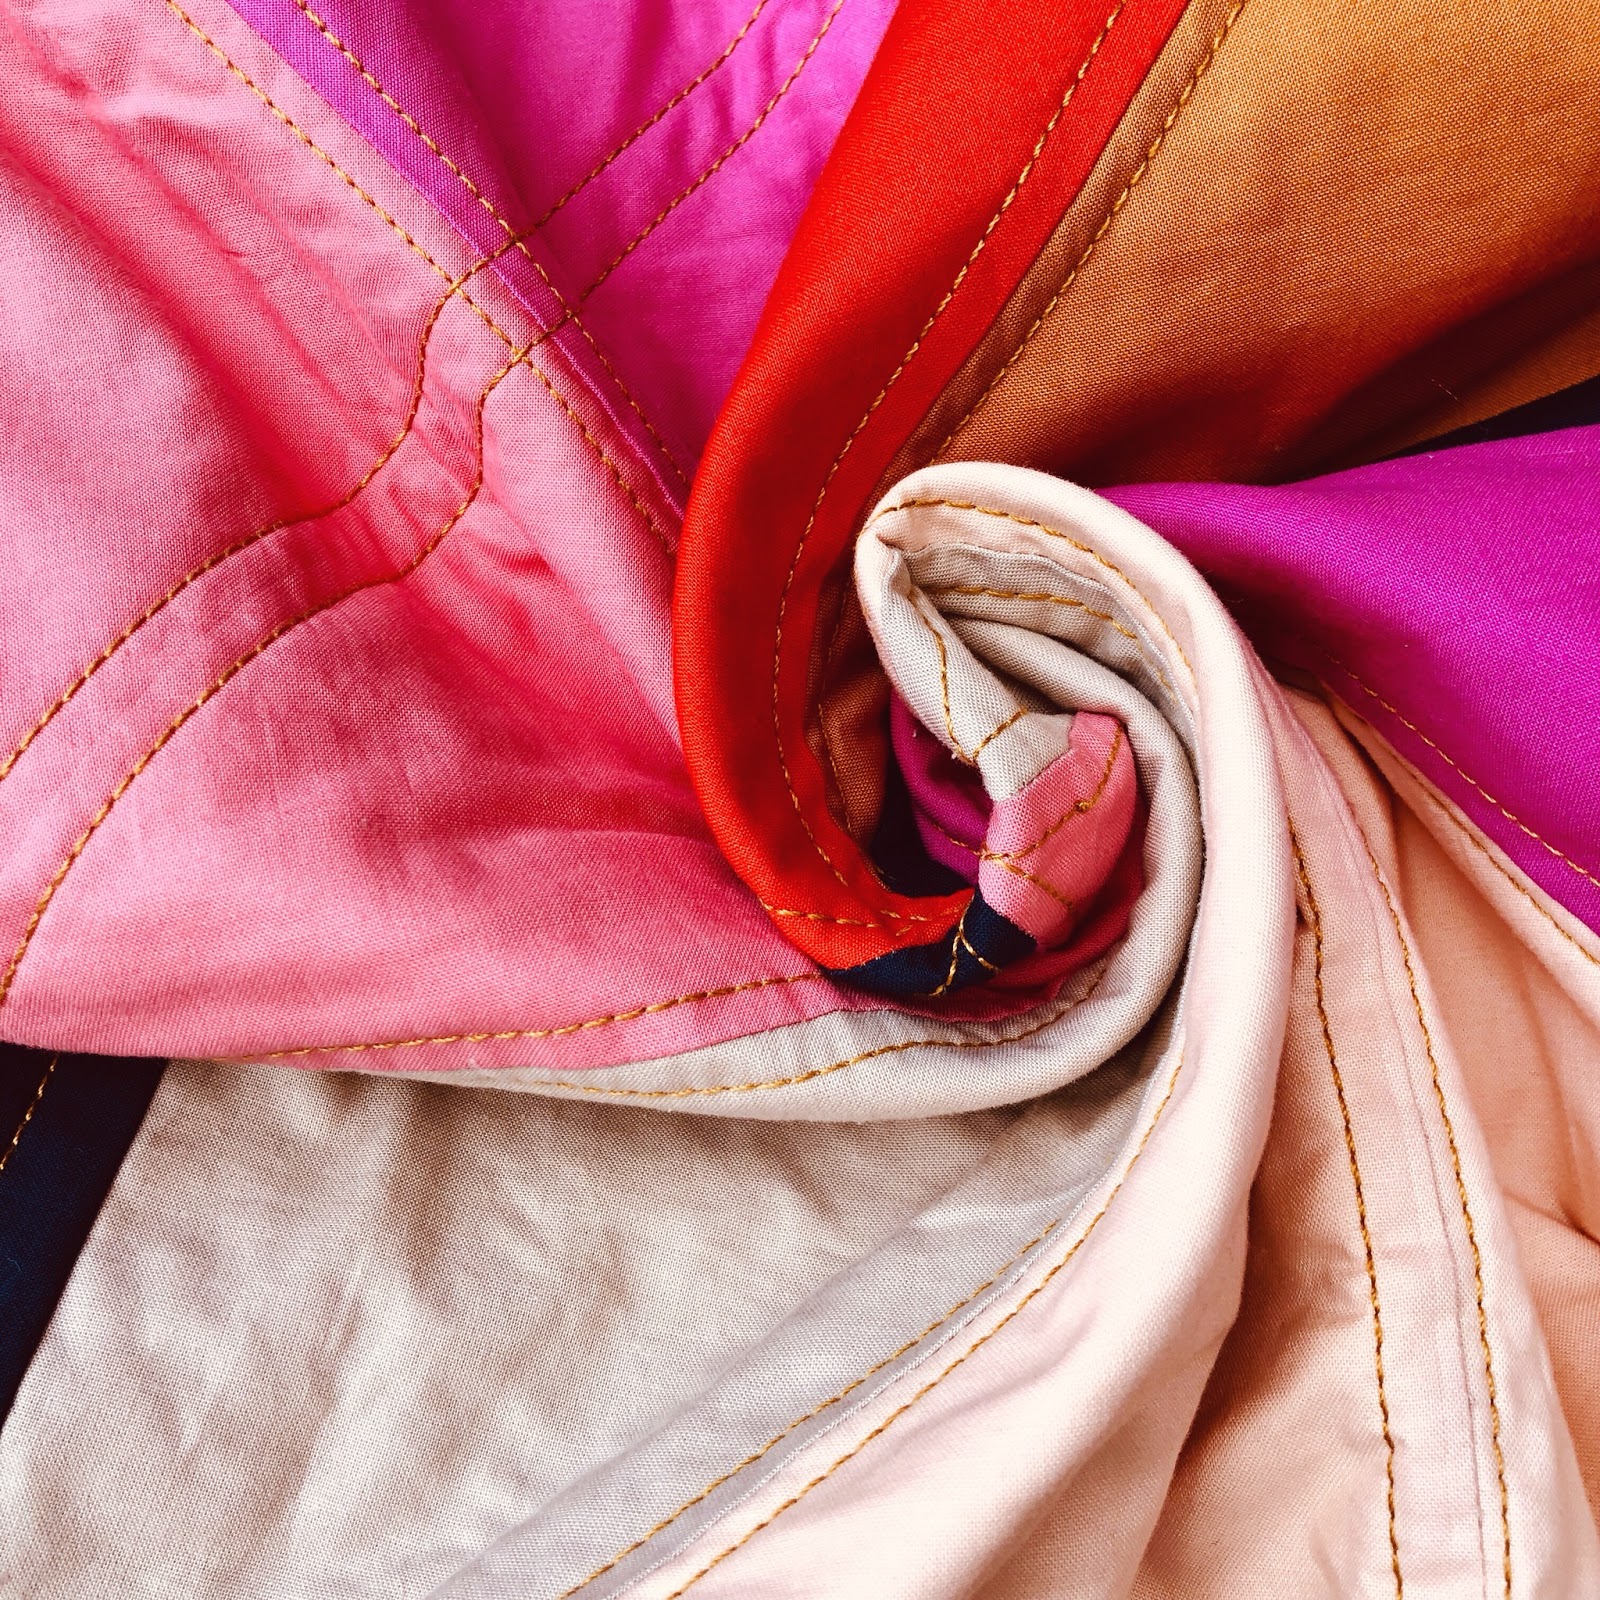
the color palette for the quilt came from two  cotton + steel prints i wanted to use for the back: tomato reds, cinnamon, peach, sand, petunia, coral, grey, and a touch of navy/midnight blue. it was an unusual palette for me, but i reeeaaallly liked working with it. delicious.


originally, i had this particular quilt earmarked for my other redheaded daughter, d2, but in the last few days before gifting the quilts, i began to doubt myself. at the last minute, i consulted with d1 and she said she'd take this quilt over "etoile de patisserie," which was meant as a nod to our trip to paris and love affairs with its pastries. she really liked the colors and prints in this one, so i think we got it right in the end.
.

the name of this quilt came about in reference to d2's periodic contrariness, the floral prints (mary's garden growing) on the backing, and the way i put bits of the dark blues randomly in the star. all of those elements collided in my brain to be "mary, mary, star contrary." however, once i switched up recipients, it didn't seem to fit so well. this daughter is the least contrary person on the planet! but the name had stuck for me. 

and so, there you go . . . 


i really adore the effect of the blue bits i worked into the hsts, but they were, admittedly, rather fiddly to work with. it all came right in the end. i wanted a touch of the color, like in the florals, without the blues overwhelming the rest of the warm and softer tones. i had absolutely no idea what i was doing as i added the skinny strips to some of the hsts, but it came out alright. i think the narrow, 1" strips nailed the effect i was going for.


her hair has always been wild and free, practically an entity of its own. once, when she was about 4 years old, i interrupted her play attempting to smooth it back and out of her face. she said, "mom! don't mess with the wild thing's hair!" she does have a wild heart, but in a very good, virtuous kind of way. it's a beautiful combination.


each of my stellas have a variation somewhere, usually a unique border. for this border, i used the 8 colors of the star, 6 of which were paired tones of the same basic color (2 reds, 2 purples, 2 browns). one of each pair color was used in the two different borders as a 2" strip, and a flying geese block of the 2 unpaired colors (pink and grey) was centered in the strips. i'm very pleased with the outcome of this configuration. for some reason, the border stripes make me think of chocolate bar wrappers. 


that wind!


the difference is subtle, but i used 2 different dark blues for the slim accent strips in the star, to reflect the 2 different blues in the main backing fabrics. i chose the midnight blue as the binding. i love how it outlines and sets off the other colors of the quilt. sometimes you want a border to be bold and make a definite statement, and sometimes you just want it to mingle with the rest. this one is definitely the bold, strong kind.


binding is always one of my favorite parts of the quilt making process.


quilting was done with the lovely, chunky aurifil 12wt in brass. i use a large stitch length (4 on my juki), which i think has a similar effect to handstitching. there isns't a ton of quilting in these quilts - just a quarter inch echo of most of the seams. i like to use a high contrast color so it really stands out.


always smiling, that girl of mine.


i snagged a few shots in a parking lot at a different stop about an hour before the canyon, but the dog and the wind were a bit too much at once.