
 |
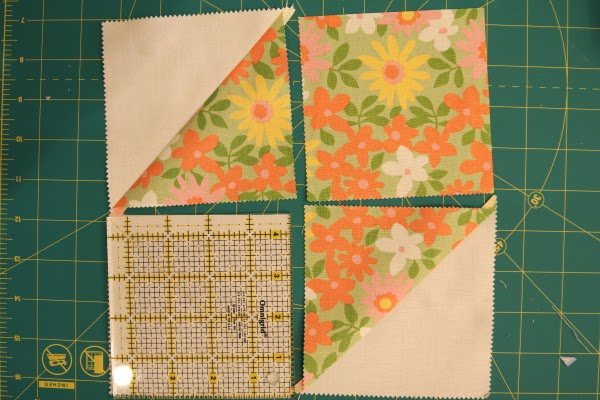
| pre-trimmed units |
 |
| finished block still needs trimming |
when i first made this block from 4 charm squares, i trimmed the two square units down to 4.5", so they matched the size of the hst units, prior to assembling the block (first photo). i call this pre-trimming. however, i found i still needed to trim up the final block because the pinked edges of the charm squares left the block uneven. also, i wasn't trimming my hst units before joining the block together, which contributed to it's slight mismatching. rather than pre-trimming the square units and the hst units to perfect 4.5" squares, i took a shot at assembling the block without any pre-trimming.
i made sure the excess fabric was going to be on the outside edge of the two sections and joined them by lining up the center seams. (if you don't, no big deal. just see the end of the post for instructions.)
my assembled block looked like this:


 |
| excess seam allowance before pressing |
if you find yourself in the position of having excess seam allowance after the final seam is sewn, just give it a trim to 1/4" before you press the last seam open.
 |
| just trim, then press |
For speedier trimming, you could mark your ruler with either a sharpie or masking tape where your center seams should fall, then all you have to do is line up both seams w your marks, trim, rotate, line em up and trim again :-)
ReplyDelete