

as i've been prepping my handwork to go, i've been entering my sewing room a lot more often than i have been the last several months. i mentioned it was a complete disaster because i haven't been using it and that i have been studying ideas for decluttering and organizing it. so as i've been in the room the last few days, i have been doing as much or more cleaning in it as i have been doing actual sewing.
each time i walk into the room to sew, i start with decluttering/organizing first. it's kind of addicting. i just want to clean it all! getting one space cleared motivates me to do the ones next to it or whatever else catches my eye.
saturday afternoon i walked in to do some machine quilting and my eyes fell on the mess of things stuffed under my pressing table. i got everything cleaned up spic and span in about 20 minutes, then i saw this basket on the floor next to it. when i'm done trimming the quilts, i grab all the trimmings of batting and backing and stuff them in this basket which is suppose to hold it until i can separate the parts and store them in their proper places.
only i don't ever get around to processing the pieces in this basket.

there are so many long strips of backing and batting all wadded up and stuffed in this basket. it's overflowing and looks a wreck. sort of like this photo does. it was supposed to be a picture of a big long strip of fabric and batting being separated from each other. that doesn't really come across with me using one hand for a photo and one to just hold, not separate, everything, does it?
i felt like doing this project next, so i started digging through the contents and separating the pieces. i considered immediately processing the fabric scraps for storage, but that would require pressing, because all the wadded fabric is wrinkled, and a lot of cutting, which could take hours or days. i only wanted to get the basket empty, so i opted to just separate and fold the pieces. pressing and cutting can wait for my next burst of cleaning mojo.
one of the helpful decluttering ladies i've been listening to, dana k. white, says to take a photo before you begin decluttering a space so you can see the progress you make. i wish i'd done that with the other spaces in the room i've recently cleared rather than just taking a finish photo when i have it looking nice. i decided to document this little project from the beginning for myself and to share. maybe it will encourage someone else to get moving.


i did not anticipate what a trip down memory lane going through these backing scraps would be! it was like revisiting the making of many of my quilts from the past nearly decade. (yes, it's been needing cleaning that long!) i'll add in some photos of the quilt backs so this isn't just a bunch of ugle scrap photos. there's a popular IG hashtag #partyinthequiltback celebrating all the fun things quilters do on the backs of their quilts. well, the hours i spent cleaning up my backing scraps felt a little like a party with my quilt back pieces. it's the kind of fun quilters have on a saturday night, right?
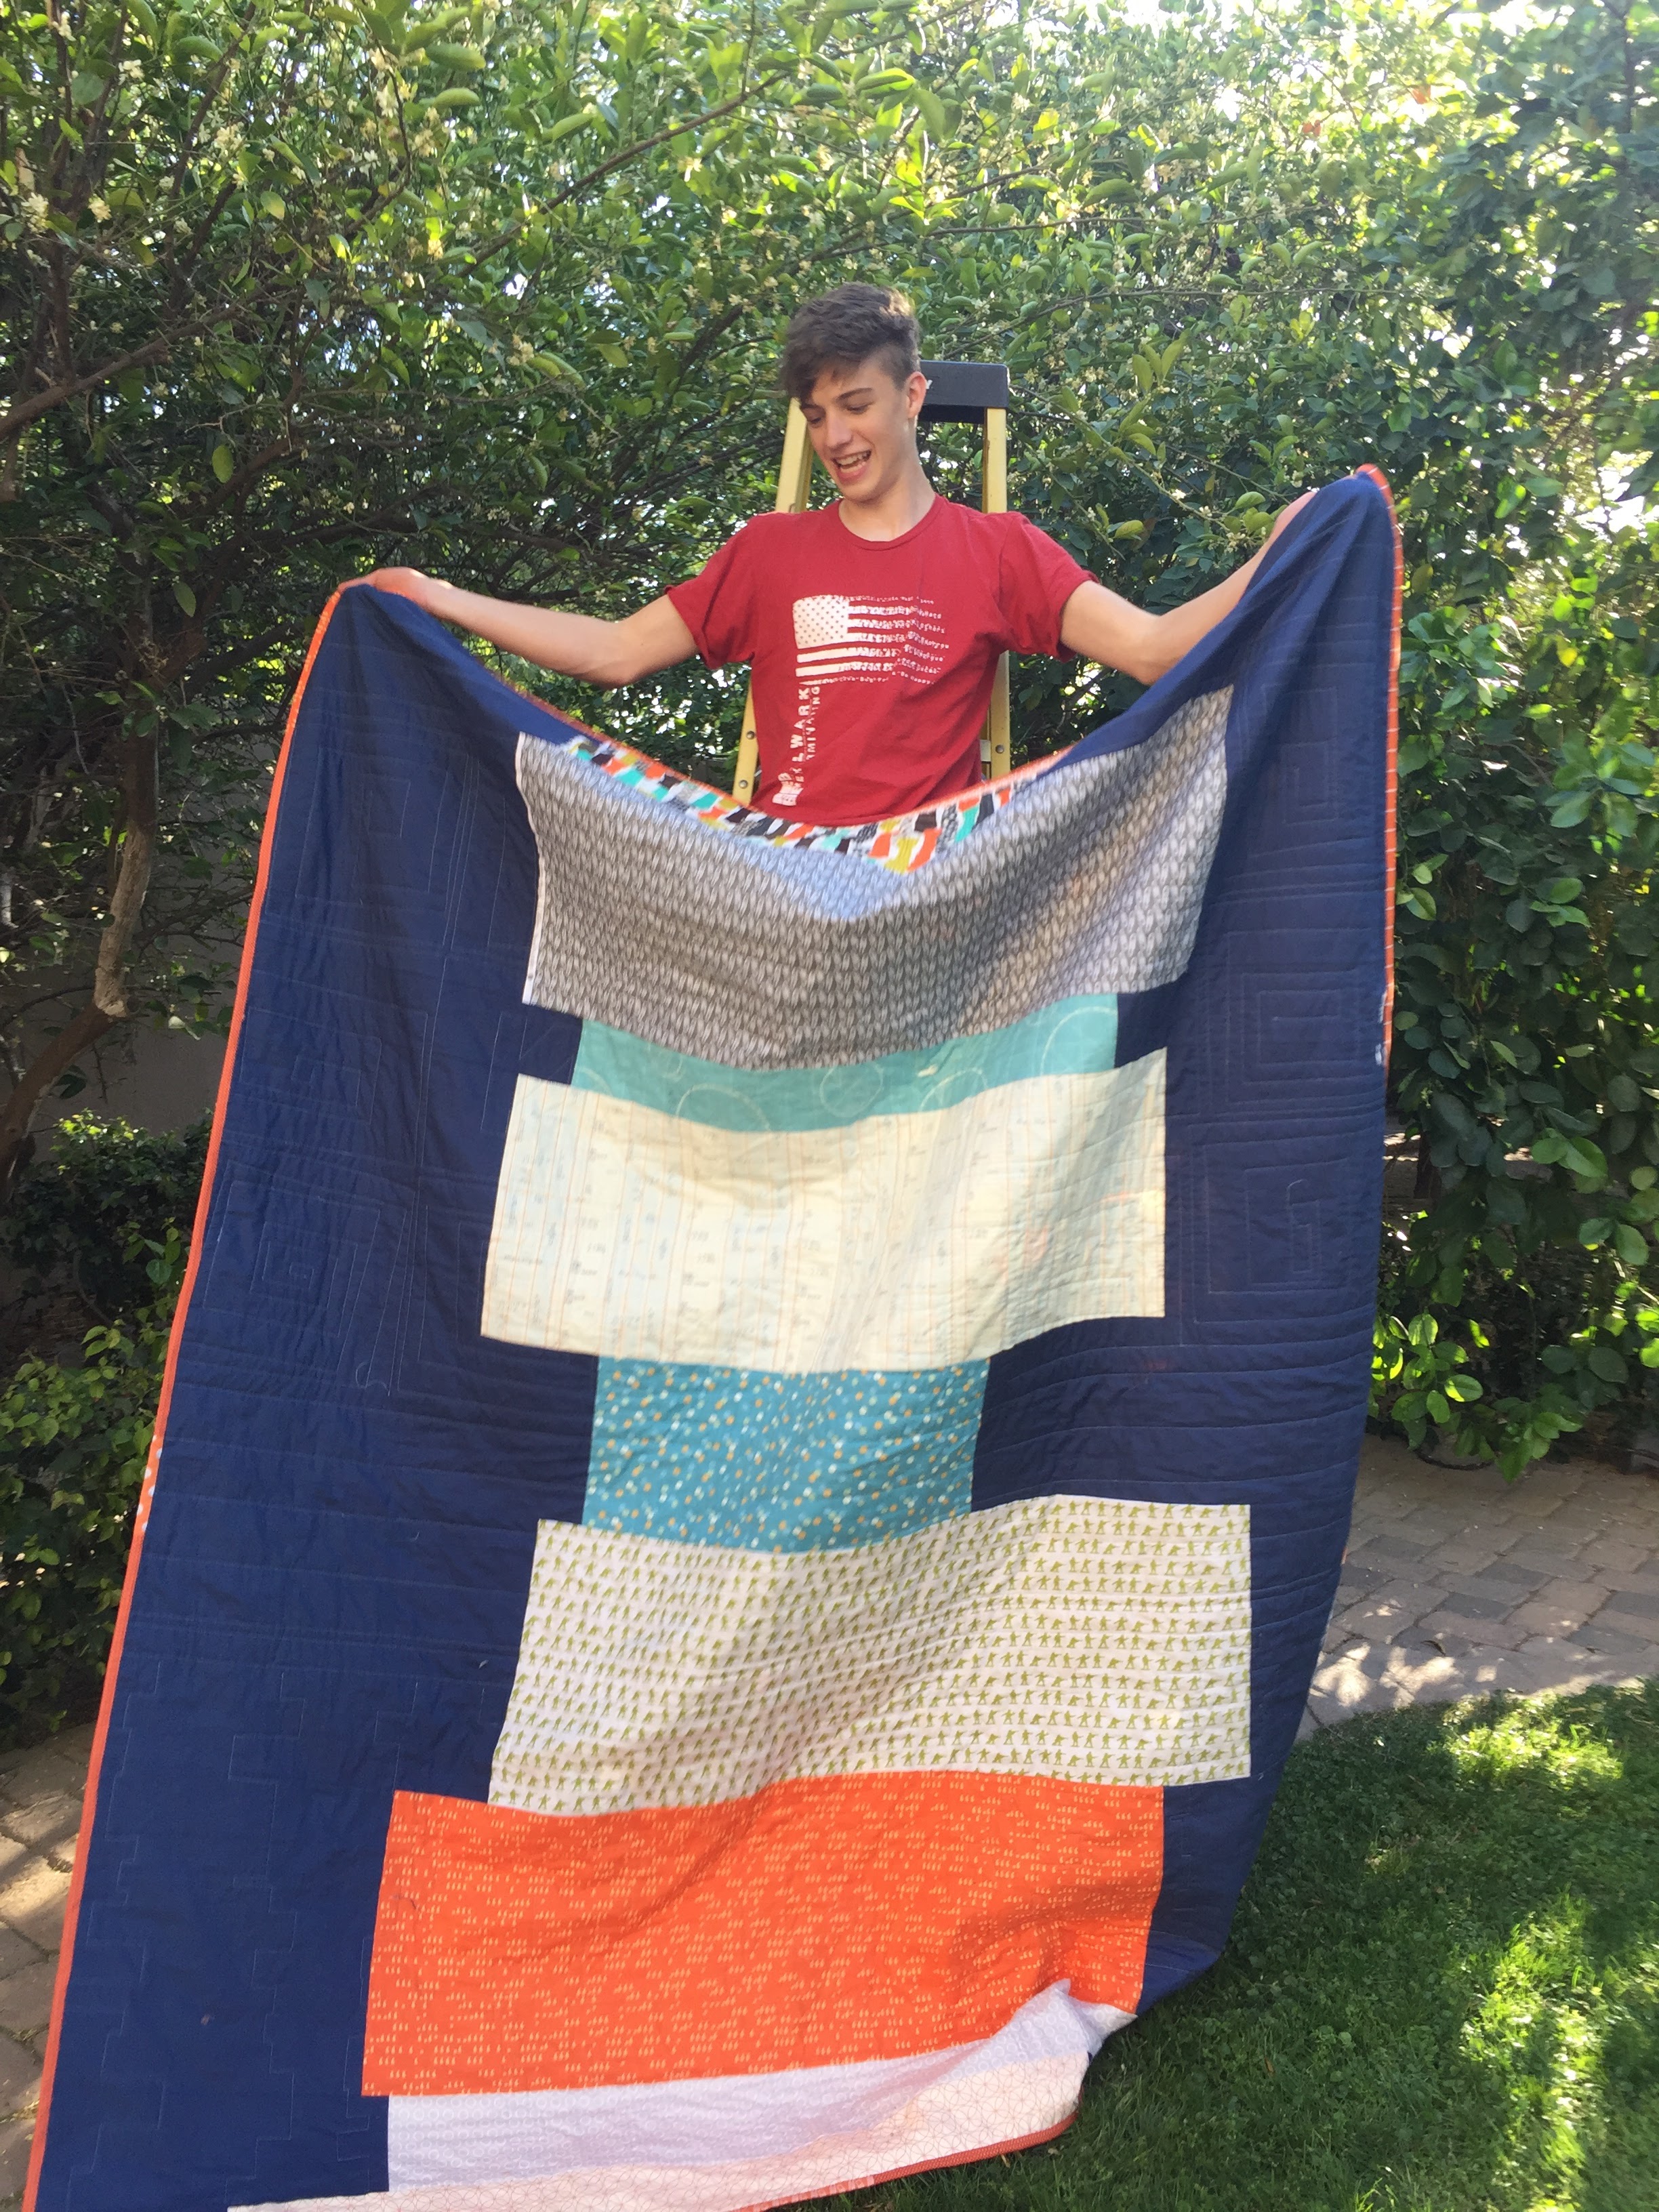
some pieces were skinny strings, some were massive pieces of backing, several inches wide and the full length or width of the whole quilt, which is several feet. i found this one (folded twice already) from my older son's "blue and orange wonky" quilt that will make a nice start on a different quilt back. i'm setting it aside to use on another boy quilt at some point, maybe for one of his kids someday.


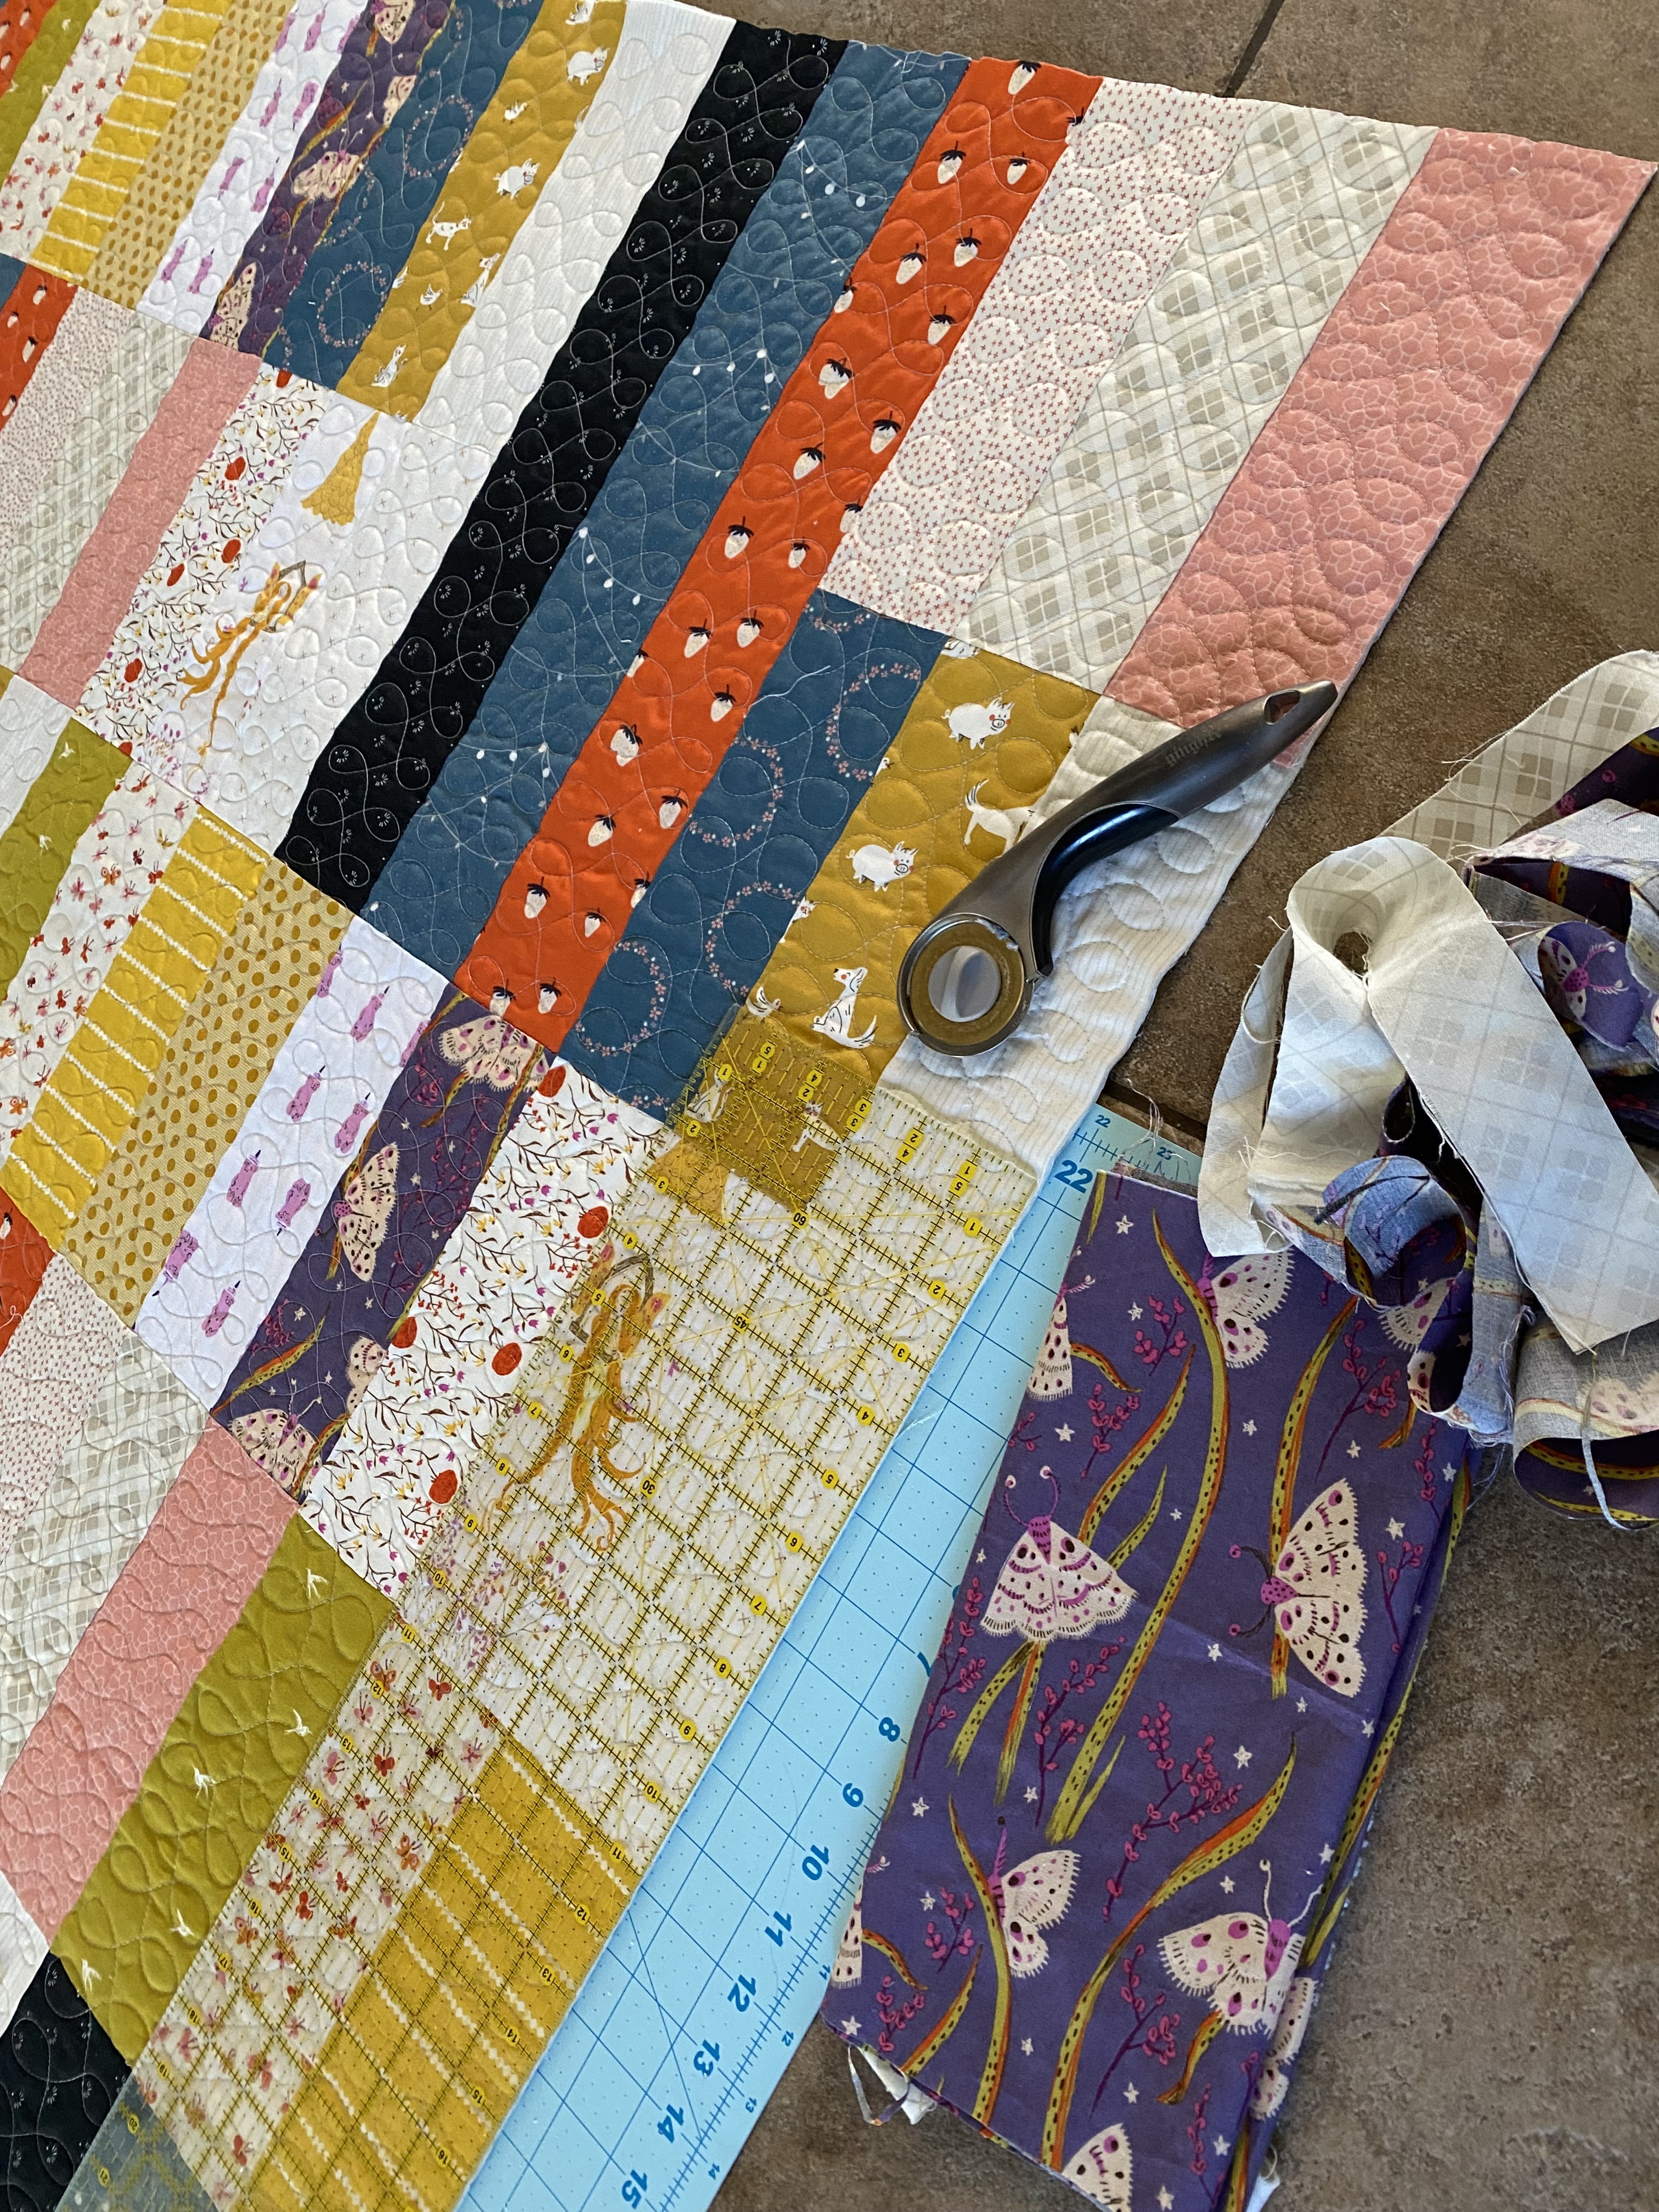
these joined pieces don't fold nicely, so i had to decided where to make a cut now, then fold the individual pieces for storage.

nicer for storing now. still so wrinkly! you can see why i decided to stick with the first step of separating and folding, leaving the pressing and cutting for later.


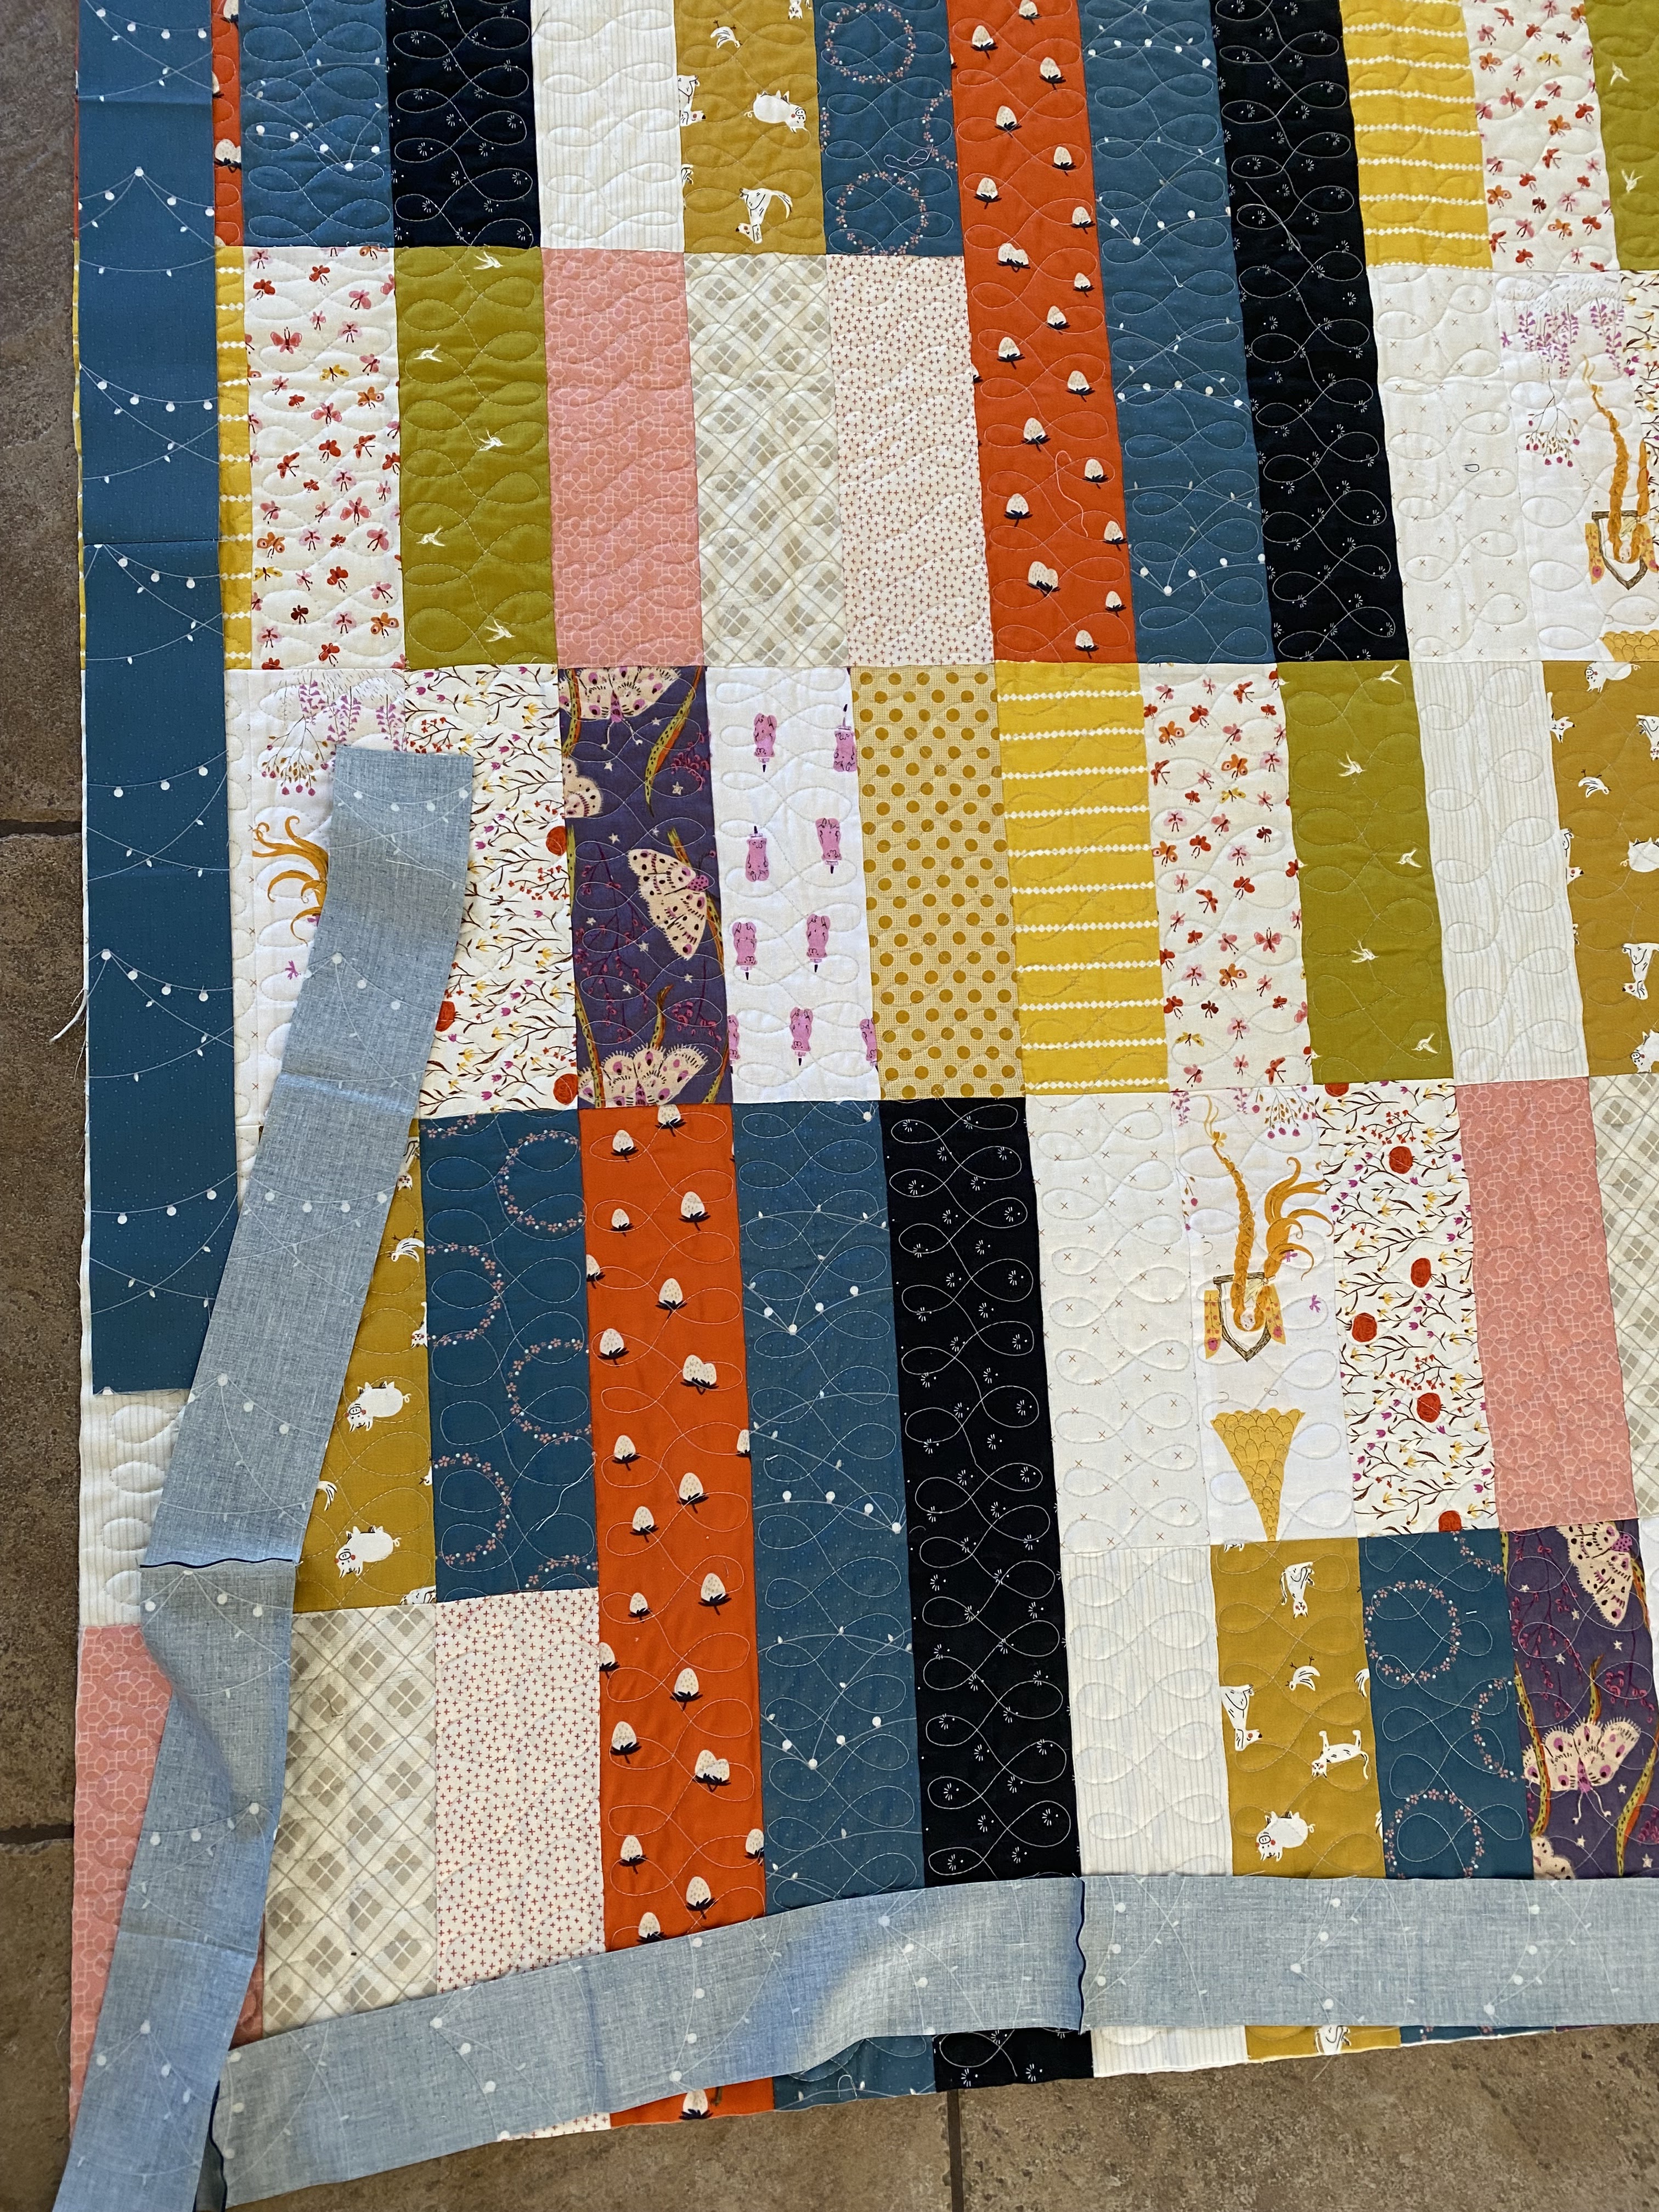
this is one of my favorite backs ever. i love a pieced backing, but i think my favorite pieced backs result from joining two large fabric panels with scraps or blocks from the front, like this. it feels more intentional and orderly, which my eye appreciates.
also, this quilt was completed in december 2015, by the way. i told you this basket has been doing duty and not been cleaned for a long time.

this was the only bits of liberty in the basket. i think i'm generally good about processing the liberty right away because i'm either using it again soon or just because they're so precious and i make a point of saving every usable bit. i probably thought these strips were too small, but there was an inch there, so i did immediately trim these and add them to the scrap drawers.
and to my credit, there were a lot of quilt backs i've trimmed over the last decade that weren't present in this basket. sometimes i do actually put that stuff away. sometimes. but not all. in future, i hope to do all processing when i'm done trimming the quilt sandwiches.


look, we're getting somewhere on this mess:

i'd say this basket is half empty, which is the optimistic view when you're talking about cleaning out something. half empty, not half full, is more encouraging in this situation.
one hour later: the batting scrap pile is getting bigger and the basket is slowly emptying. the stuff at the bottom was compacted (from being at the bottom), so halfway wasn't really halfway. but it's progress.


i found trimmings from each of my kids' stella grande quilts, all except for d3's "radiant suzy." there is a vague memory just out of reach of me processing those scraps for something i needed them for. or maybe for once i was good about separating the pieces and putting away scraps. if i find them in the scrap basket (which still needs to be processed), then i'll know.


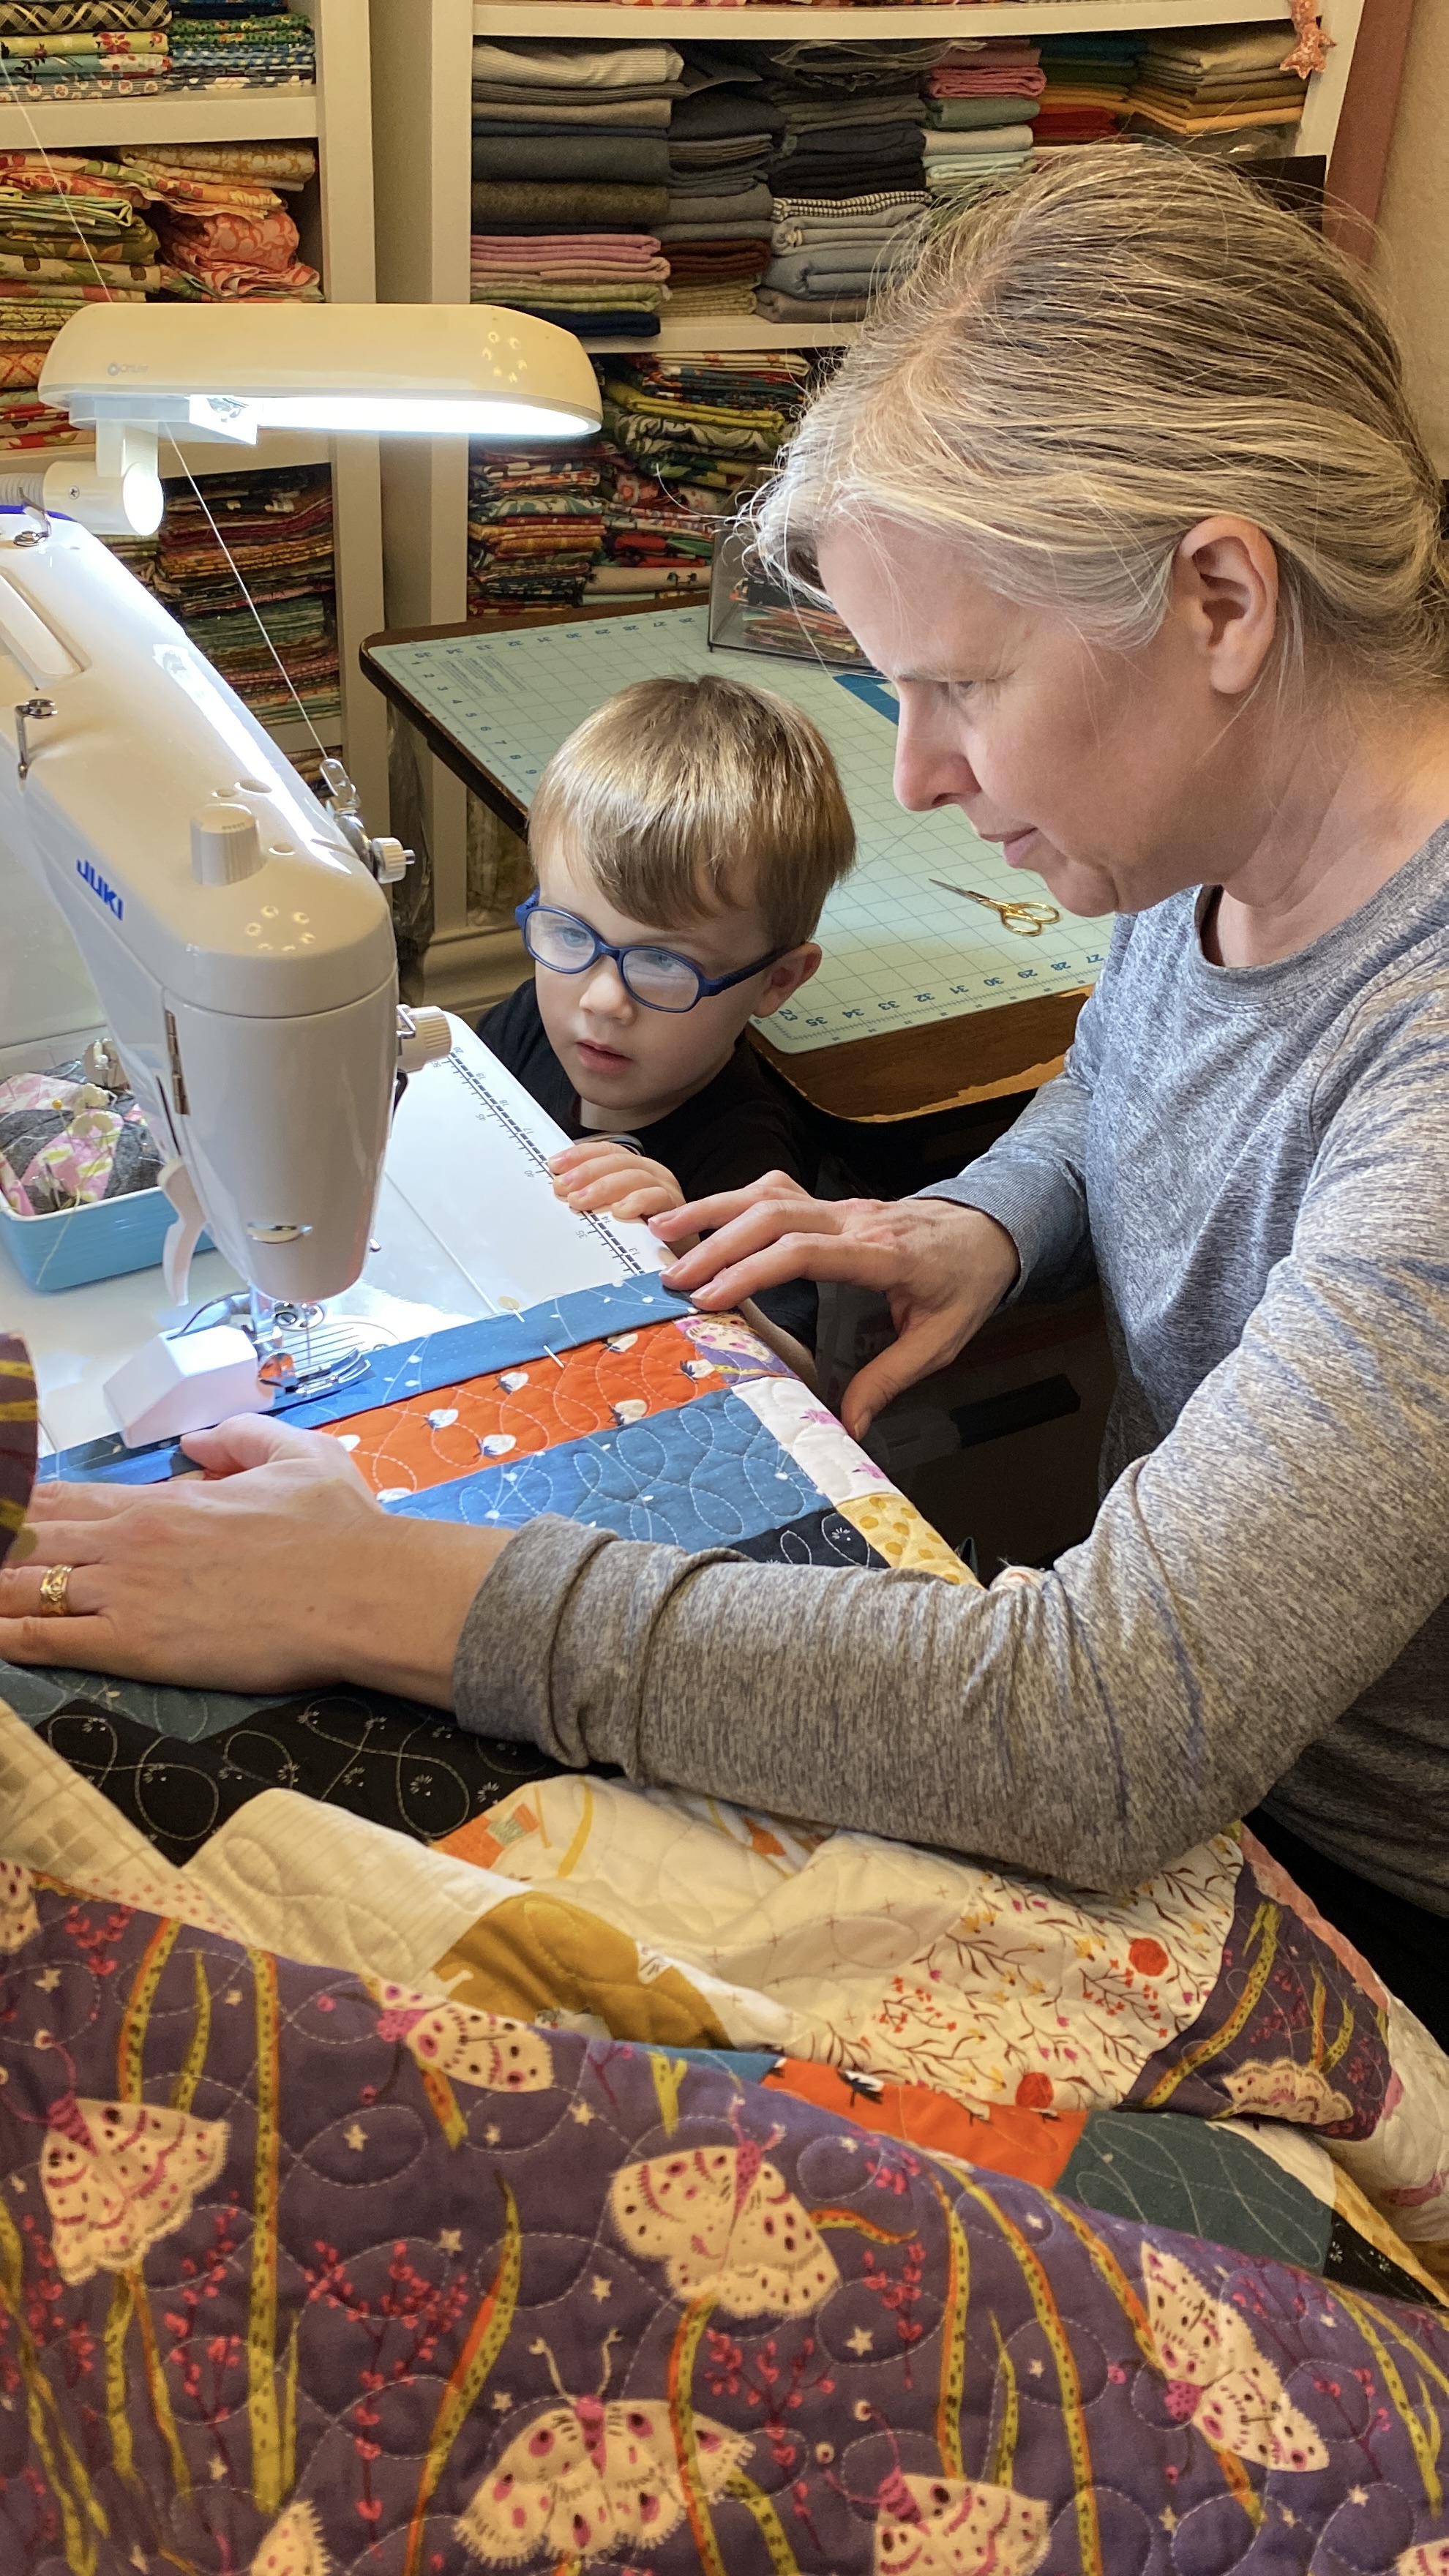
so much has changed since these quilts were made and this picture was taken eight years ago. another eight years and there could be a whole lot more people with more me-made quilts wrapped around them. so far i have 2.5 grandchildren, 1 grandchild quilt complete. what will happen in the next eight years? my children could have one each at least. it's a little mindboggling to consider.


it could be from "star of the circus" . . .

hard to say since i used this strip on both of them. actually, thinking it through as i type, i bet it's from "valoe" because the reason i had it to use on "valoe" was that there was a large piece still left over from "star of the circus." ha! mystery solved. i definitely used the trimmings from "circus" on the back of "valoe," so anything further left would be cut from "valoe." in the end, it came from both of them, didn't it?
this is another type of quilt back i like to make: a large strip down one vertical side and several coordinating cuts stacked horizontally to fill out the rest of the backing. it's another pieced backing that has some order and polish to it.

some strips i found were quite narrow. for these, i lay them out on the cutting mat and cut off anything narrower than 1" wide. then i folded the strings up and put them in the 1" scrap drawer. in this case, processing is quick and makes sense to do promptly.

some strips i found were quite narrow. for these, i lay them out on the cutting mat and cut off anything narrower than 1" wide. then i folded the strings up and put them in the 1" scrap drawer. in this case, processing is quick and makes sense to do promptly.


two hours later and i have the whole basket emptied, all the fabric scraps folded and semi sorted into piles by size.

in fact, while i was working on this project, i thought of a fun quilt idea: a scrappy top with all my solid scraps and a backing from all these backing scraps. wouldn't that be fun? i need to come up with a plan for how to make it not just a great big, jumbled, hot mess, but i have some ideas for that already. let's add it to the wip list!


what's next for my declutter/organization spree? i'm looking at this basket under my sewing table that has more fabric scraps in it. i've got my eye on you basket. i'm coming.


