
 |
| the blue "june's meadow" i chose to back "groovy liberty" |
i really knocked myself out getting those three tops finished and the four quilts backed & basted last week. since then, i haven't done much quilting at all other than help my girls with some of their projects and a little handquilting while at soccer games.
for my part, i began the handwork for "groovy liberty." i grabbed it as i was running out the door for a game, knowing the white aurifil thread i usually handquilt with was in my little on-the-go sewing case, but with no plan as to how i was going to execute the quilt design just yet. when i got myself and the grandbabies situated in the soccer stands, i pulled the quilt out to assess my design options.

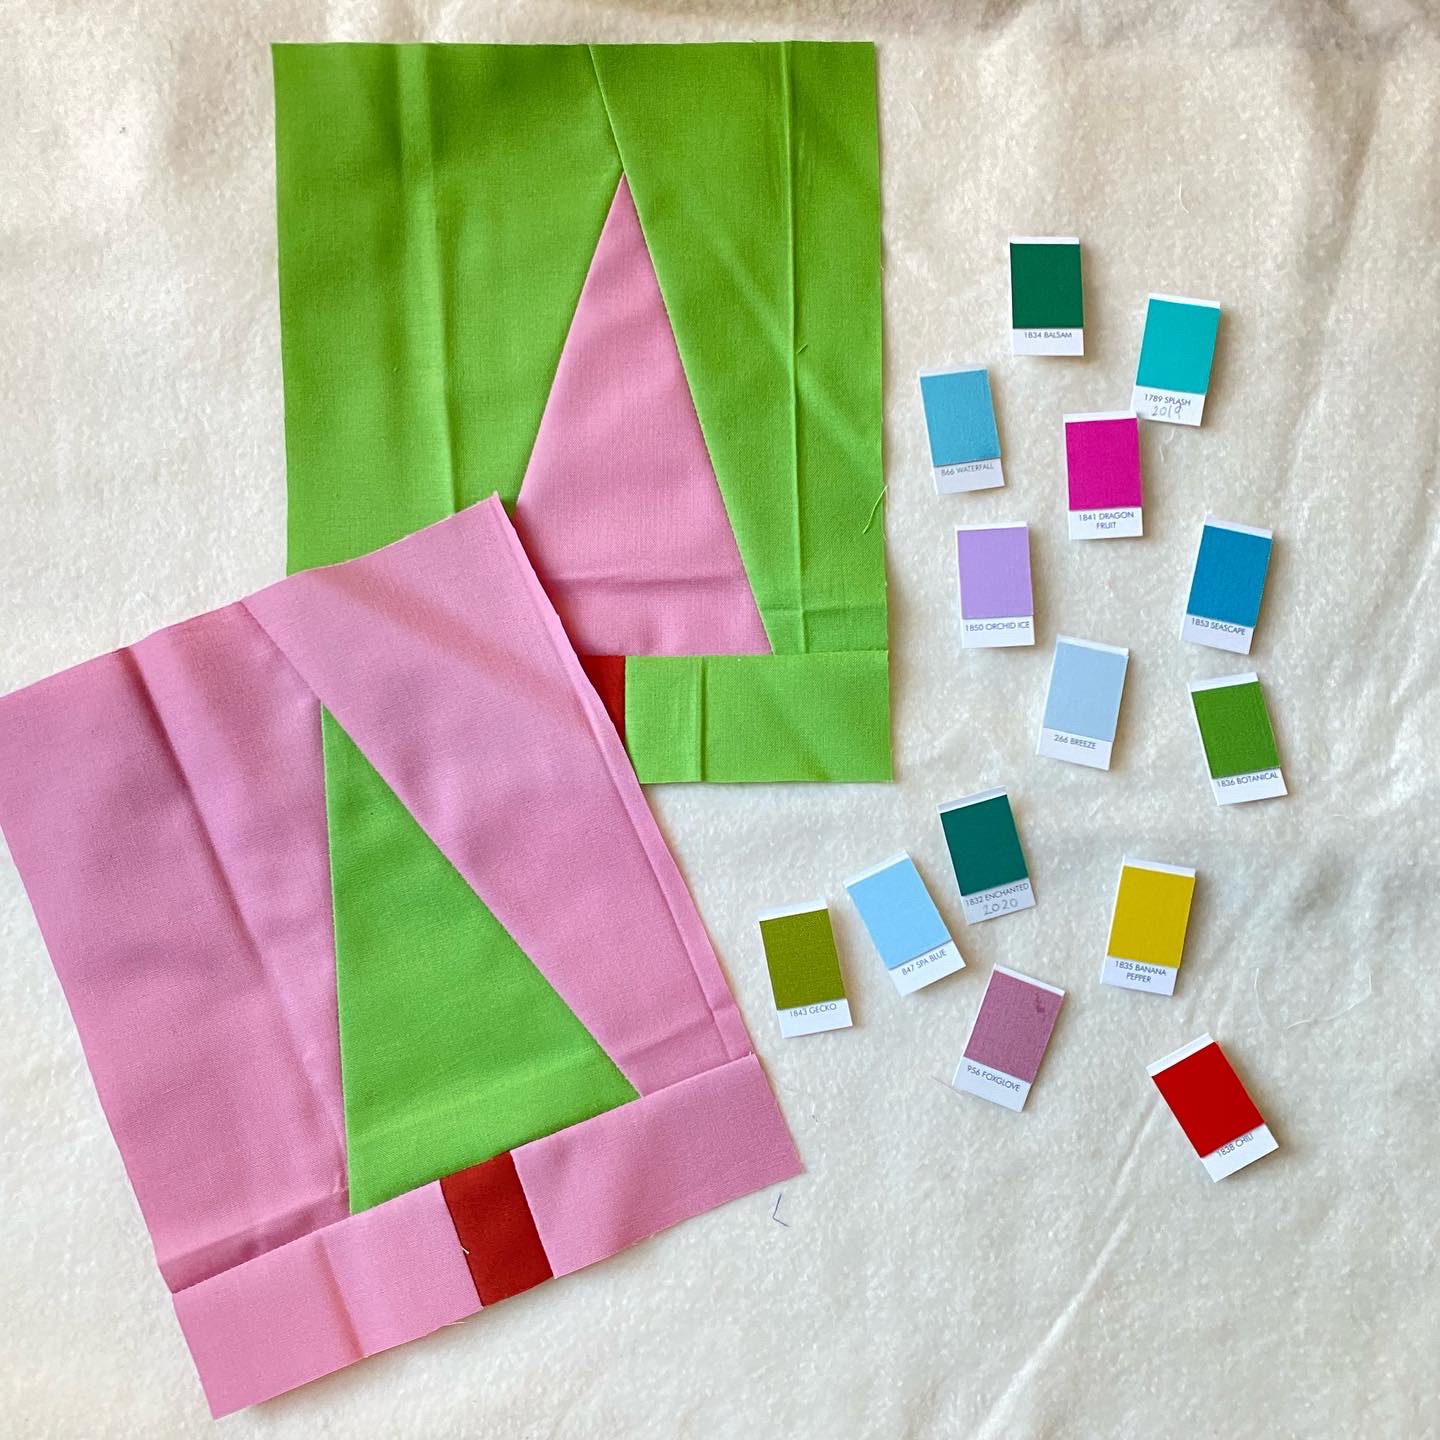
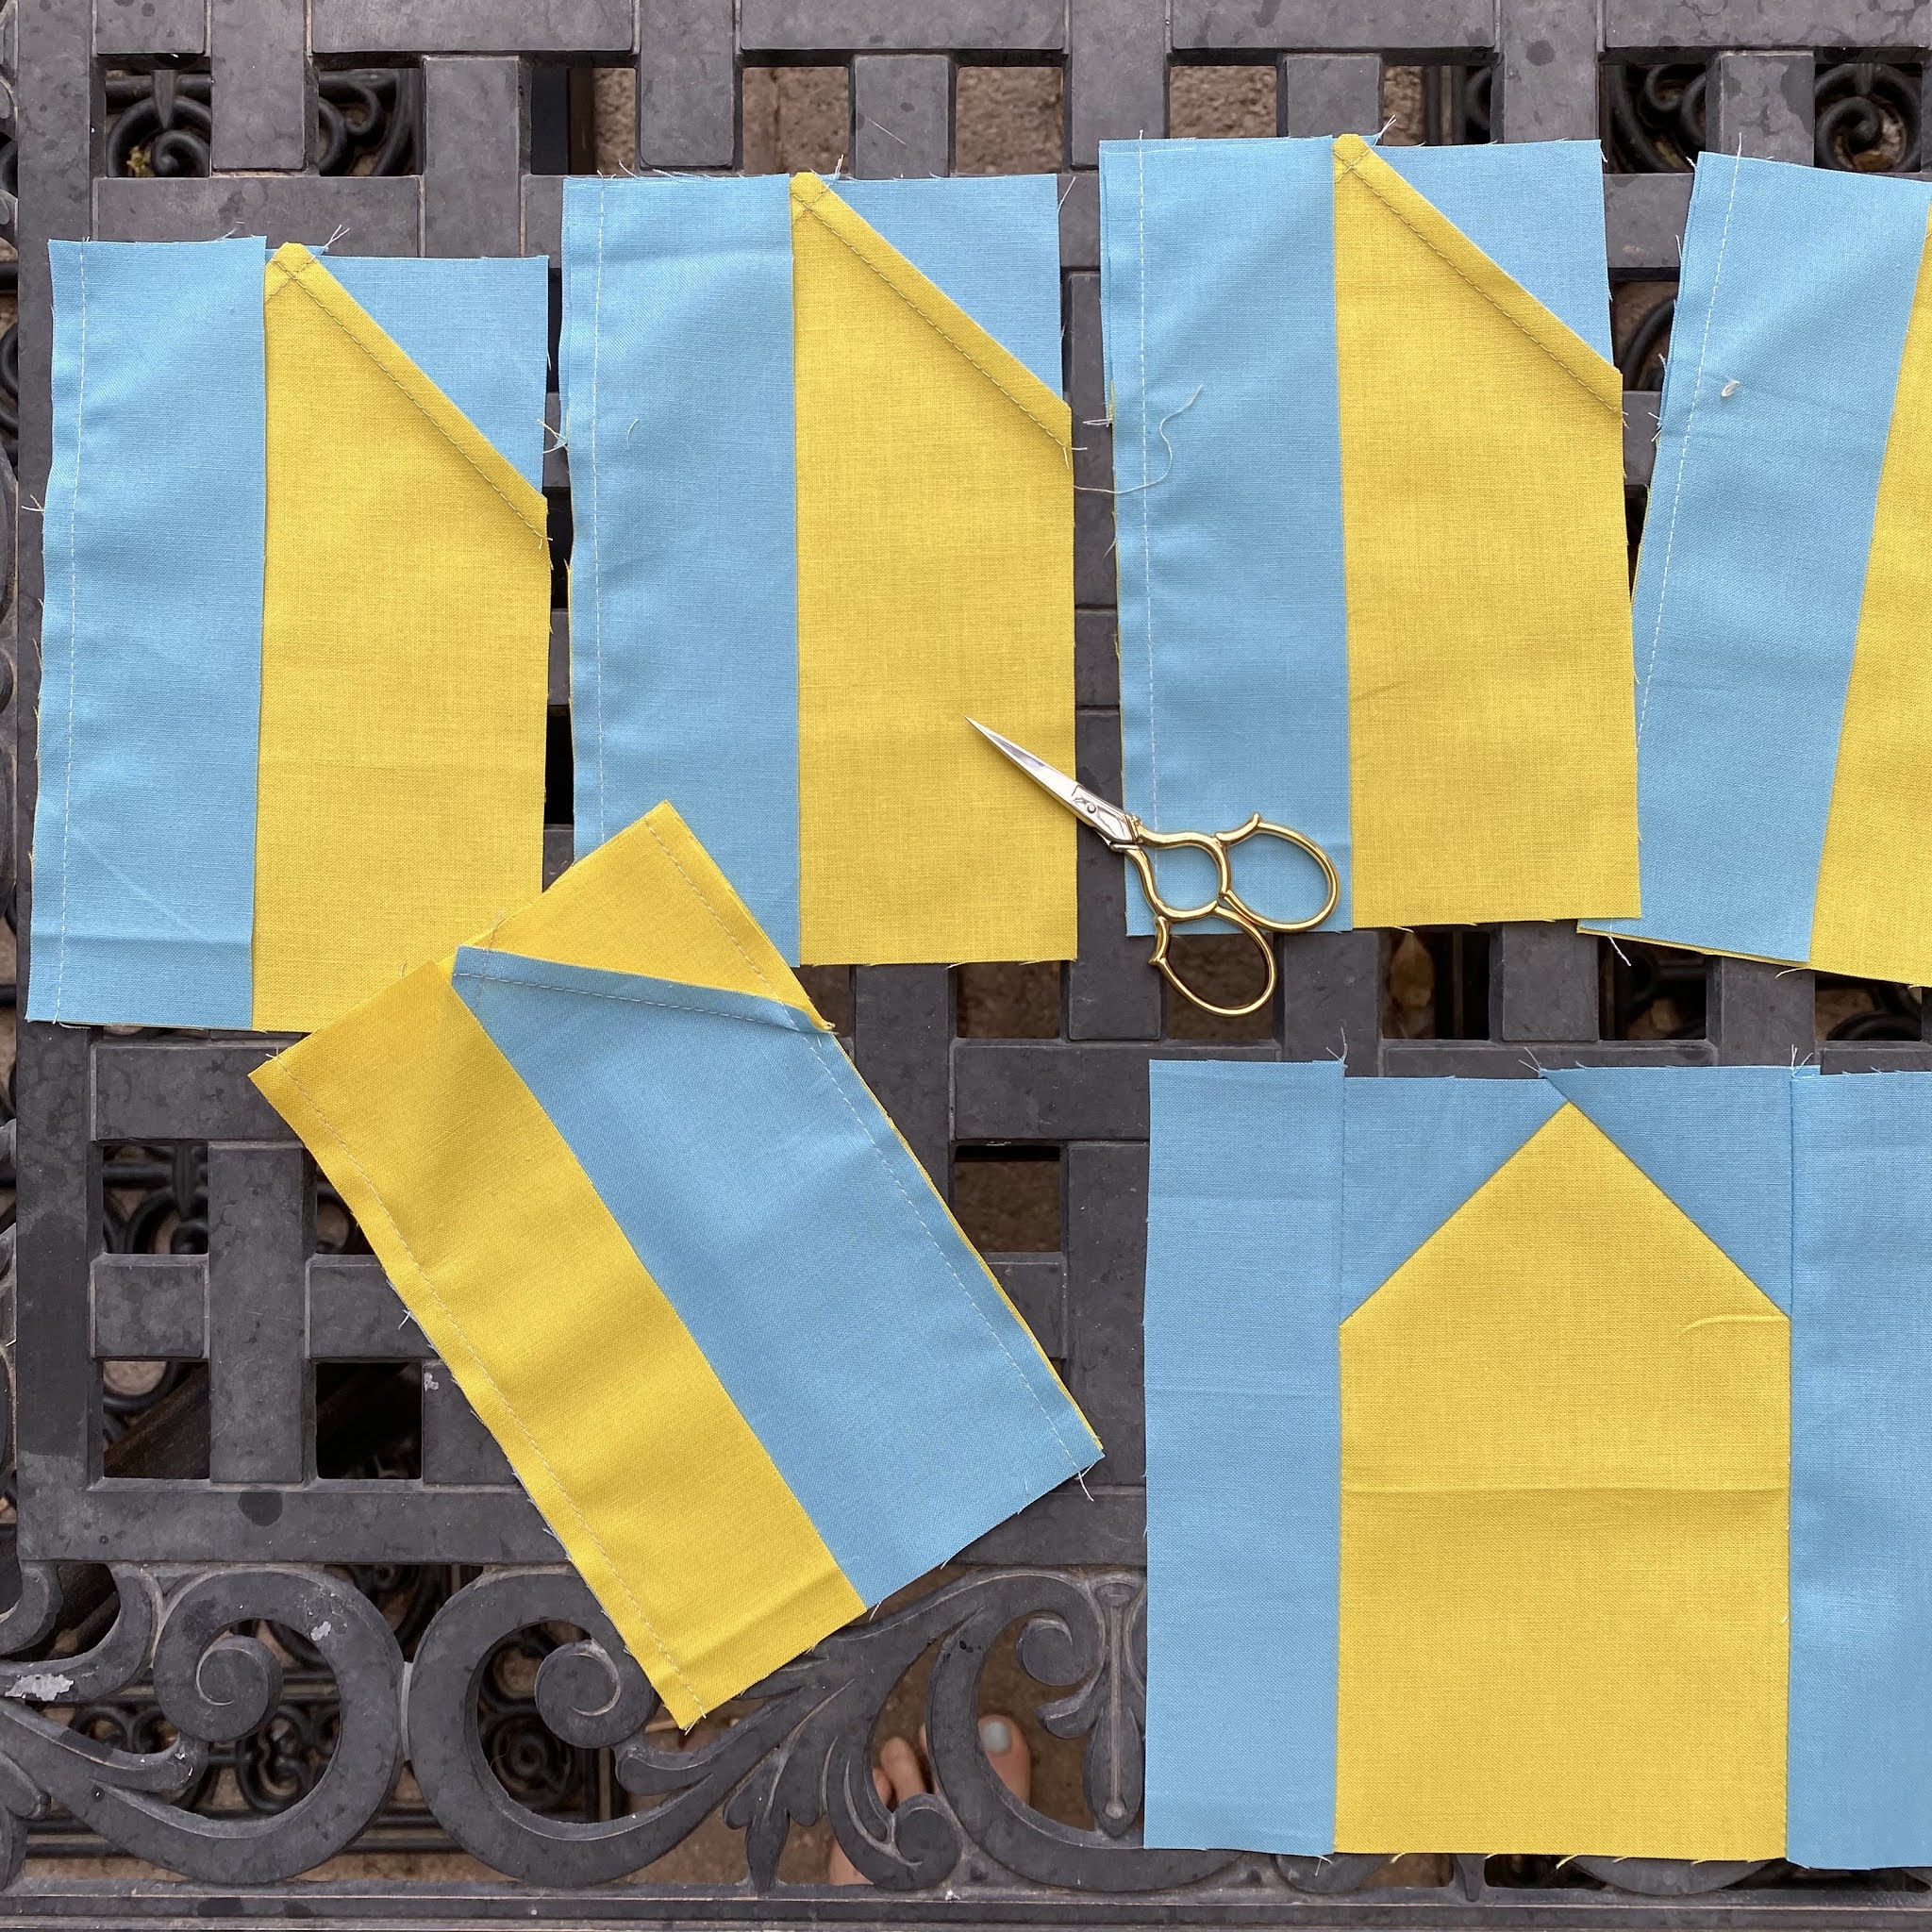
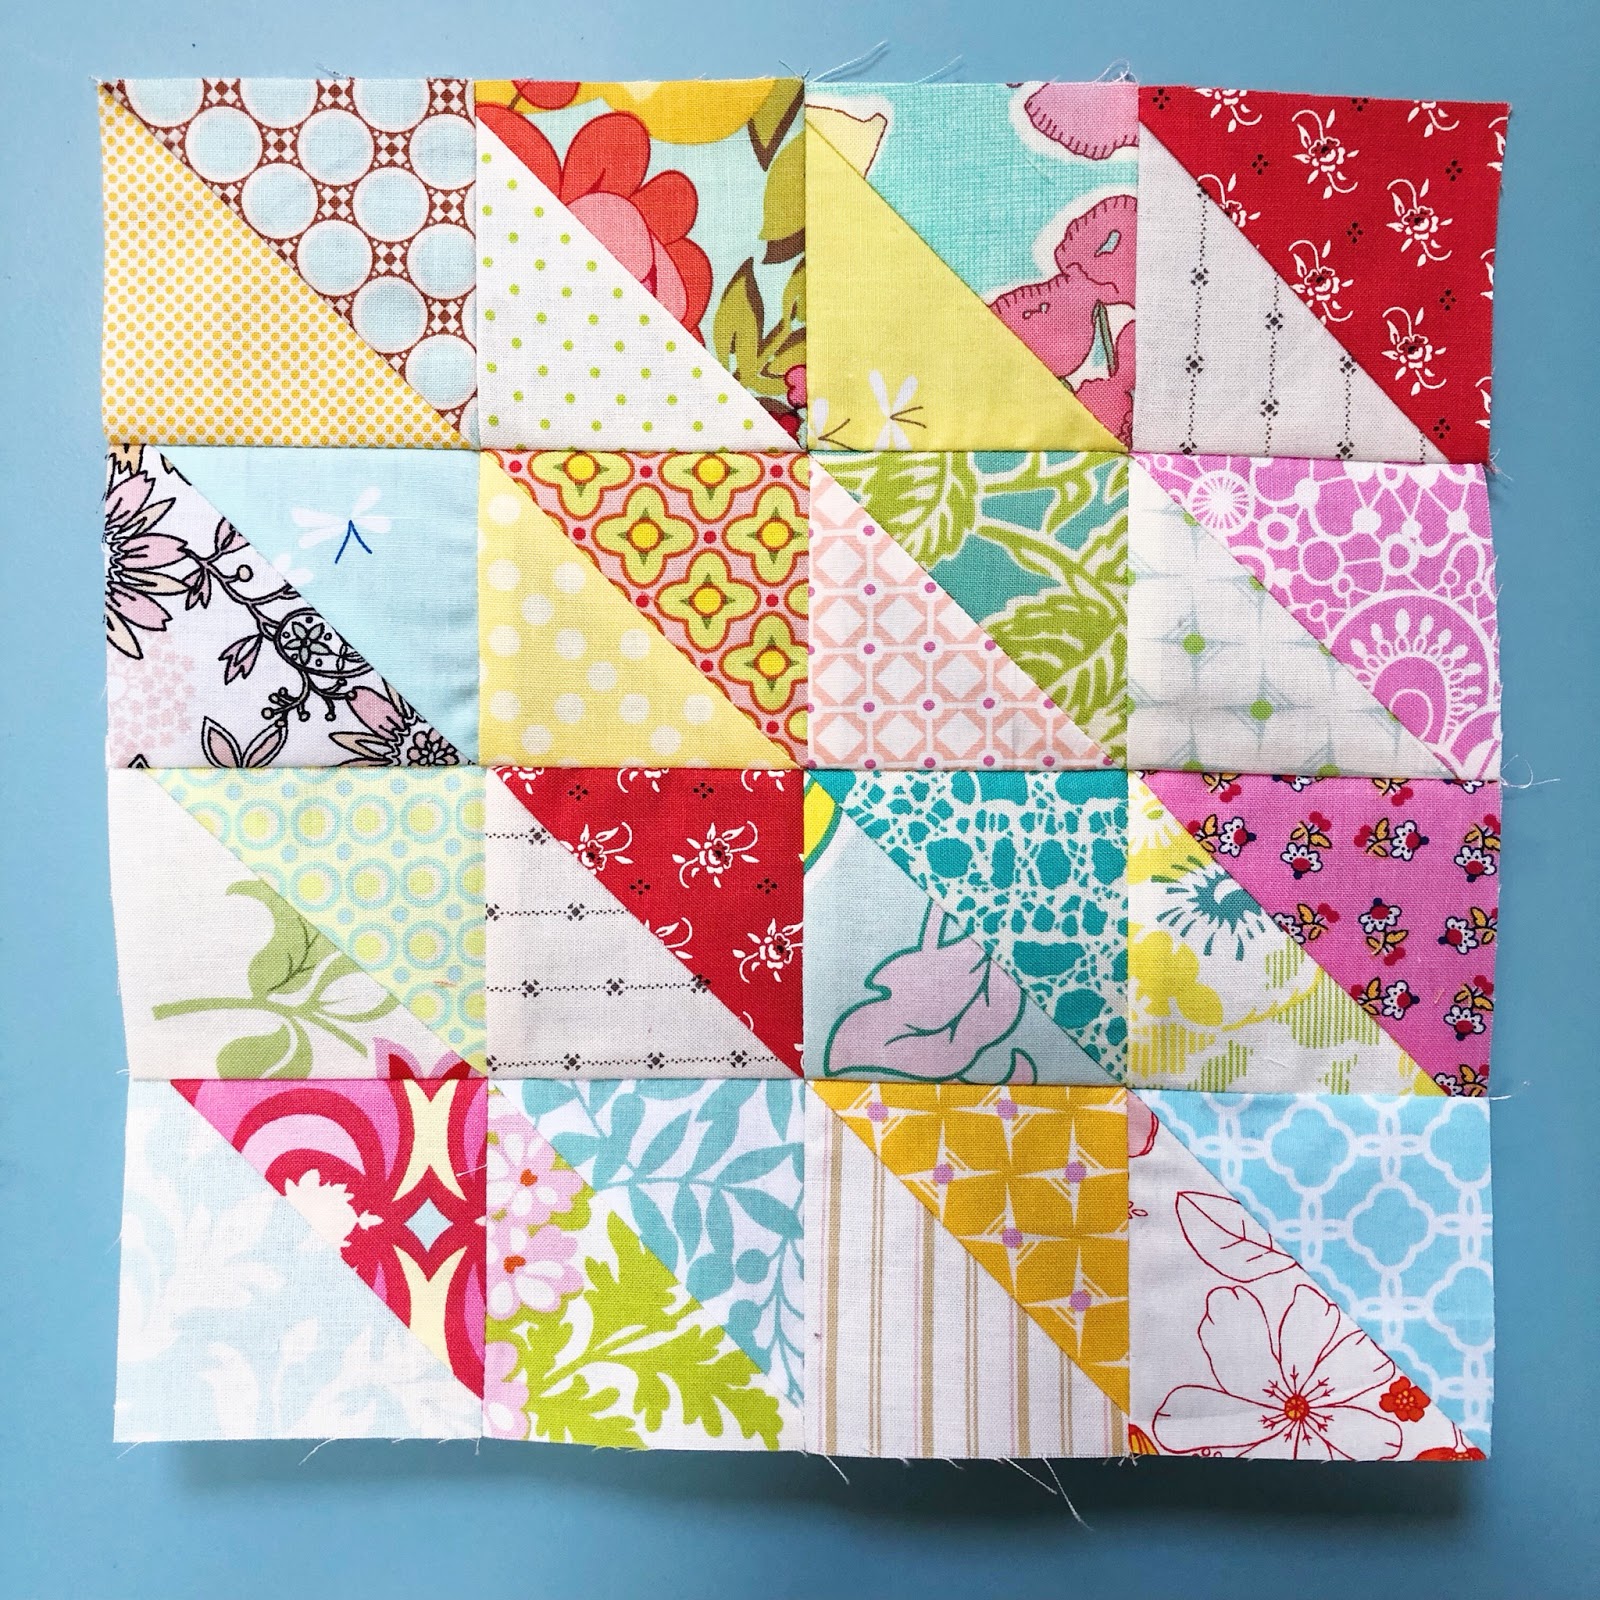
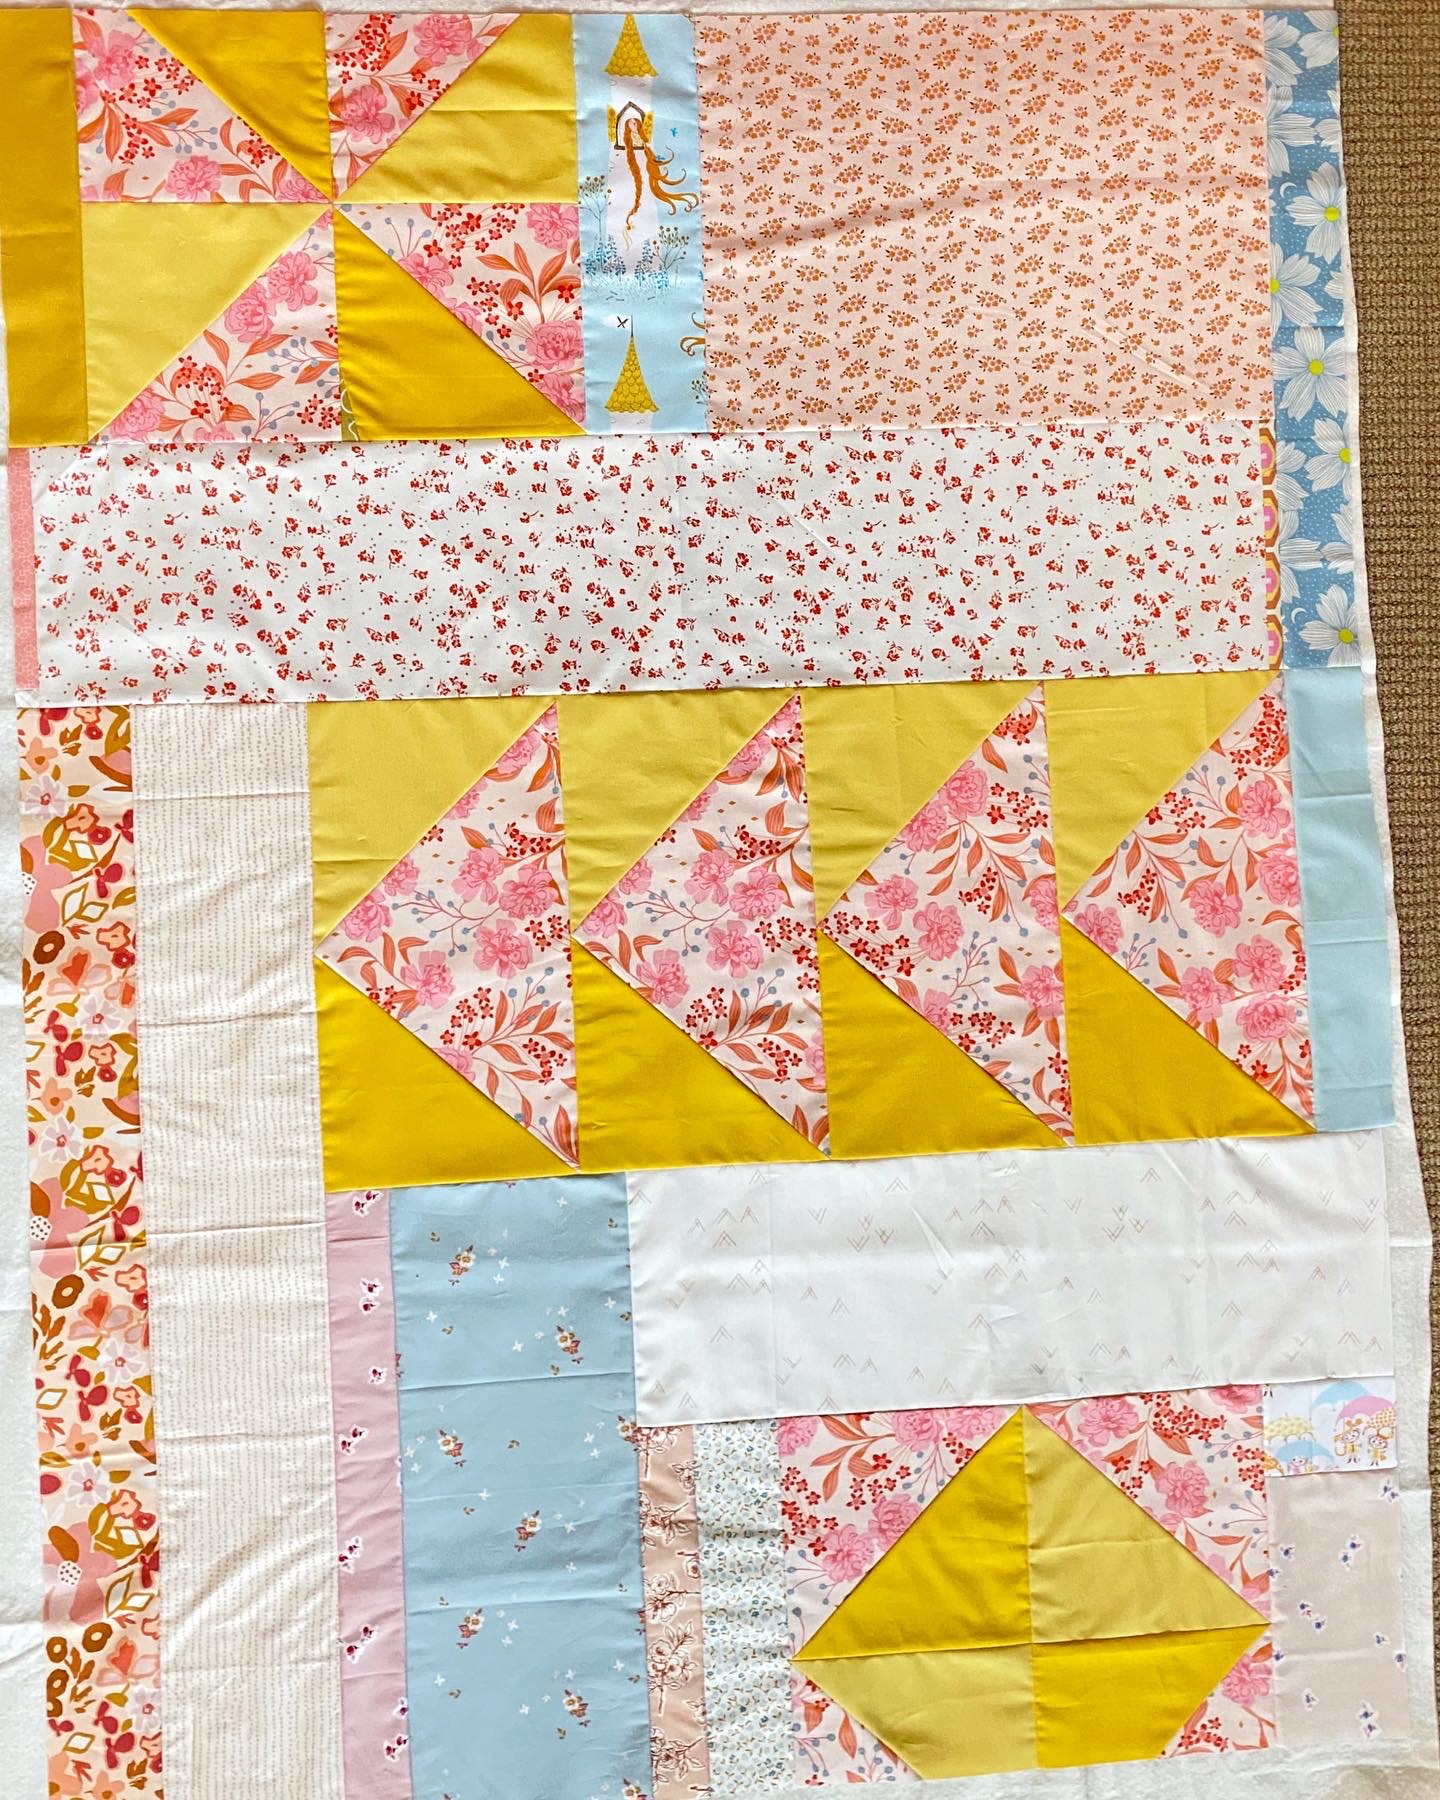
it's a pinwheel quilt, with sashing. there's no obvious continuous pattern i can quilt other than down the center of all the sashing. but i want to quilt in the chambray and liberty parts, so i had to come up with a design for that. i did the somewhat obvious thing by quilting straight down the center of each piece. the only problem was i didn't have any marking tools with me. i decided to eyeball it and did okay, but came up with an even better innovation once i thought about it.


i folded the piece i wanted to quilt in half, creasing it with my fingers, which left a nice mark that was easy to follow, so it worked pretty well. i have 3 of the 42 blocks done now.


i did pull out the quilts for february/valentine's day and add them to the family room quilt baskets - might as well get some extra use out of them now as the holiday is around the corner. the blue and pink quilts and a couple soft, low-volume quilts fit this category.
i got to thinking about when i should wash the quilts in rotation: when i pull them out to freshen them up or when i'm putting them away to clean them before storing? both options make sense and are probably a good idea except i don't want to wash them too often. is twice a year too often for quilts in light use? i don't have any idea how quickly that will age and wear them down. for now, since i can't remember when these quilts were last washed, i went ahead and washed them as i pulled them out before putting them in the baskets.
i cleaned up the blog a little, updating my wip page and the quilt gallery finishes. i added two older quilt finishes to the gallery: "dorothy's girls'', a 2018 finish i somehow never added, and "cheery (easter)", which is still getting some handquilting added every spring break but has already had it's finish photo shoot and is in use. so things are more up to date and tidied in my virtual sewing space as well as in person. i'm working on a few posts about my recent batch experience, too, so you'll get an update on what i got done there.
i'm doing really well at sticking to finishes and haven't even had the desire to buy any fabric. putting away my december purchases and organizing some of the stash shelves cured me of any desire for that! and i haven't even wanted to start anything new, either. i'm still excited about finishes. i'll have another chunk of time to do some more intense work in the next week or so, which will allow me to move projecs further along. for now, i anticipate using that time to quilt the last batch of basted "samiches."
as for house design: i have a floorplan all sketched out i'm quite happy with and have started specifying each room. this involves closely examining how it functions and what it will store so i can make detailed plans to accommodate all the needs. so far, i've got the mudroom squared away.


