Friday, February 24, 2023

string star


i've been an admirer of tara faughnan's color genius for a while now. her palettes aren't obvious and many colors she uses wouldn't be my first choices. but the way she combines them is just brilliant.

recently, i noticed she was offering an online class for making a string star from scraps and i jumped at the opportunity to join. it would challenge my skill set and i could maybe pick up some information from tara about how she combines colors. (her website is tarafaughnan.com)


the class was conducted over two zoom meetings, 3 hours each, a week apart. i wasn't sure how that would work, exactly, but it turned out to be a wonderful format and so much fun!


we learned how to draft our own diamond templates from freezer paper, and how to make slabs from our scraps to cut the diamonds from.

after the first one or two, selecting the colors got a lot easier and the process became really fast.

i decided to make a small test block star that will measure about 20" total when done, to be used on the back, and make a large 60" star for the quilt top. that's right in line with my "stella grande" sizes, so i'll just add a string border to the ends and have a(nother) nice 60"x72" star quilt when i'm done.


we learned how to join y-seams in the class. they just take a little practice. after i made 2 slightly puffy y-seams, we figured out what i had done wrong (pressed between sewing the seams - press after making both, instead), i had no problems with the next ones.


somewhere along the way i didn't do a good job lining up my diamonds, so my points in the center when i joined them all together were a mess. i lost all but two of them.

so i'm unpicking and redoing this when i get a chance.

i'm so glad i decided to do a test block before trying to make a giant single star.

this one is going to be fun on the back, which i have some exciting ideas for.

Friday, February 17, 2023

up to something sunny


crummy indoor lighting photos coming up!

i have a lot of quilt ideas running around in my brain the last several weeks. i've been busting my tail, squeezing a lot of quilting time in lately and working fiendishly fast when i'm at it, but i can't even come close to keeping up with the ideas. the other evening one of them came out in the form of a new start. (i think my wip list is at 26 or so now.) some scraps i intended to use in one of my ideas were close to the cutting table, and i just sort of went ahead and cut them along with what i was already working on.

and then i sewed them together.

bless me, i've started another quilt!

can you tell from the opening teaser photo what i'm up to?

hint: it's a pattern i've used before and is going to be a companion quilt to one of our recent family room favorites around here.


this first block should give at least the first answer about pattern away.


here's the first cuts for the quilt it's meant to companion. do you get it now?


as i've been working on the low-volume crossroads quilt, i've been thinking of how it might be a good pattern for another sunny yellow and white quilt. we all really like the "sunny geese" quilt and i've been wanting to make something else in the same palette to add some more sunshine when needed around here. it just makes us happy to see its bright face, so i wanted to make another sunny quilt.

a treehouse crossroads seemed the obvious choice.


so the other night when i was working on some more low-volume blocks, i just went ahead and started cutting yellow and white pieces, too. i don't intend to have this finished right away, but starting it while i was already in the crossroads mood seemed like a reasonable idea.

uou're going to need to start if you want to get to a finish, so start all the quilts you want to finish, is my philosophy.


this sunny crossroads is slightly different than my previous two as i'm working in pairs this time. my plan is to alternate yellow blocks with white blocks the way i paired yellow and white hsts to make my sunny geese. so i'm making one white block and one yellow block from each fabric pairing.


low-volume crossroads is still going strong, never you fear.


in fact, i completed the final 12 blocks over the weekend. a joined flimsy is coming soon.

Friday, February 10, 2023

spinning elizabeths, a start


recently, i pulled out a few of my quilting books to peruse for ideas and inspiration. that's what they're for, right? i've invested in these books, i should make use of them. jolene at blue elephant stitches was considering a "sew the book" project again and i got curious which book i would choose to sew all (or most) of the quilts from. 

i was looking over one of my favorites, quilt lovely by 
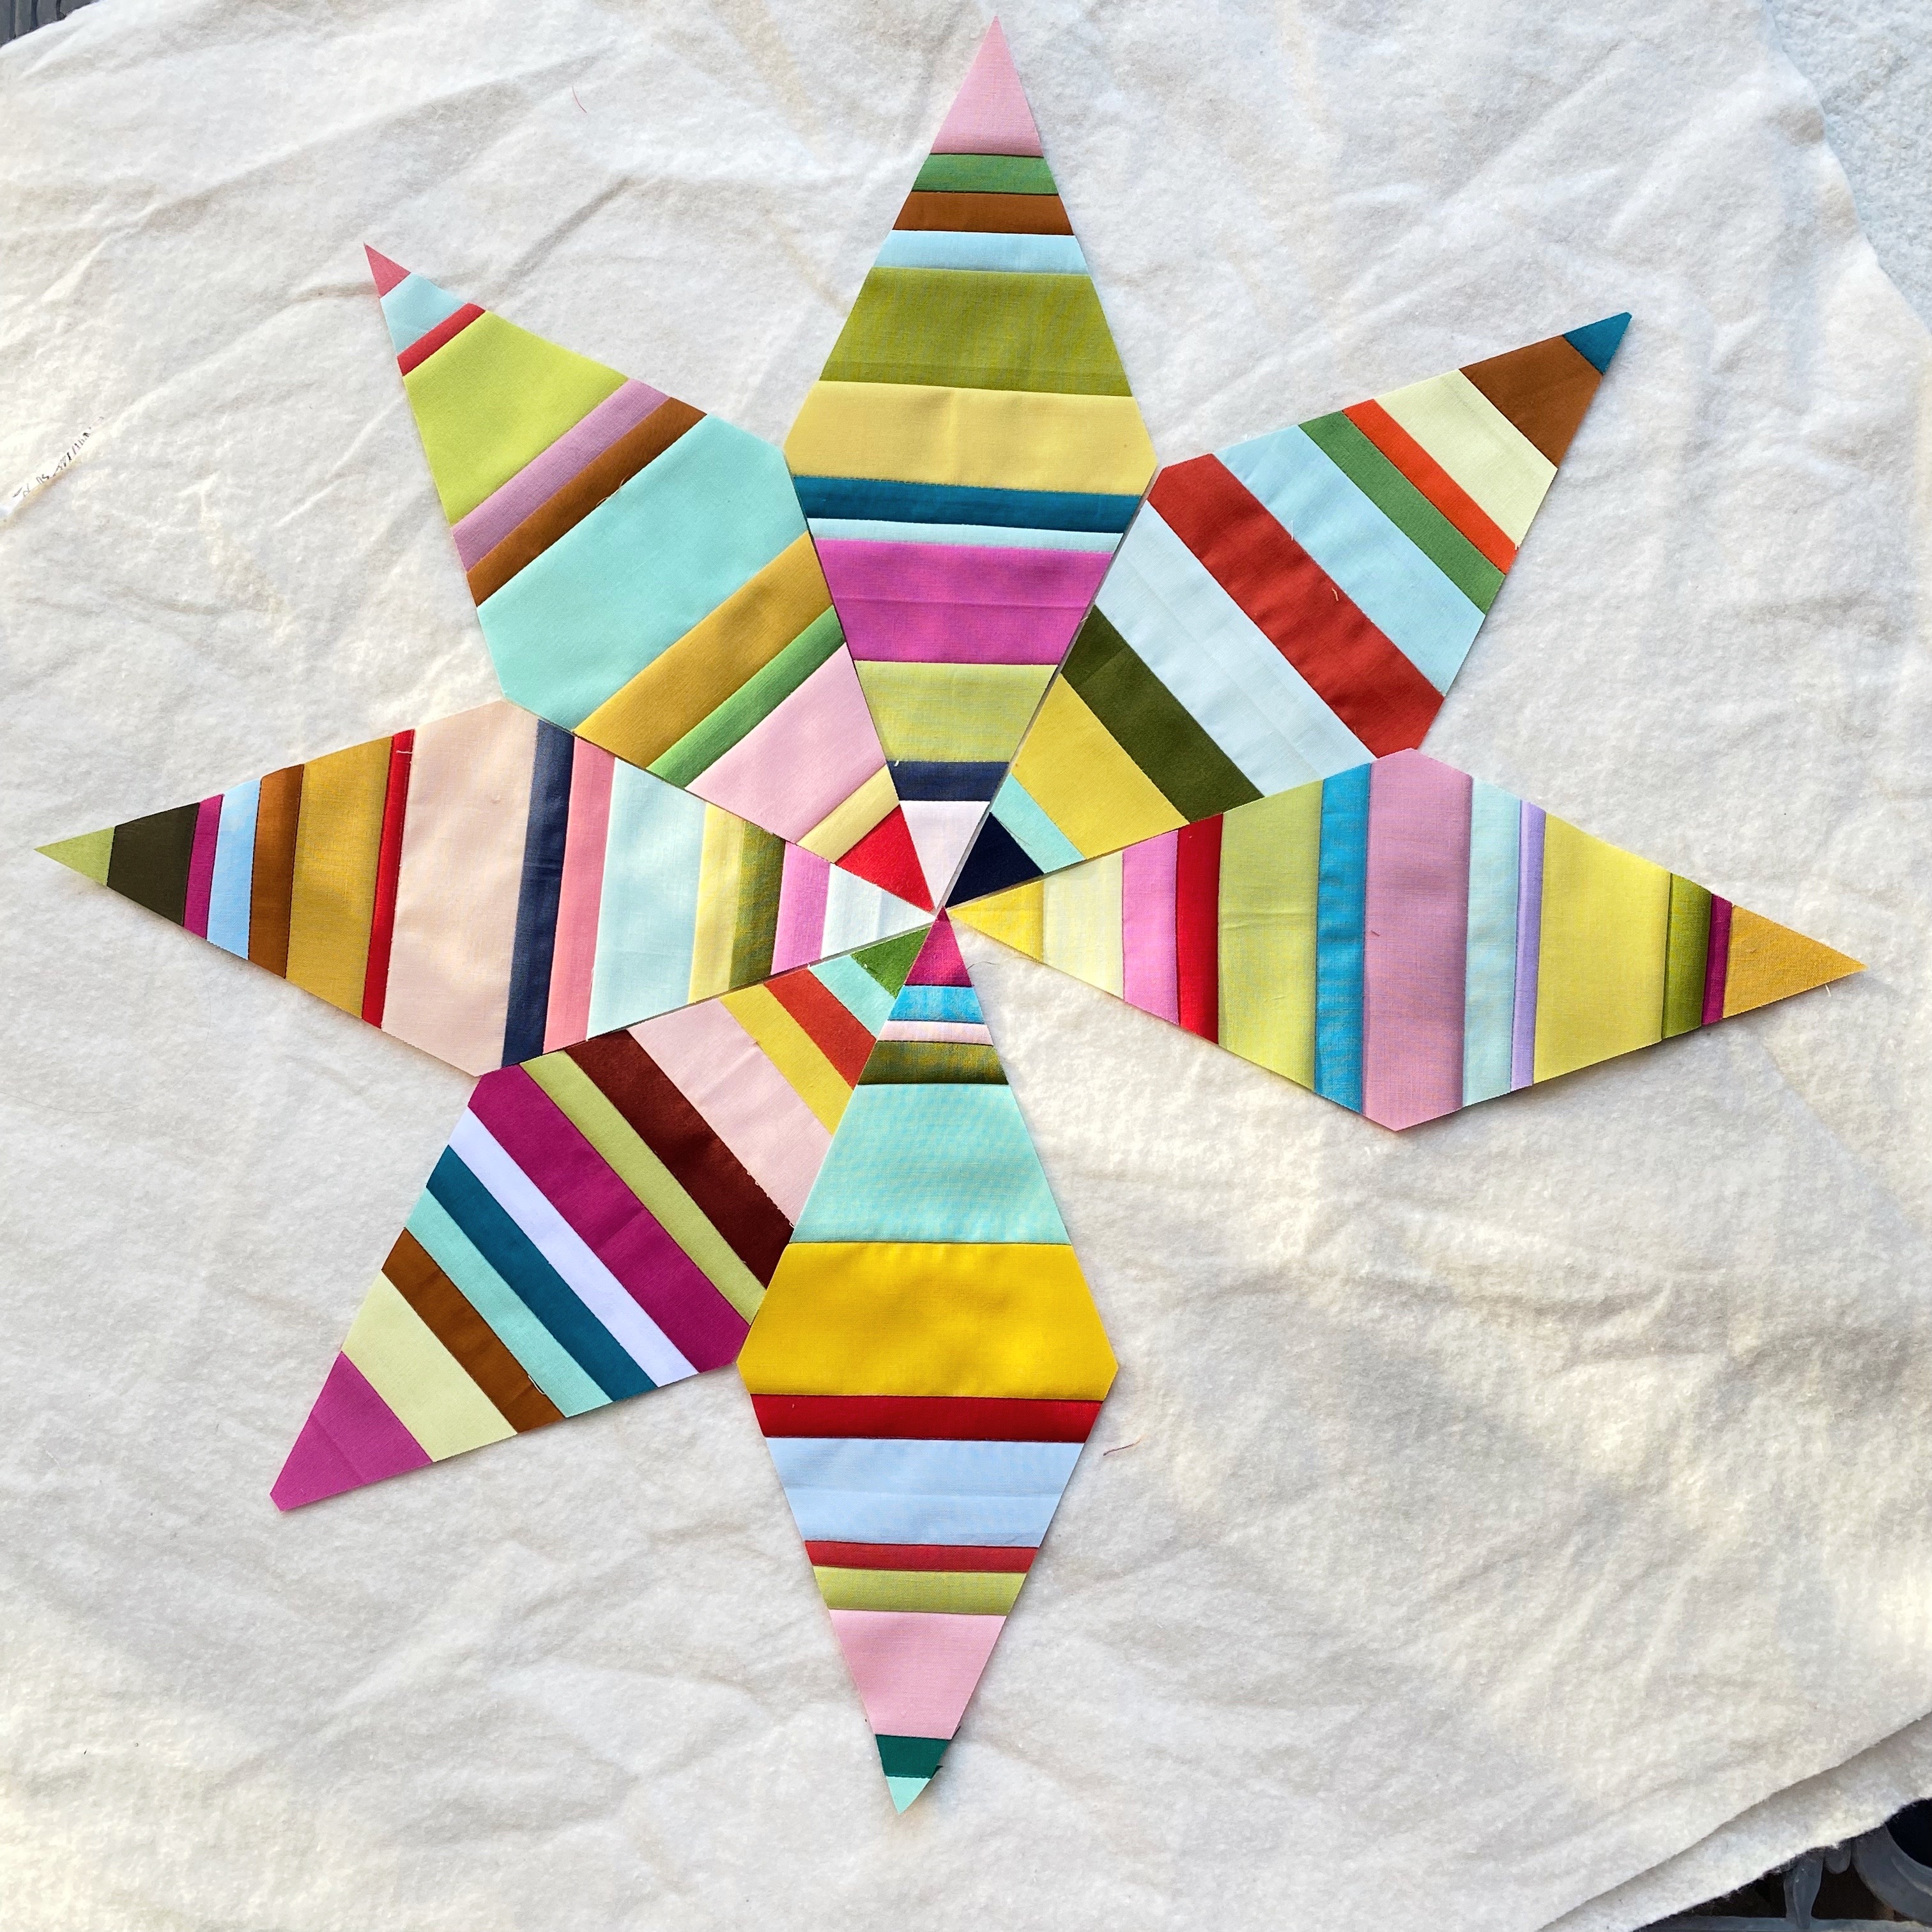
jen kingwell, and remembered again how much i like the "spinning around" quilt with it's 3 columns of pinwheels and subtly-striped fabric in between.


a few days later an order i had placed for some newer anna maria horner fabrics arrived, including yardage of the brilliant "social climber" print in the newer 
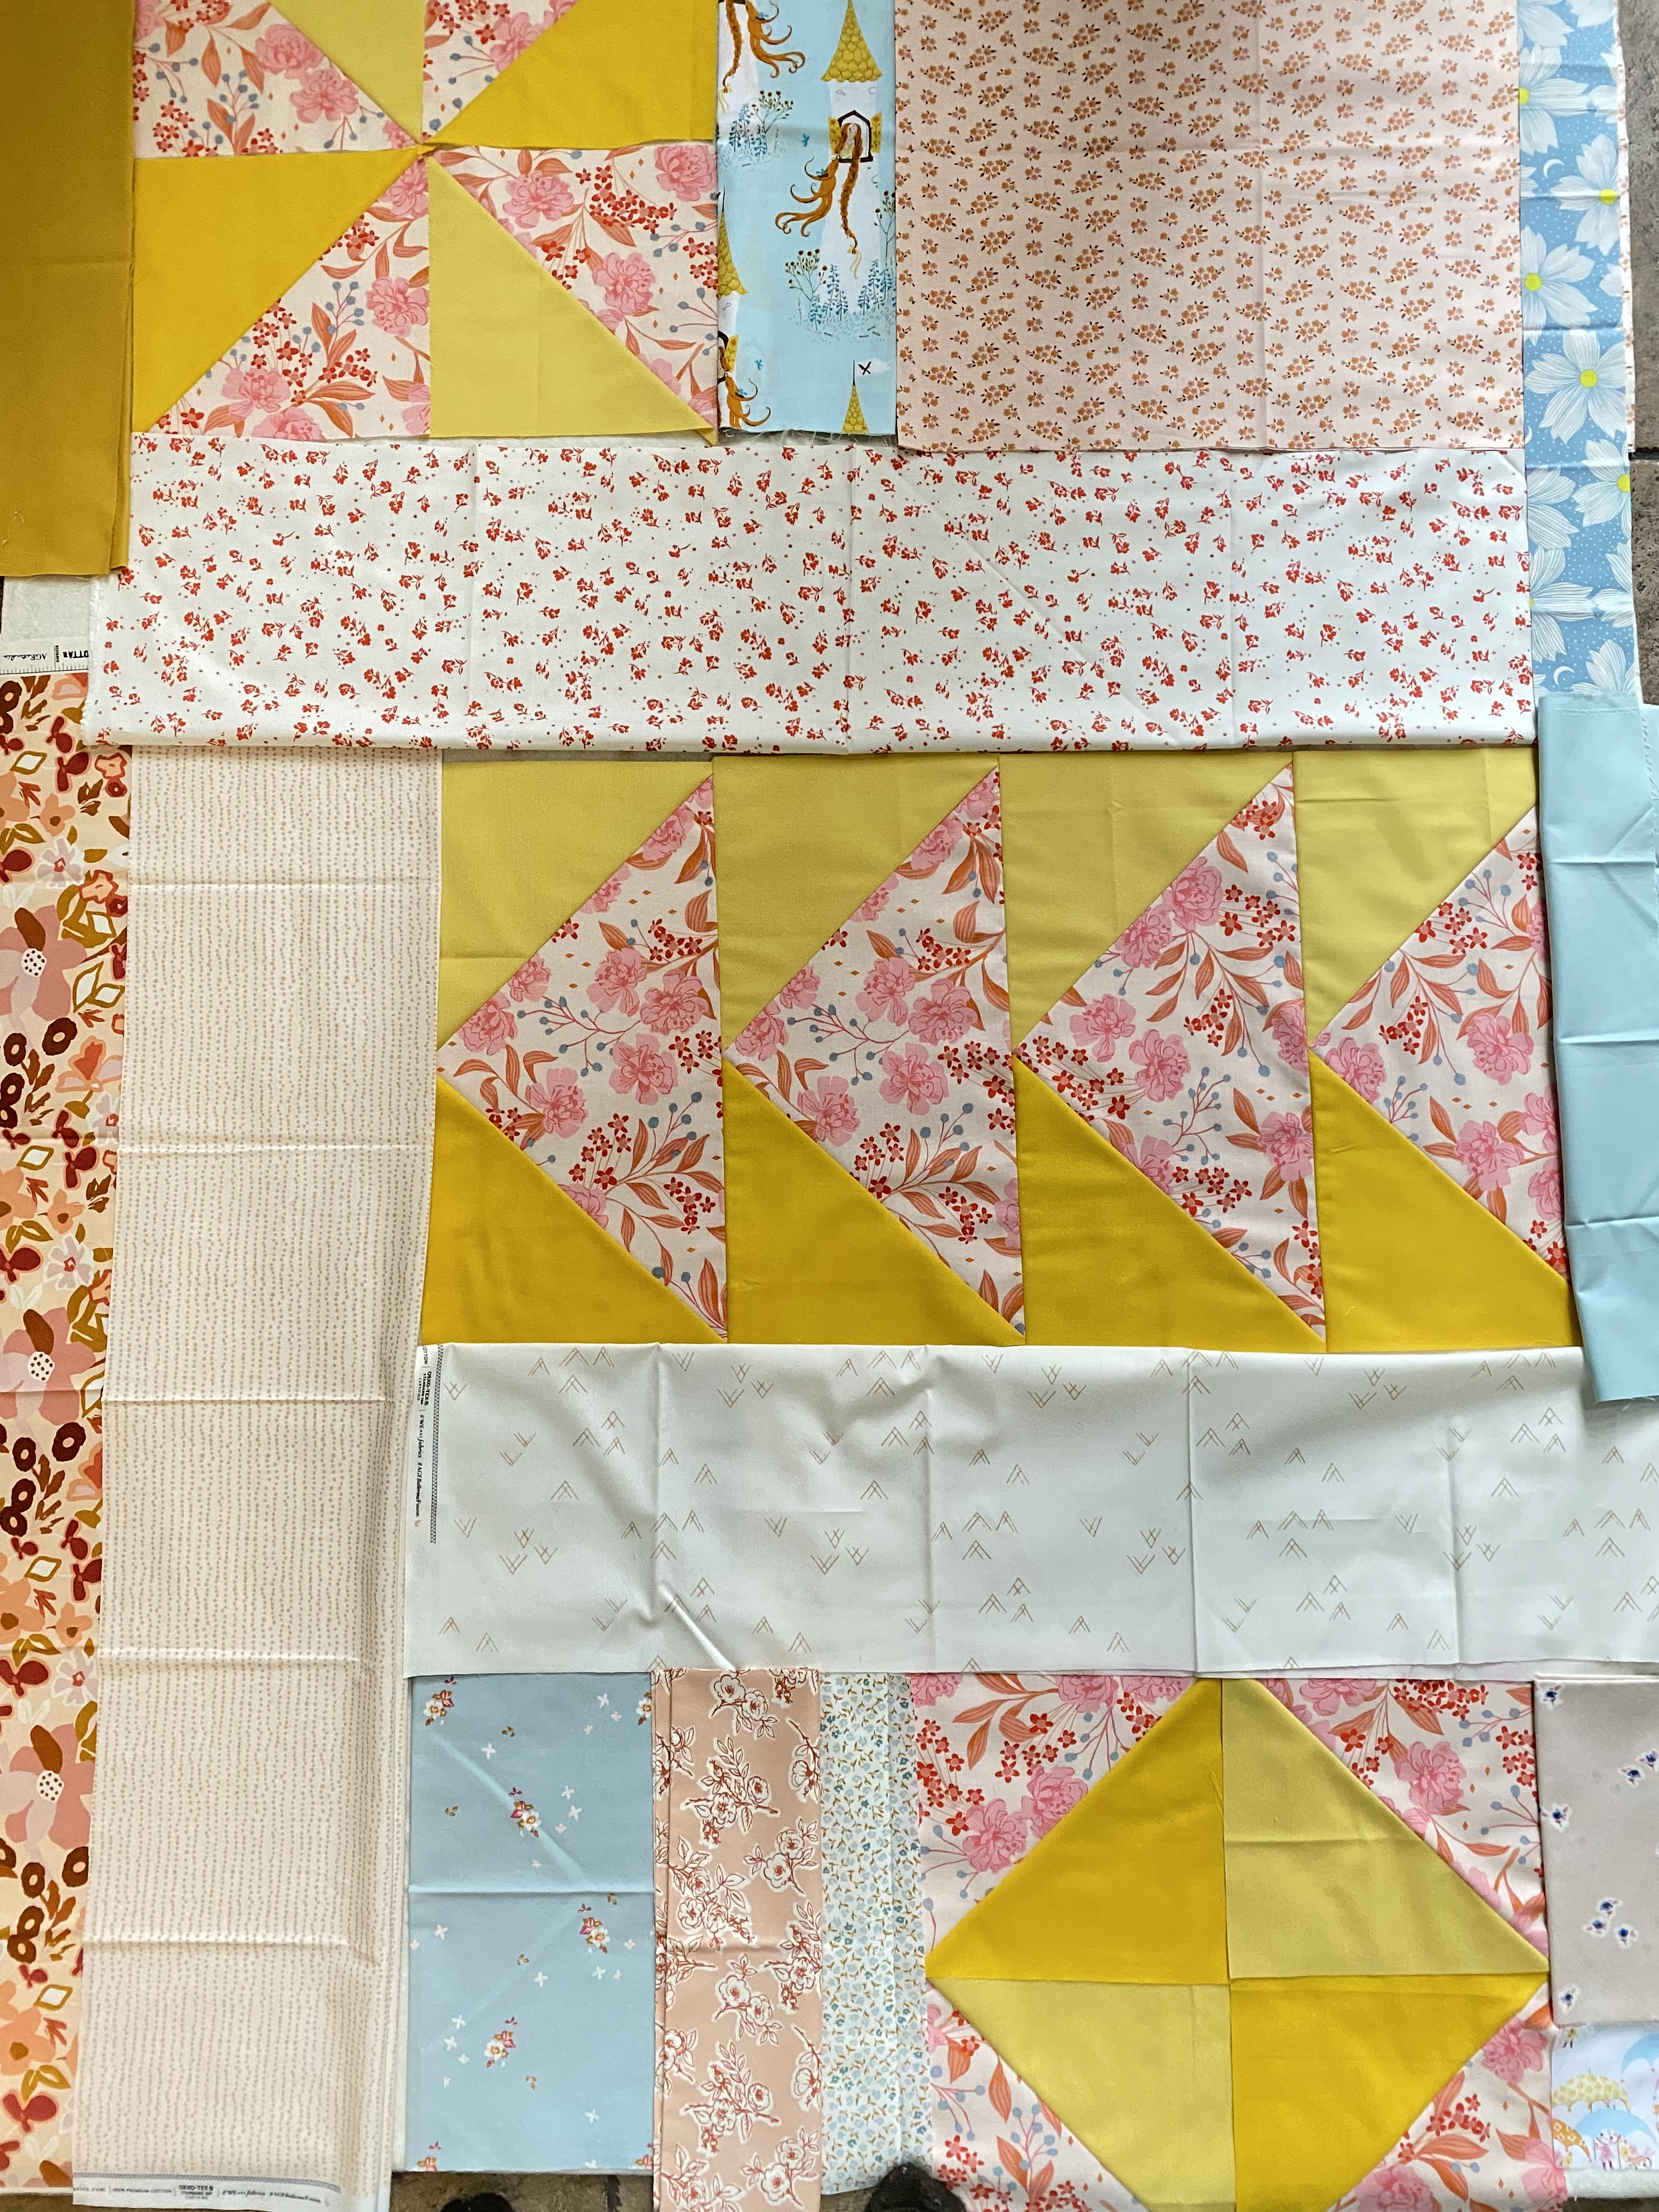
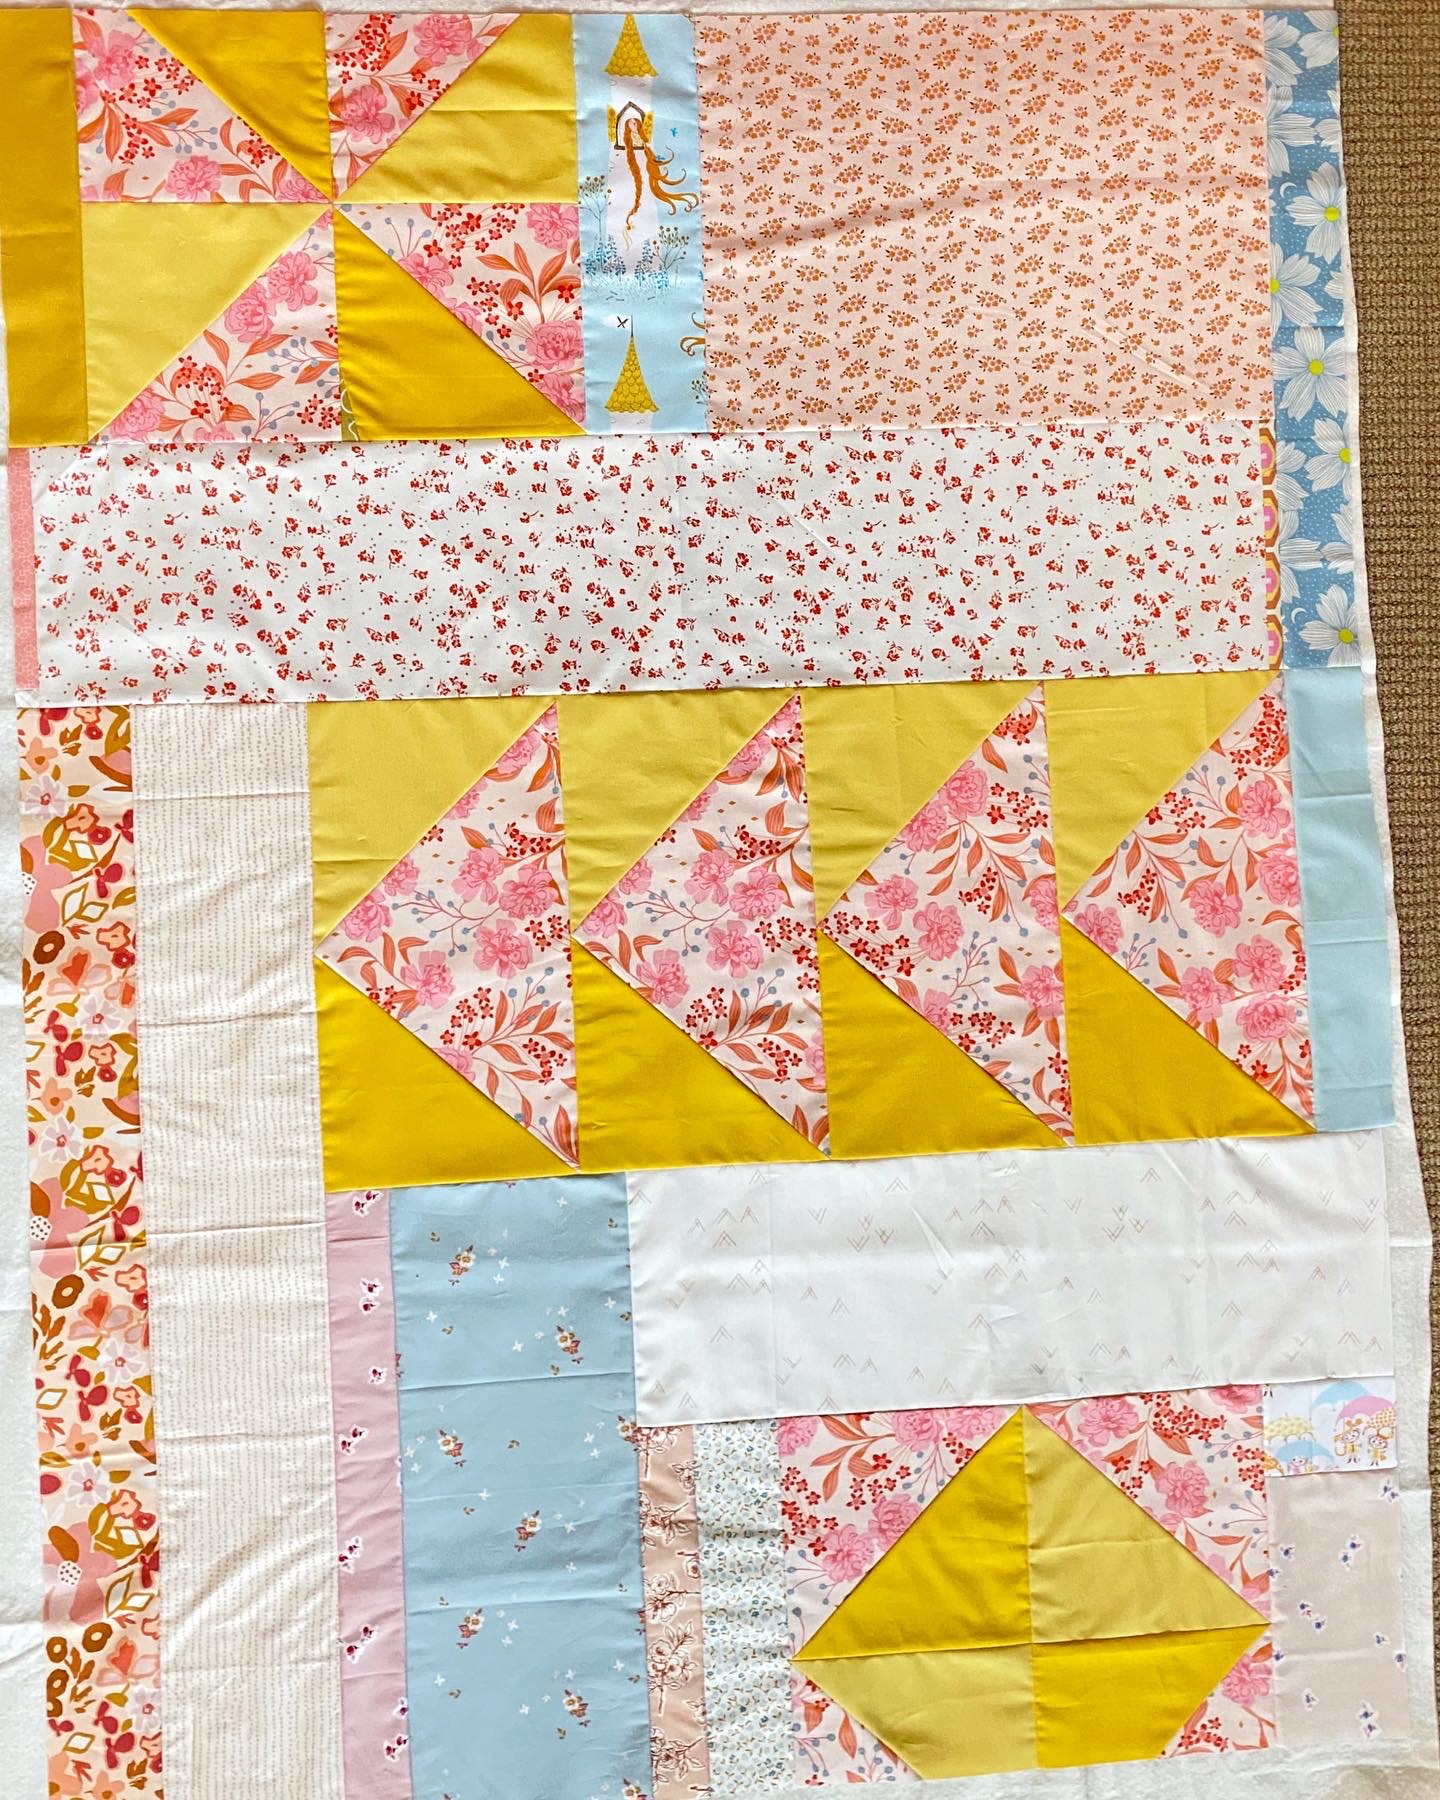
pink and green colorways. somewhere along the way i started thinking those columns of roses could make a pretty background column to go between the pinwheel columns in a "spinning around" quilt. i got out the print and pulled all the warm/red/pink amh prints i had to coordinate, plus other blenders, to use for pinwheels.

i decided i didn't really want to do three different pinwheels, but to use one type of pinwheel three times. that would simplify the making a whole lot.

now, i don't need any new quilt starts. just look at my wip page - there's something like 25 projects i have in the works. BUT, i had reasons to start this one right away. namely, i was going to get a good chunk of sewing time over a four day period and i thought i could knock this project out into a top in that time. i'm also going to have a similar amount of time in a few weeks, at which time i would work in batch mode to get all my tops sandwiched, and all my sandwiches quilted. why not have one more top to add to the pile?

and so ...


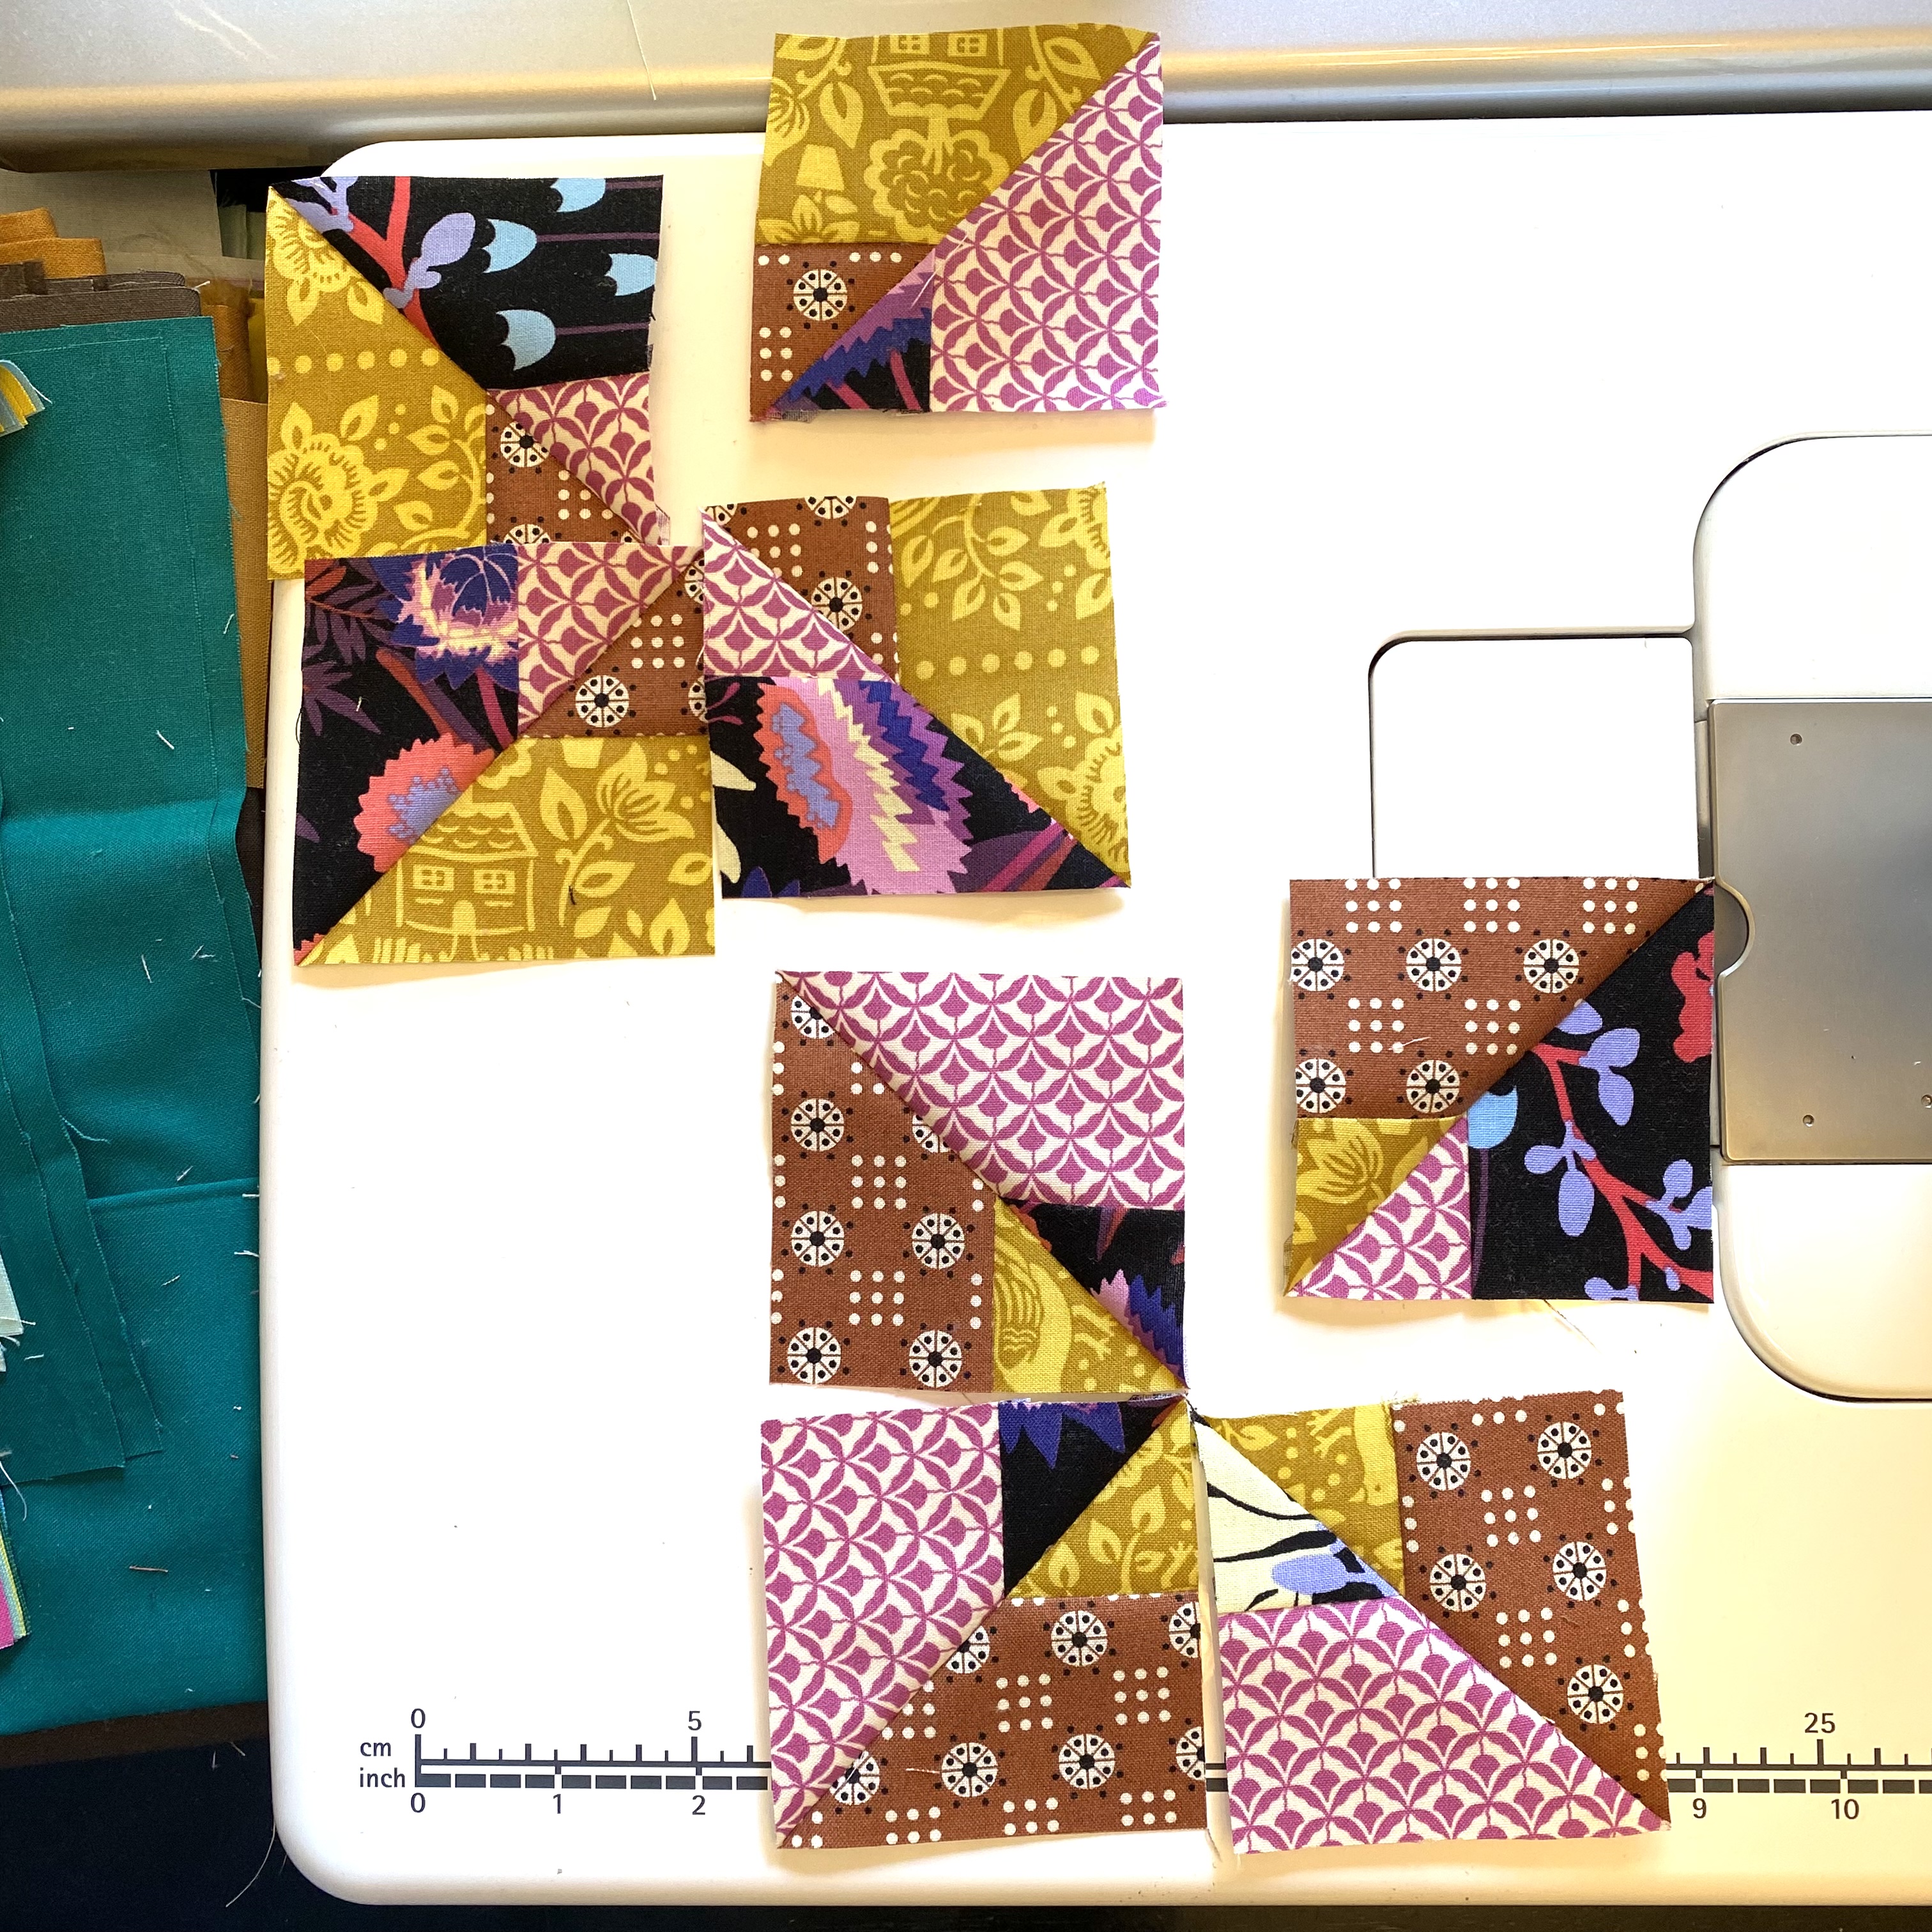
i made several pairings of 4 fabrics and got to work making the double pinwheel blocks.

the color palette i chose is pinks and reds from the "social climber" print, khaki greens, navy blue, deep and mauvy purples, a range of gold-tone and cinnamon browns.

i selected a lot of vintage, antique-type blenders, like the kind denyse schmidt is really good at.


each fabric pairing makes two double pinwheel blocks, so i made three sets (6 total) from each pairing, one pair per column.


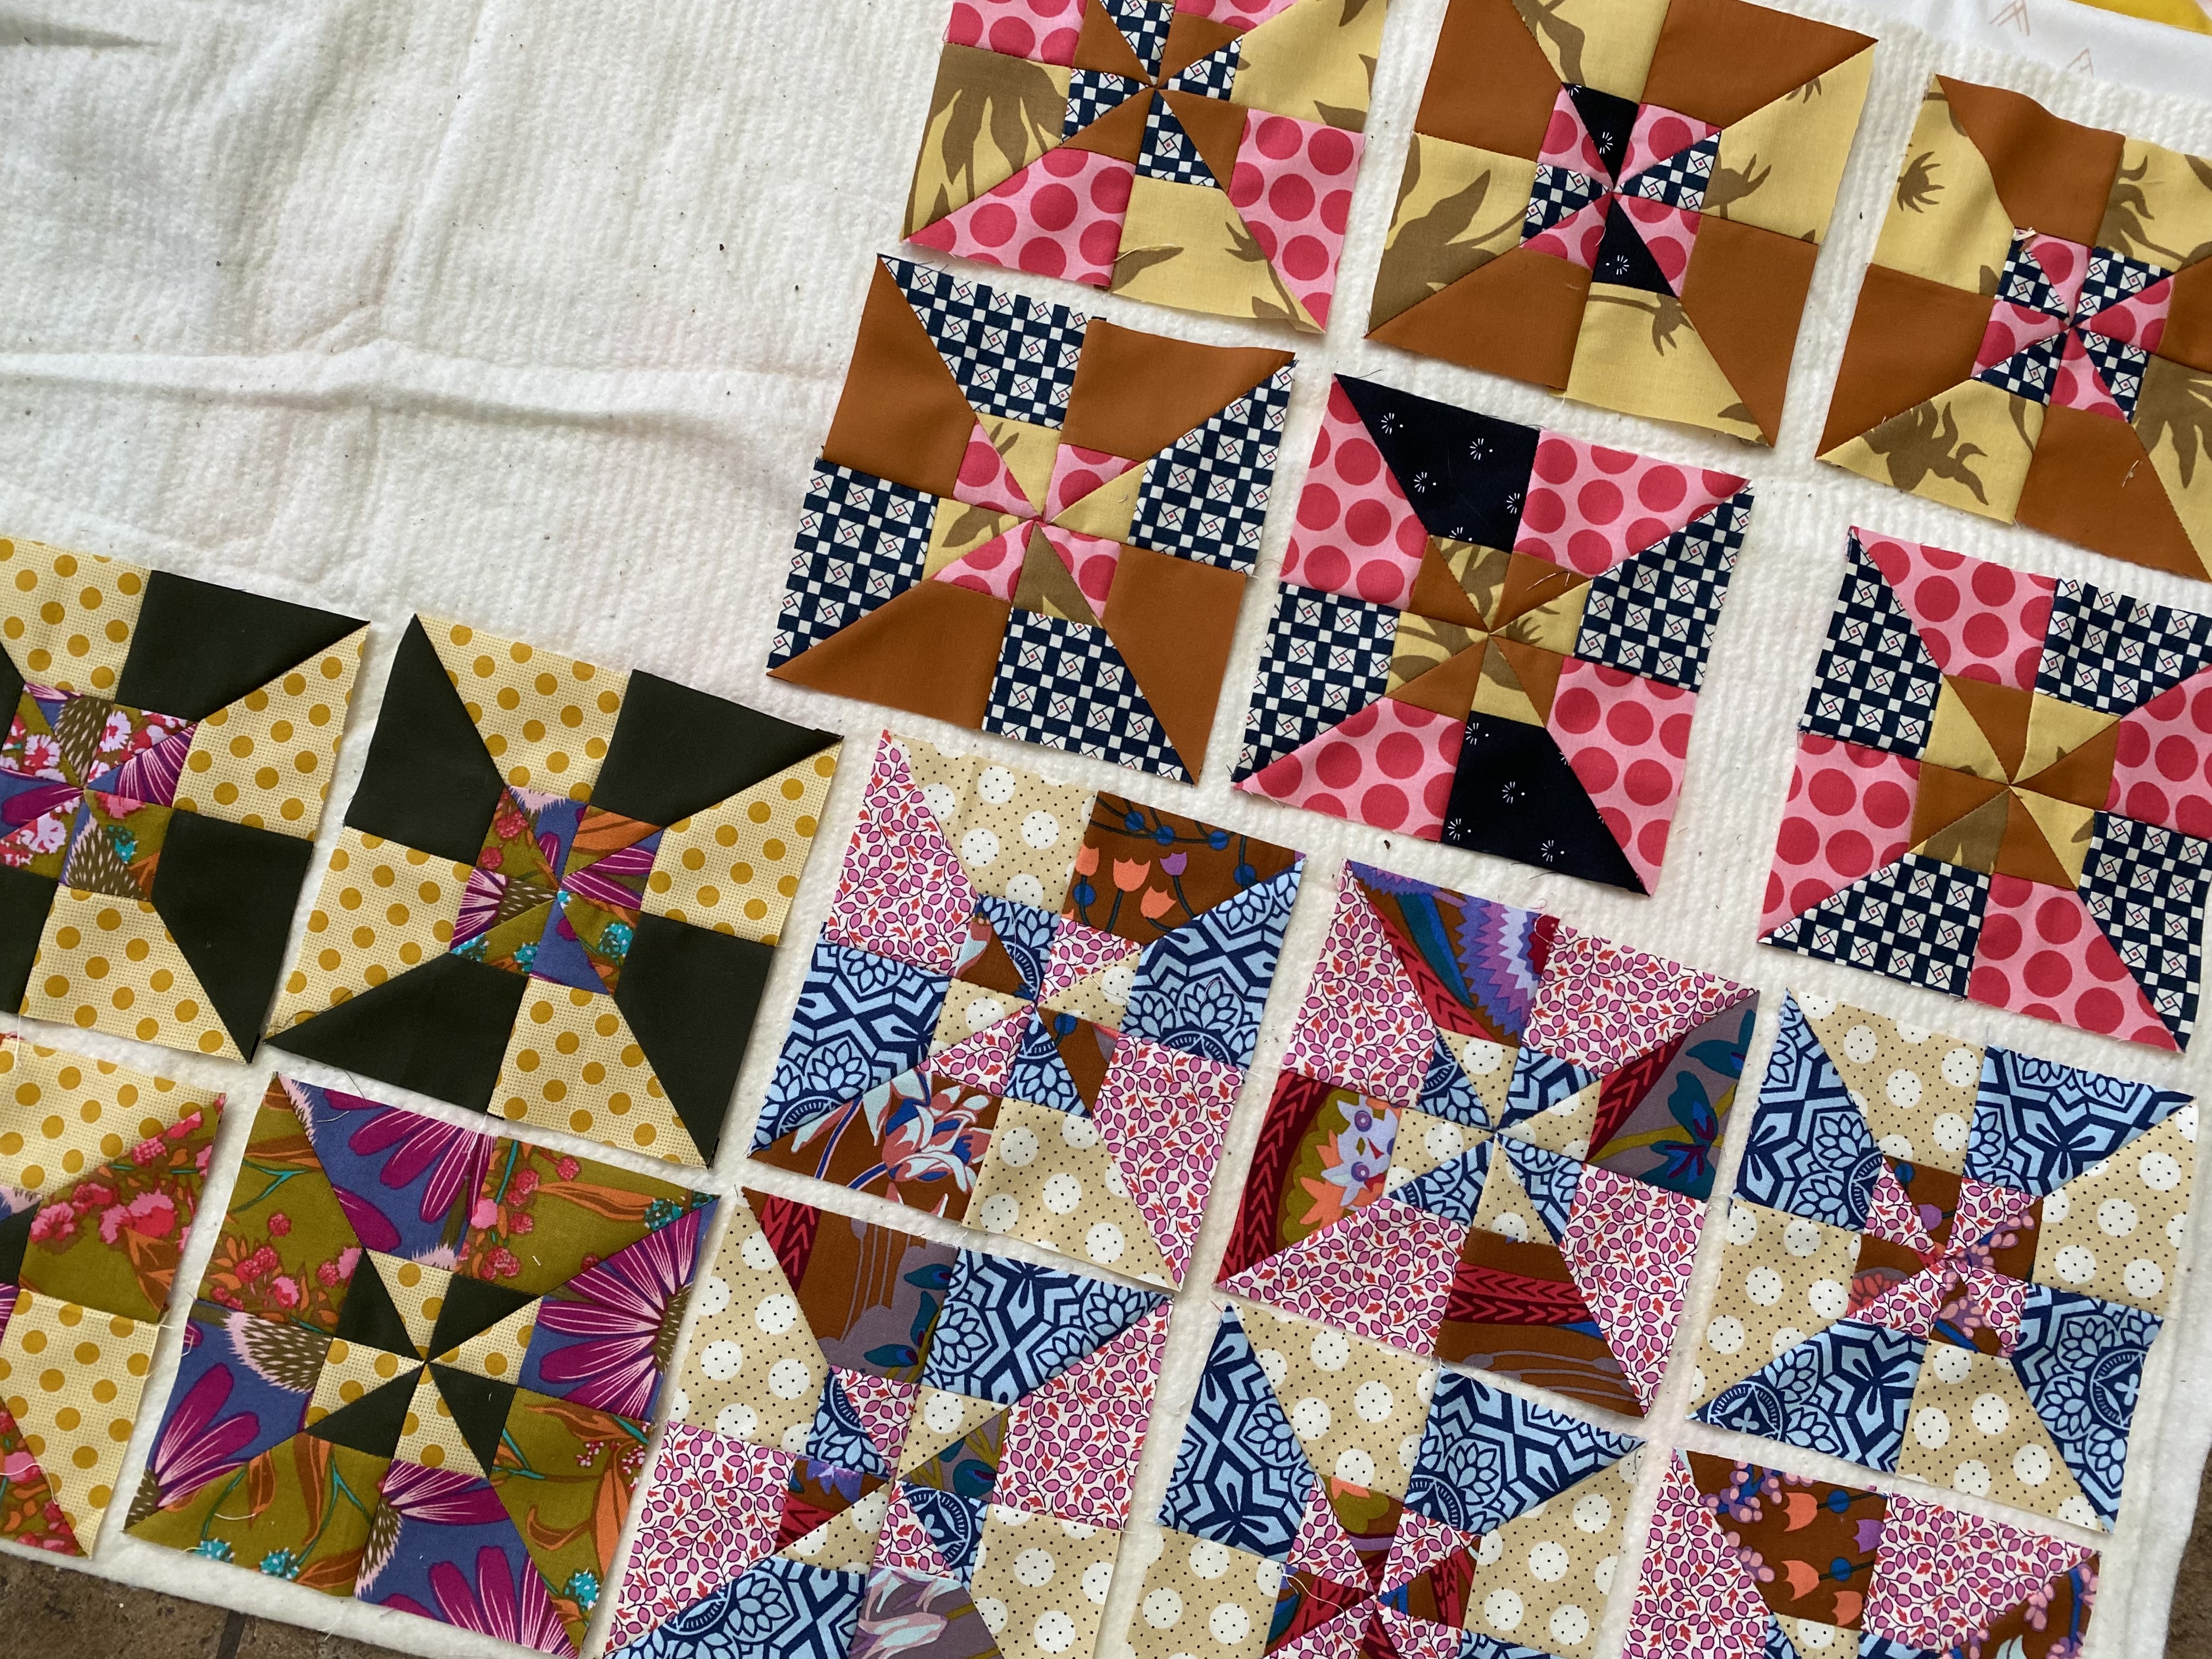
i didn't realize when i started just how many hsts i would be making and trimming.

a lot.

there are four double hsts per block. times 37 blocks per column, times three columns.

a lot.

i've never had a trimmings pile this big before, and this was only half way through.


for anyone making double pinwheel blocks, here are my tips:

1. cut your starting strips a smidge (like, 1/16th of an inch) larger than called for in length and width. it will give you more wiggle room when trimming in case something is off. then your center squares have a better chance of matching up.

2. pay very close attention to how your strip blocks are oriented BEFORE you cut on the diagonal to create your triangles. it really matters.

i did not pay close attention to my diagonal cuts the first few times and got some interesting results, and had to make a few additional sets in some cases. see the photo below, the two mixed-up pinwheels in the center, bottom.

and one time (above), i accidentally sewed some triangles together in a mismatched fashion. it was hurting my brain so bad to figure out how i did that and how to undo it! lol. i was about to just sew them together as they were and let them be a fun feature in the quilt, when i realized what i had done and unpicked it to correct. this was the only unpick in hours of sewing and from nearly a hundred blocks, so i'd say i did pretty well.


at first i played around with pairings of fabrics to come up with different configurations. but eventually i decided that going for highest contrast between the pairings was best as it made the pinwheels the most visible and discernable, and i just stuck to one configuration.

looking back, i should have used more low-volume blenders and a few more bright colors.


friday mornings the grandbaby comes to spend time with granna while his mom goes to the gym. he was quite interested in this quilt.


i think he wanted to rearrange them for me.


halfway through the morning, i realized we were wearing matching outfits: we both had denim blue shirts and black leggings on.


let's talk about how this quilt is looking.

i definitely nailed a very specific aesthetic - the scrappy, sort of retro vibe that i see in a lot of australian quilts - in a very fall-feeling palette.

the question is: do i like it?

hmm. 

i'm actually not sure.


this is one super wild quilt.

i learned a long time ago that blenders matter. don't just use all focal fabrics. you need those quiet, more subtle pretties to make your loud ones stand out and shine.

also, go for contrast in scale and color. mix geometrics with the florals.

some tips i picked up on from dana of old red barn co. for scrappy quilts that guided me here:

1. use more fabrics, the more the better
2. choose a color palette and make sure all your fabrics are in it. lots of colors is fine.

some helpful things i have realized while studying the quilts of jen kingwell:

1. lots of dots; polka dots of all sizes and styles are great.
2. make use of what i call "jen kingwell neutrals" to get her vibe. i see a smattering of these vintage-looking, cream- and gold- and tan-toned blenders in a lot of her quilts. i've started collecting them myself. i was looking at some civil war era reproduction prints the other day and i think that's one category where you can find this type i'm talking about.


these are some in my stash. they aren't the type of fabric print i would have selected before, but i do now.


one thing i decided for sure now that most of the blocks are done - i'm not using "social climber" as my background column fabric. it's just way too busy and the pinwheels get lost against it. i did not spend hours and days making pinwheels for them not to be seen. so i'm on the hunt for a good background.

this quilt is definitely in the "hot mess, what-have-i-done" phase. maybe when i have it put together with a good background i will like it. 

it was certainly fun to make; no regrets there.

oh. "what about that name?," you ask.
well, most of the time i was working on this quilt i had a niece here with my daughter. they're best friend cousins and always have been. both of their middle names are elizabeth. i'm considering giving this quilt to cousin elizabeth if i determine she actually really likes it. so "spinning around" plus the elizabeths present made for "spinning elizabeths."

Friday, February 3, 2023

improv in an afternoon


have you ever gotten the urge to just make something right away? to sit down with a project and see it through to completion in an afternoon?

one recent saturday morning i was quickly browsing instagram when an image caught my attention and i suddently needed to get making the thing instantly. i wanted to create something on a whim and it was something that could be done in one day if i put in the work. i just wanted to see if i could do it.


i liked the mix of bright colors and low-volume blenders; and i especially liked the giant flying geese blocks surrounded by randomly sized strips.

so i walked into my sewing room and started pulling fabric.

i decided my flying geese would be made from the gorgeous large-scale floral by dylan mierzwinski for free spirit fabrics. there was a small pile of fabrics from an order that hadn't been put away yet which i thought coordinated really well and had the same feel i wanted.


first, i made the flying geese. i wanted them to be as big as possible. i had a generously cut half yard of the dylan m floral to work with, which allowed me to cut four rectangles at 18.5" x 9.5".

i prefer stitch-and-flip construction for my geese because it allows me to trim to size when completed. if i didn't always get distortion from my horrible pressing (ironing) habits, i could use the no-waste method. but i know myself and i go stitch-and-flip 99% of the time.

i referenced this article by alderwood studios for its measurement equations, which it has for three different methods for making flying geese.

for stitch-and-flip construction, you add .5" to the finished size to get your cutting dimesions. my finished geese were going to be 9" x 18".
 

the squares for the "sky" portion of the geese (outer triangles in the corners surrounding the central "geese" triangle) are the height of the rectangle squared, plus .5".

i liked the yellowish tan color krystina paired with her pink geese, and looked through my solids stash for something suitable. i had a half yard cut of the perfect shade (i think it's moda "sunflower"? not exactly sure), but it wasn't as generously cut as my half yard of the focal floral, so i couldn't get enough squares out of it. i auditioned many yellows in my stash and finally settled on the one from the ruby and bee solids collection by heather ross for windham. it was a touch brighter than i wanted, but it was the best i had.


i recently saw a tip to sew both seams for the hsts before you cut the outer triangles off, just like you would when making a pair of hsts.

what a great idea!

my personal tip: i always press before i cut my hsts off.


there you have it - four super-sized flying geese blocks.

you can see i kept placement of the different yellows consistent along the sides. i considered mixing them up or doing two geese with one color, and went with this set up.

once my geese were made, it was time to fill in around them with the other fabrics.


one reason i like the stitch-and-flip method is i enjoy all the extra hsts it creates. i think it's a bonus method, not a wasteful method. i had 8 hsts leftover from my flying geese and decided to incorporate them on the front. i wasn't sure if it would detract from my focal point of flying geese or not, but the only way to find out is to try it.

i made one pinwheel block and one diamond block with the hsts, wanting both to run off the edge of the quilt. 

i had a large piece of batting leftover from another quilt make which was a nice small throw size - bigger than a crib or baby, but not quite as large as i usually make my throw quilts. since this was very much a make-do, use up stash and scraps kind of quilt, i chose to use it to determine my dimensions for this quilt that had no set size.


i got out that stack of fabrics i wanted to use and just started laying pieces out in a pleasing configuration, folding them up to fit different sized spots.

i pulled a few more scraps and coordinating fabrics out to fill in little gaps and to add a bit more blue.

once i liked it, i began cutting pieces to size and sewing.


i found a spot for a small bit of my robert kauffman umbrella girls.


i used a cutting of heather ross's sleepiing beauty in blue at the top. i've worked heather ross's princesses from her far, far away lines into several quilts lately and am really enjoying it.


i had a small cutting accident when cutting my squares - the fabric was folded in a tiny bit along the top fold, so it made an inny on one square and an outy on another.

the inny cut showed up in my pinwheel block, so i patched it with a small piece of this pear fabric.


i actually really like the effect it creates; one more little make-do moment in the improv quilt.


two and a half hours after i started piecing it all together, i had a completed top.

it measures about 46" x 64" and i absolutely adore the results. it's soft and bright and feminine and lovely. i left it out in the open on the floor outside my sewing room for several days because it just makes me so happy to see it.

this is definitely one project that makes my heart sing.
it was a joy to put together and the results are so pleasing.

if you're ever in need of a fun and quick make, give an improv quilt built around a few large blocks a try.