while looking over the original blanket, now almost nine years old, i noticed there has been some slight uneven shrinkage between the front cotton pieces and the back flannel piece. therefore, i think that even if you don't wash the cotton pieces for the front, it is probably wise to wash the flannel before sewing, since it is more prone to shrink.
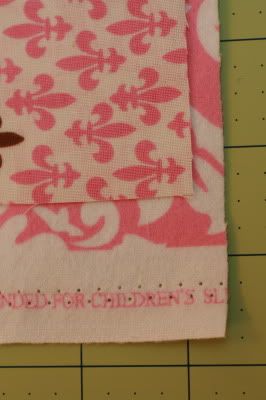
press your flannel backing piece and lay it out on your cutting surface, right side up. smooth the piece out so there are no wrinkles. then lay the blanket top, right side down, on top of the backing. again, smooth out the wrinkles. (i did not turn the top when working on this blanket, it's right side up. regretted that later!)
now cut the backing flannel by following the outline of the top piece. you could measure the top and square the flannel, but i find my top piece is never perfectly square and prefer to use the top as a pattern piece for the backing. when completed, the blanket is not perfectly square, but close enough. i'm okay with that. it's not obvious when looking at the blanket except some times when it's folded.
pin the two pieces together. you are now going to sew them together around the outline of the pieces with a 1/4" seam, making sure to leave a hole for turning. start sewing in the middle of one of the sides. sew around all four sides with a 1/4" seam. stop sewing when you get 4" to 6" away from where you started so that you leave a hole 4" to 6" wide, or just big enough to get your hand in.
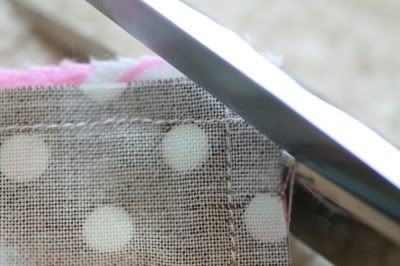
before you turn the piece, clip your corners so they aren't so bulky, lumpy, and rounded. to do this, cut diagonally across the corner. cut right up to, but no through your seam.
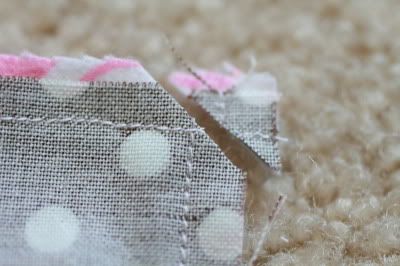
you may notice here that i didn't pivot at my corners, but ran straight to the edge of the fabric, then started the next seam at the edge also. sometimes i do this to check how the blanket is squaring up. since i cut my backing with the top facing the wrong way and the pieces didn't match up properly, i chose to sew this way this time. do which ever you prefer.
this is what the corner looks like cut off. now is also the time to trim up any excess fabric in the seam allowance like the extra pink showing in this photo. when i said i was a beginner and not a perfectionist, i meant it! i make mistakes and just keep on going. it all works out in the end.
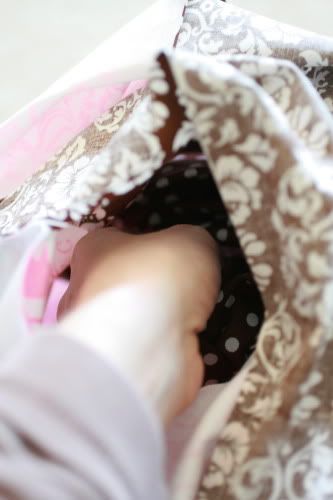
time to turn the blanket right side out. stick your hand in the hole you left in your seam.
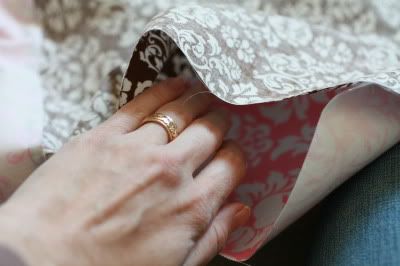
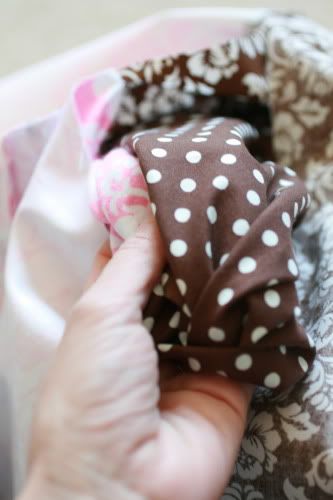
with your hand inside, grab a corner of the blanket on the opposite side of the hole.
hard to tell, maybe, from the photo, but that's my hand grabbing the inside of the corner.
now gently pull the blanket out of the hole, being careful not to rip your seams.
smooth the blanket out and turn out your corners so they look nice and pointed. (if not, no one minds rounded corners, either. it's okay!) to help your corners be fully pointed, use a knitting needle or chopstick or pencil eraser to push them out from the inside of the blanket. i usually just use my scissors, carefully, but i hear that can be a problem if you push too hard and pierce your project.
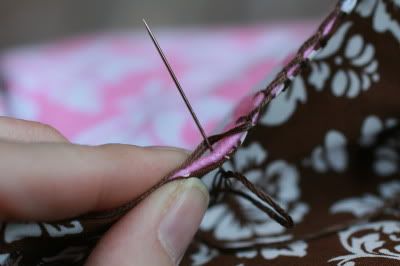
now that the blanket is sewn together and turned right side out, it's time to blanket stitch the edge. at this point you can press your seams flat from the outside, which makes the stitching easier. but i find it's pretty difficult to get the seam wide open when you're pressing from the outside, so i don't always do it this way. my alternative is to just start stitching, manipulating the fabrics and the seam wide and flat as i go. that's not easy either, so do what you will. good luck! don't worry, whatever you do, it'll be fine.
if you don't know how to blanket stitch, see the tutorial.
i learned a new trick with this blanket. i used to stitch the hole up right away, but this time i left the hole open and stitched it closed last. i found that when i do it this way, i don't have to bury my knot at the beginning of each new piece of floss but, rather, i can just tie my knot and then place the thread from the inside of the blanket by going in the hole. does that make sense?
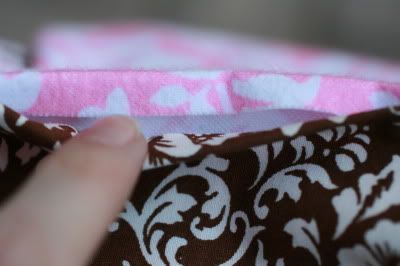
so start blanket stitching on either side of the hole, depending on which direction you like to stitch. i stitch right-to-left, so i started on the left side. when you get back around to the hole, you'll need to press down the seam allowance of the blanket before stitching. you can either finger press or use your iron. simply turn the edges in so they are in line with the blanket edge you sewed and press.
see, both edges are pressed in. hold the seam closed and continue your blanket stitch right over the hole.
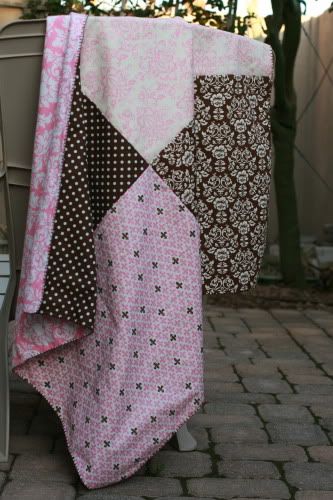
yay! your blanket is done. pat yourself on the back, take a picture, and wrap it up in a pretty bow if you are gifting it to some lucky person. congratulations to you and the new mother.



I am sooo impressed you do your edging by hand!!! that takes alot more patience then i could even dream of having!!! your amazing!!! :)
ReplyDelete